Transforming a blank wall into a stunning work of art is undoubtedly one of the most rewarding parts of DIY home decor. If you’ve ever marveled at a beautifully designed space and thought, “I wish I could create something like that,” then you’re in luck! Indeed, with the right tools, you can effortlessly turn your DIY dreams into reality. Therefore, here’s a comprehensive guide to the ten essential tools that will help you achieve professional-looking results in DIY wall art projects. Whether you’re just starting out or looking to up your game, these tools will provide the support you need. Consequently, you’ll be well on your way to creating impressive wall art that transforms your space.
The Basics—Tools Every DIYer Needs For DIY Wall Art
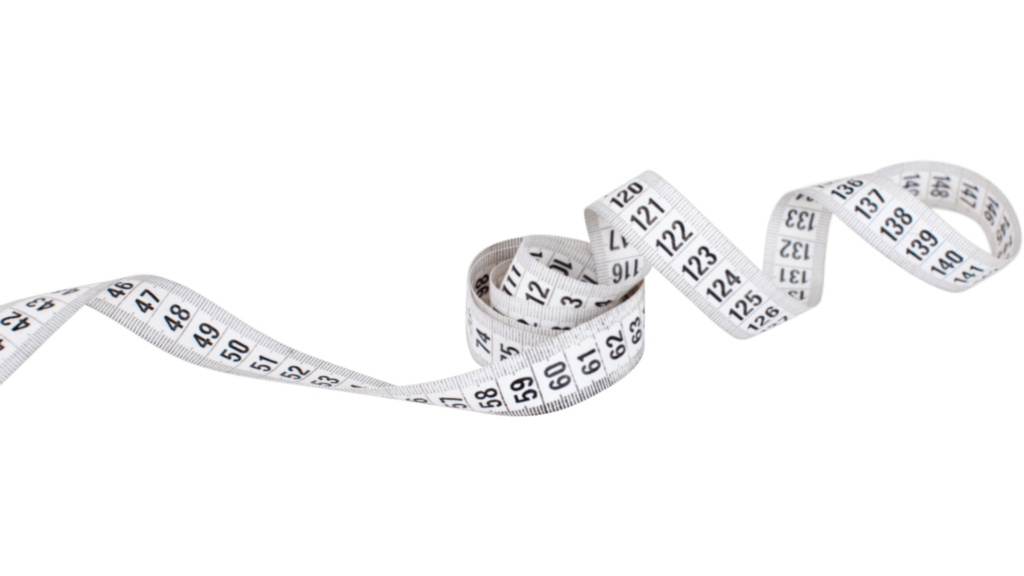
Measuring Tape: Precision is Key

Let’s start with the most fundamental tool in your arsenal: the measuring tape. It might seem basic, but a good measuring tape is crucial for ensuring that everything lines up perfectly. When I first started out, I didn’t realize how important it was to measure twice (or even three times) before making any cuts or placing any art. I ended up with uneven frames and misplaced shelves more times than I care to admit!
A measuring tape helps you plan out your designs with precision, ensuring that each element fits perfectly on your wall. Look for a tape that has both metric and imperial measurements for versatility, and consider a tape with a magnetic tip to hold it in place while you measure.
Level: Achieving Symmetry and Balance
Next up is the level. Imagine hanging a picture and finding out later that it’s tilted just slightly to one side. Frustrating, right? That’s where a good level comes in handy. This tool ensures that your wall art is perfectly straight, giving it a polished, professional look.
Invest in a high-quality level that’s easy to read and handle. For larger projects, a larger level or even a laser level can be incredibly useful, as it can help you align multiple pieces of art with precision.
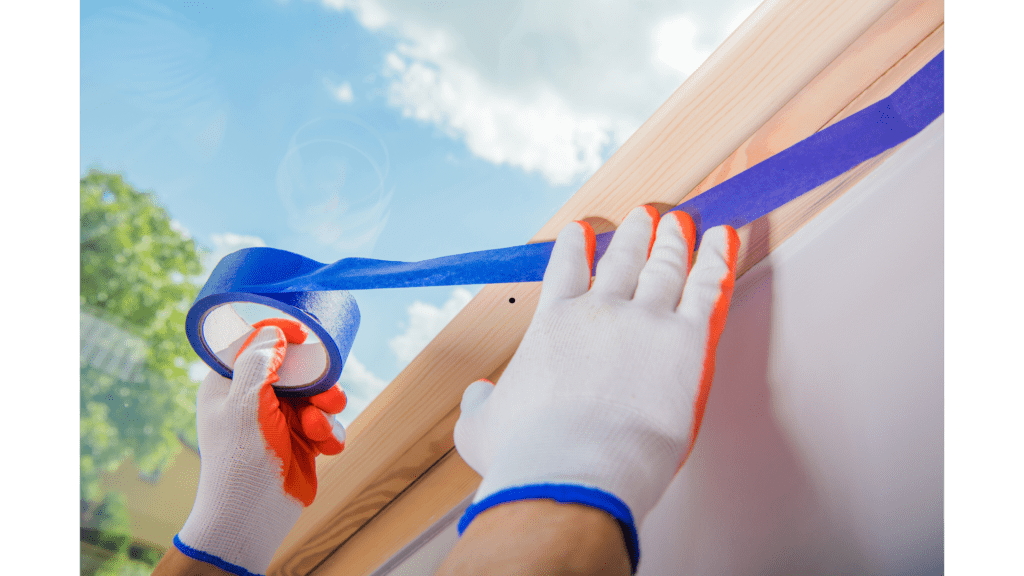
Painter’s Tape: Clean Lines and Easy Removal

Painter’s tape is a game-changer for creating crisp, clean lines in your wall art. When I was working on a geometric mural, painter’s tape was essential for keeping my lines sharp and preventing paint from bleeding into other areas. It’s also great for protecting surfaces you don’t want to get paint on.
Choose a painter’s tape that is easy to peel off without leaving residue. Apply it carefully, and press down on the edges to prevent paint from seeping underneath.
Painting and Decorating Essentials – DIY Wall Art
Quality Paint Brushes and Rollers: Smooth and Even Finish
A good set of paint brushes and rollers can make a huge difference in your wall art projects. When I first started, I used cheap brushes and ended up with streaks and uneven coverage. Investing in high-quality brushes and rollers is worth it, as they provide a smoother, more professional finish.
For most DIY wall art projects, a variety of brush sizes will help you achieve different effects. Use smaller brushes for detailed work and larger rollers for broader strokes. Don’t forget to clean your brushes thoroughly after each use to keep them in top shape.
Stencils: Easy Intricate Designs
If you love the look of detailed patterns but don’t have the artistic skill to execute them freehand, stencils are your best friend. Stencils allow you to add beautiful designs to your wall art without the stress of drawing them yourself.
I remember using stencils for a project involving a mandala pattern. It was so much easier than trying to paint the design freehand, and the results were stunning. There are countless stencil designs available online, or you can even make your own if you’re feeling creative.
Palette Knives: Texture and Dimension
Palette knives aren’t just for mixing paint—they’re also fantastic for adding texture and dimension to your wall art. I discovered this when I used a palette knife to create a textured abstract piece. The results were dynamic and eye-catching.
Experiment with different techniques using palette knives. You can create everything from rough, textured finishes to smooth, blended effects, depending on how you use the knife.
Precision and Detailing Tools For DIY Wall Art
Craft Knives: Sharp Precision
Craft knives are essential for cutting out detailed designs, especially when working with stencils or intricate patterns. When I was designing a series of cut-out art pieces, a craft knife was indispensable for getting those clean, precise edges.
Make sure to use a high-quality craft knife with a sharp blade, and always use a cutting mat to protect your surfaces. Change the blade regularly to ensure the best results.
Cutting Mat: Protecting Surfaces
A cutting mat is a must-have for any DIYer who uses craft knives. It protects your work surfaces from scratches and cuts, and it provides a grid that makes measuring and cutting much easier. I still remember the first time I used a cutting mat—it was like night and day compared to cutting directly on my desk!
Choose a cutting mat that’s large enough for your projects and durable enough to handle repeated use. Some mats even have markings for angles and measurements, which can be a big help.
Advanced Tools for a Professional Finish
Heat Gun: Versatile and Dynamic – DIY Wall Art
A heat gun is a versatile tool that can be used for a variety of DIY wall art projects. From speeding up paint drying to creating unique effects with heat-sensitive materials, a heat gun can add a professional touch to your work.
I’ve used a heat gun to create interesting textures in my wall art and to help with resin projects. Just be sure to use it in a well-ventilated area and follow all safety instructions.
Laser Level: Perfect Alignment – DIY Wall Art
For those times when precision is paramount, a laser level is an incredible tool. It projects a laser line onto your wall, helping you ensure that all your pieces are perfectly aligned. This tool is especially useful for creating gallery walls or large-scale designs.
I once used a laser level to align a series of framed prints on a feature wall, and the results were flawless. It’s a bit of an investment, but if you do a lot of wall art projects, it’s worth it.
Conclusion
With these ten tools, you’re well-equipped to tackle any DIY wall art project with confidence and ease. Whether you’re creating your first piece or looking to refine your skills, having the right tools at your disposal can make all the difference.
Remember, the key to great DIY wall art is not just in the tools you use but also in the creativity and passion you bring to your projects. So, go ahead, invest in these tools, and start creating art that you’ll be proud to display.
Happy crafting!
Check more of our Home Decor DIY ideas !
Join our Facebook Community for more informations!
