

Share
Introduction
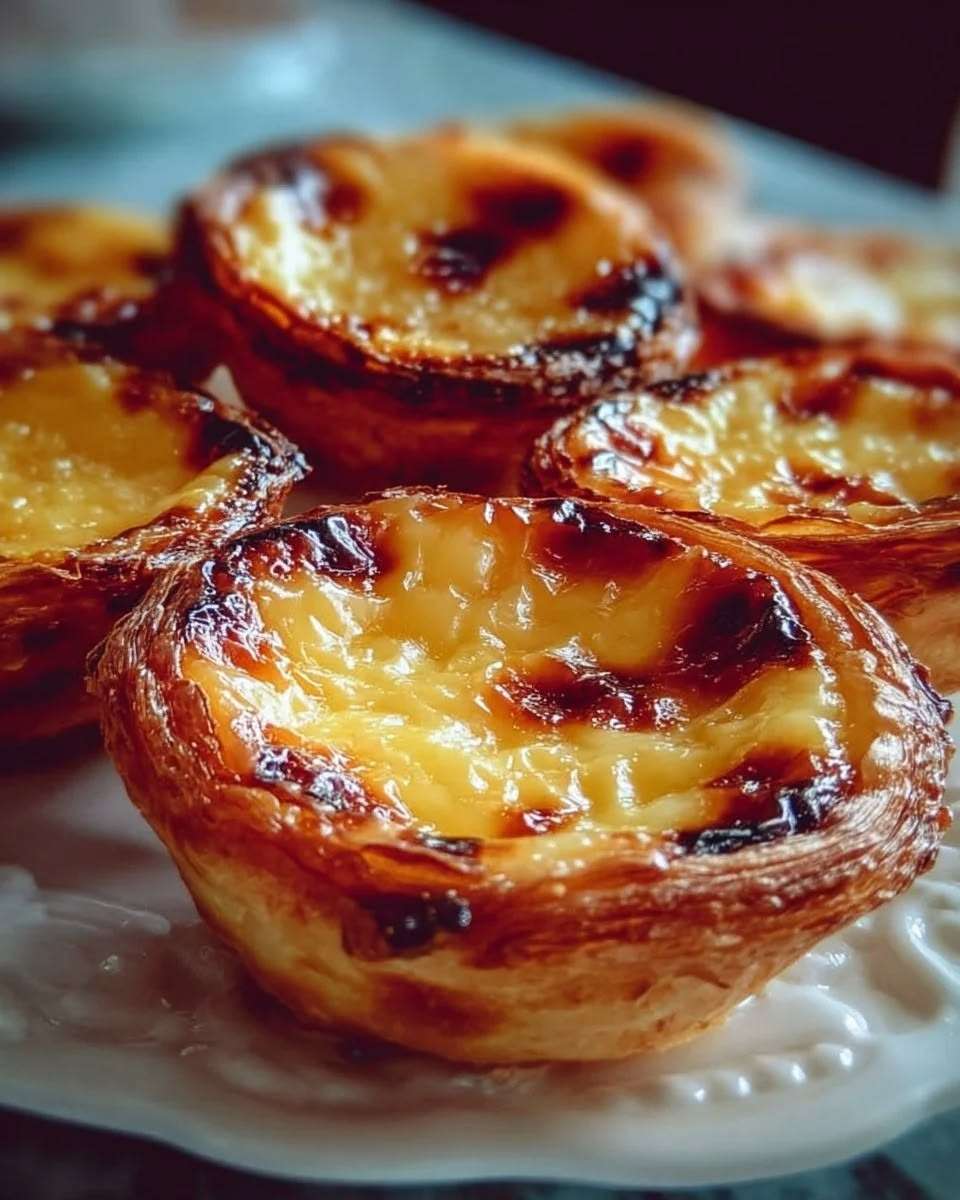
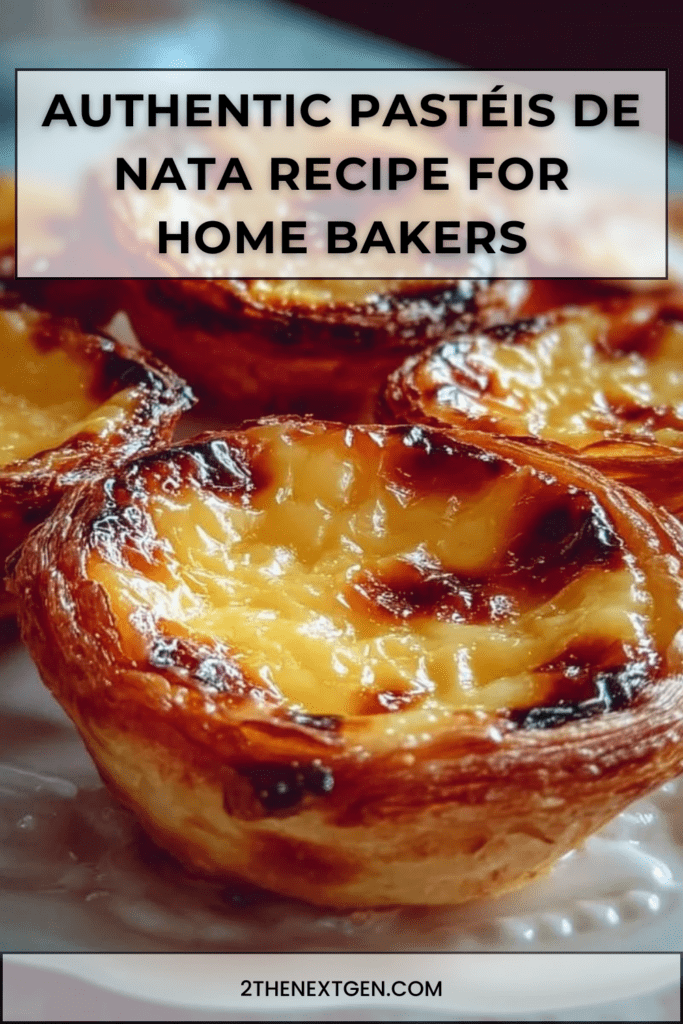
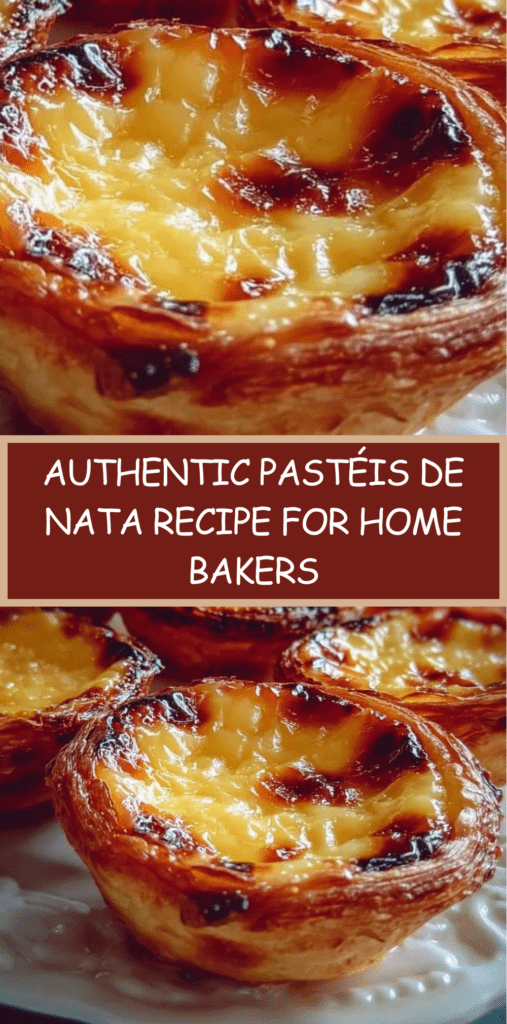
Pastéis de Nata are among the most beloved pastries in Portuguese cuisine, and for very good reason. These small custard tarts combine a crisp, flaky pastry shell with a smooth, rich cream filling that turns lightly caramelized in the oven. As a result, every bite offers a wonderful contrast of textures. The outside is delicate and buttery, while the inside is creamy, fragrant, and deeply comforting.
Although they look elegant and bakery-worthy, these Portuguese tartlets can absolutely be made at home with simple ingredients and a clear method. In fact, once you understand the balance between the puff pastry and the custard, the recipe becomes surprisingly approachable. Moreover, the ingredient list is short, which means each element plays an important role in the final taste and texture.
Another reason Pastéis de Nata remain so popular is their versatility. They are perfect for breakfast, delicious as an afternoon treat, and refined enough to serve as a dessert after dinner. Traditionally, they are enjoyed slightly warm, often with a dusting of cinnamon and powdered sugar, and usually alongside a cup of coffee. Therefore, they are not only a pastry, but also part of a warm and inviting moment.
In this guide, you will discover everything you need to prepare homemade Pastéis de Nata successfully. From the story behind this iconic pastry to the detailed preparation steps, ingredient list, nutritional information, and helpful answers to common questions, this article is designed to be both practical and fully optimized for easy reading and strong indexing.
The History and Charm of Pastéis de Nata
Pastéis de Nata have a fascinating culinary heritage that makes them even more special. Originally from Portugal, these famous custard tarts are closely associated with Lisbon and, more specifically, with the traditional pastry culture of the country. Over time, they became one of Portugal’s most recognized and cherished sweet specialties.
Historically, Portuguese convents and monasteries played a major role in the creation of egg-based pastries. Since egg whites were commonly used for tasks such as starching clothes, many yolks remained available for cooking and baking. Consequently, a large number of rich desserts emerged, including custards, cakes, and sweet creams. Pastéis de Nata fit beautifully into this tradition of resourceful and indulgent pastry making.
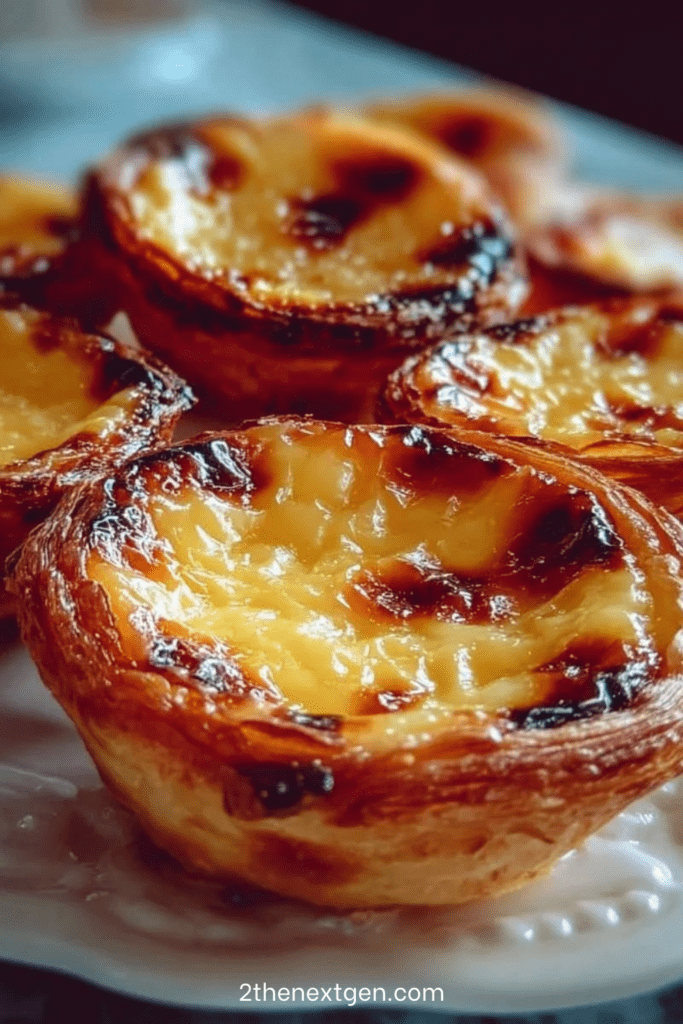
What makes this dessert especially memorable is its signature finish. Unlike many smooth custard tarts, Pastéis de Nata are known for their slightly blistered, caramelized tops. These darker spots are not a flaw. On the contrary, they are a hallmark of authenticity and add a subtle roasted flavor that complements the creamy filling. In addition, the lemon zest and cinnamon used in the custard bring delicate aromatic notes that make the flavor more complex and refined.
Today, Pastéis de Nata are enjoyed far beyond Portugal. They can be found in pastry shops, bakeries, and cafés all over the world. Nevertheless, homemade versions remain particularly rewarding because they allow you to serve them fresh from the oven, when the pastry is still crisp and the custard is at its most fragrant. That freshness, above all, is what makes this dessert unforgettable.
Ingredients
For the crust
- 1 sheet puff pastry
- A little butter for the molds
For the cream
- 500 ml milk
- 120 g sugar
- 40 g flour
- 4 egg yolks
- 1 cinnamon stick
- Zest of 1 lemon
- 1 teaspoon vanilla extract
For the finishing touches
- Powdered sugar
- Ground cinnamon
How to Make Pastéis de Nata Step by Step
Step 1: Prepare the puff pastry shells
First, preheat your oven so it reaches a very high temperature before baking. This is essential because Pastéis de Nata need intense heat to develop their signature caramelized tops and crisp pastry texture. Meanwhile, roll out the puff pastry on a lightly floured surface if necessary, then cut circles that are slightly larger than your muffin tins or tart molds.
Next, lightly butter the molds. This helps prevent sticking and also encourages a more even bake. After that, gently press each pastry circle into the molds, making sure the dough fits snugly along the bottom and sides. Try not to stretch the pastry too much, because that can affect the final flakiness. Once done, set the prepared shells aside while you make the filling.
Step 2: Heat the milk with the aromatics
Pour the milk into a saucepan, then add the cinnamon stick and the lemon zest. Place the pan over medium heat and warm the mixture until it just begins to simmer. At this stage, the goal is not to boil the milk aggressively, but rather to infuse it with flavor. Therefore, keep a close eye on it and stir occasionally if needed.
As the milk heats, the cinnamon and lemon zest will release their aromas into the liquid. This step is especially important because it gives the custard its distinctive Portuguese flavor. Once the milk reaches a gentle simmer, remove it from the heat and let the aromatics continue to infuse briefly.
Step 3: Combine the sugar and flour
While the milk is heating, place the sugar and flour in a mixing bowl. Then whisk them together thoroughly. This dry mixing step may seem simple, yet it is very useful because it helps distribute the flour evenly through the sugar. As a result, the custard mixture will be smoother and easier to prepare when the hot milk is added.
In addition, blending the dry ingredients first helps reduce the risk of lumps. Since the cream filling should be silky and uniform, taking a few extra seconds here makes a noticeable difference later.
Step 4: Add the hot milk gradually
Remove the cinnamon stick and lemon zest from the hot milk. Then, little by little, pour the milk into the bowl with the sugar and flour mixture while whisking constantly. This gradual method is important because it ensures the flour hydrates evenly and the mixture remains smooth.
At first, the mixture may seem thin, but that is completely normal. Continue whisking until everything is fully incorporated and no dry pockets remain. Because the milk is warm and aromatic, it also begins building the flavor profile of the cream right away. At this point, the mixture should look smooth and lightly thickened.
Step 5: Stir in the egg yolks and vanilla
Once the milk mixture has cooled slightly, add the egg yolks and vanilla extract. Then whisk everything together until the cream is smooth, glossy, and well blended. The egg yolks provide richness, color, and that classic custard texture that makes Pastéis de Nata so satisfying.
It is important to mix thoroughly but gently. On the one hand, you want a perfectly uniform filling. On the other hand, you do not want to overwork the mixture unnecessarily. After whisking, the cream should be fluid enough to pour easily, yet rich enough to bake into a soft custard center.
Step 6: Fill the pastry shells
Carefully pour the custard mixture into the prepared pastry shells. Fill each one almost to the top, leaving just a little room so the mixture can settle and bake without overflowing. Try to distribute the filling evenly so all the tarts bake at the same rate.
This is also the moment to check that the pastry edges remain in place. If needed, gently adjust them before baking. Since the custard and the pastry bake together, starting with evenly filled molds will help you achieve a consistent final result.
Step 7: Bake until caramelized
Place the molds in the hottest part of your oven and bake at 220 to 230°C for 15 to 20 minutes. During this time, the puff pastry will turn golden and crisp, while the custard will set and develop the characteristic caramelized spots on top.
This stage is what gives Pastéis de Nata their iconic appearance. Therefore, do not worry if the tops become deeply golden in places. In fact, those darker spots are one of the details that make the tartlets look authentic. However, watch closely during the final minutes, because oven temperatures can vary and the pastries can color quickly.
Step 8: Cool slightly before unmolding
Once baked, remove the tarts from the oven and let them cool for a few minutes in the molds. This short resting time allows the custard to firm up slightly and makes the tartlets easier to remove without breaking the delicate pastry shells.
Although it may be tempting to unmold them immediately, a little patience helps preserve their shape. After a brief cooling period, gently lift them out and place them on a rack or serving plate.
Step 9: Finish and serve
Just before serving, dust the Pastéis de Nata lightly with powdered sugar and ground cinnamon. This final touch adds both visual appeal and extra flavor. The cinnamon, especially, enhances the warm notes already present in the custard.
For the best experience, serve them slightly warm. At that point, the pastry remains crisp and the filling is still soft and fragrant. Paired with coffee or tea, they become an especially elegant and comforting treat.
Nutritional Information
The nutritional values of Pastéis de Nata can vary depending on the size of the tartlets and the exact puff pastry used. However, in general, these Portuguese custard tarts are considered a rich pastry dessert rather than an everyday light snack.
Each tart typically contains carbohydrates from the pastry, sugar, and flour, along with fats from the puff pastry and egg yolks. In addition, the milk and egg yolks contribute a modest amount of protein. Because the recipe uses a relatively small quantity of ingredients per tart, they are satisfying without being overly large.
If you are serving them as part of a balanced meal or festive table, they work especially well in moderate portions. Moreover, because their flavor is intense and indulgent, one or two tartlets are often enough to feel fully satisfied. For those who want a lighter presentation, serving them plain or with only a small dusting of sugar and cinnamon is usually more than enough.
Frequently Asked Questions
Can I use ready-made puff pastry for Pastéis de Nata?
Yes, ready-made puff pastry works very well for this recipe and makes the process much easier. In fact, it is an excellent option for home bakers who want great results without making pastry from scratch. The key is to bake the tartlets in a very hot oven so the pastry becomes crisp and golden.
Why do Pastéis de Nata have dark spots on top?
The dark, caramelized spots are completely normal and actually desirable. They appear because the custard is baked at a high temperature, which helps create the traditional appearance of authentic Portuguese custard tarts. Far from being a problem, these spots contribute extra flavor.
Can I make Pastéis de Nata ahead of time?
Yes, you can prepare them ahead of time. However, they are at their best on the day they are baked, since the pastry is crispest when fresh. If needed, store them in an airtight container and reheat them briefly in the oven before serving to refresh the texture.
What is the best way to serve these Portuguese tartlets?
They are best served slightly warm, with a dusting of cinnamon and powdered sugar. Traditionally, they are enjoyed with espresso or strong coffee. Nevertheless, they are also delicious with tea or as part of a dessert table.
Can I freeze Pastéis de Nata?
Yes, they can be frozen, although the texture is usually best when fresh. If you choose to freeze them, let them cool completely first. Then place them in an airtight container. To serve, reheat them in the oven rather than the microwave so the pastry stays as crisp as possible.
How do I get the authentic caramelized finish?
The most important factor is high heat. Bake the tarts in the hottest part of the oven at 220 to 230°C. In addition, make sure the oven is fully preheated before baking. This combination helps the custard set quickly and develop the small browned spots typical of bakery-style Pastéis de Nata.
Conclusion
Pastéis de Nata are a beautiful example of how a few simple ingredients can come together to create something truly special. With their flaky pastry, velvety custard, and lightly caramelized top, they deliver elegance, comfort, and tradition in every bite. Moreover, their timeless appeal makes them suitable for many occasions, from relaxed breakfasts to refined desserts.
Even better, this recipe proves that homemade Portuguese custard tarts are entirely achievable in a home kitchen. By following the steps carefully, using high heat, and paying attention to texture, you can recreate the charm of this iconic pastry with confidence. As a result, you will have a dessert that feels both classic and impressive.
Whether you are discovering Pastéis de Nata for the first time or revisiting a favorite from Portuguese pastry shops, this recipe is one worth keeping. It is simple, flavorful, and consistently rewarding. Above all, it brings a little piece of Portugal to your table in the most delicious way.
Check also:
Lemon Chicken Ricotta Meatballs
Chicken and meat easy Recipes
Suggestions:
- Sugar-Free No-Bake Strawberry Delight
- Sugar-Free Lemon Blueberry Delight Easy Dessert
- Creamy Pesto Penne Pasta Easy Recipe
- Rich Chocolate Layer Cake with Ganache Frosting
- Cheesy Beef Rotini Pasta with Easy Tomato Sauce