

Share
Introduction
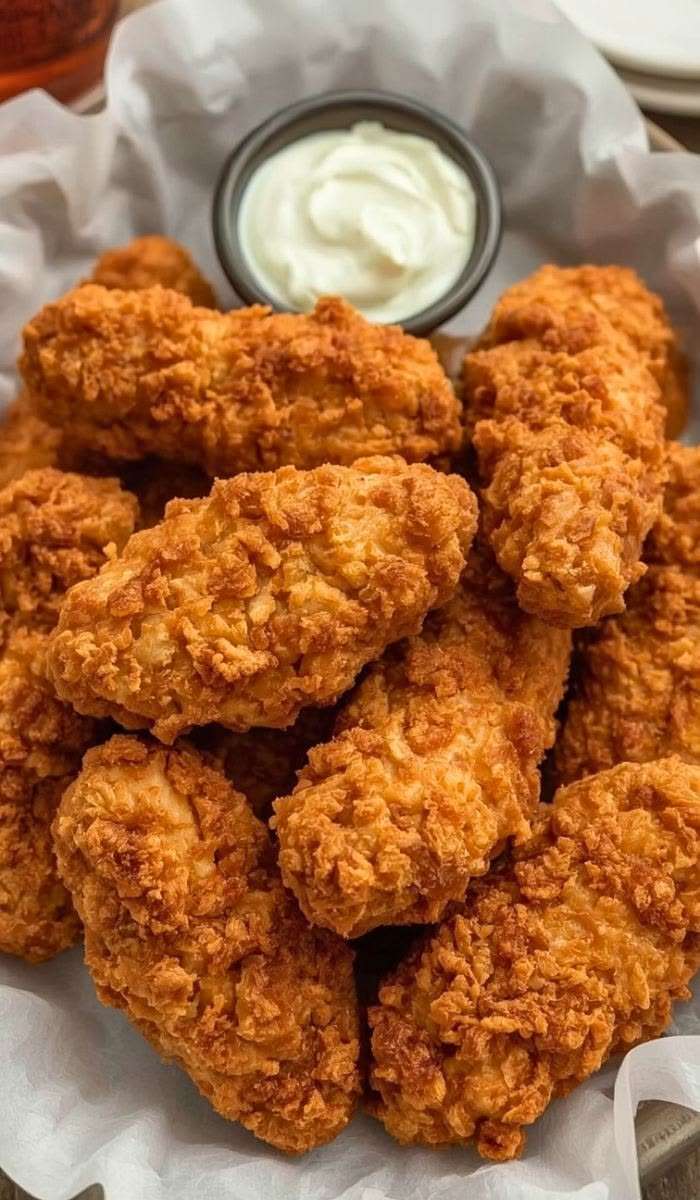
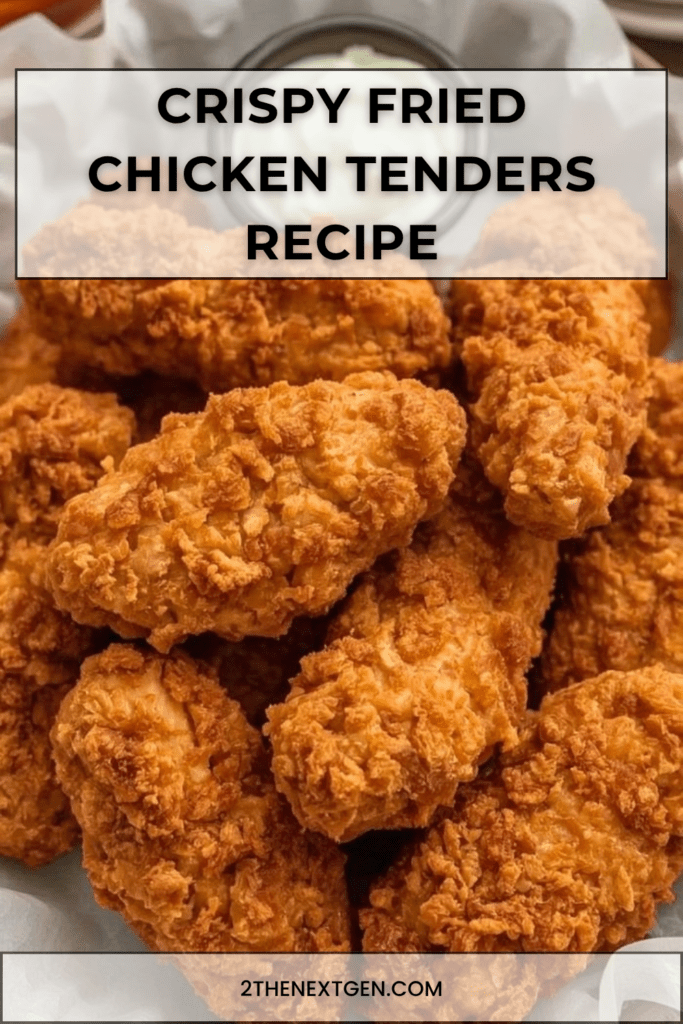
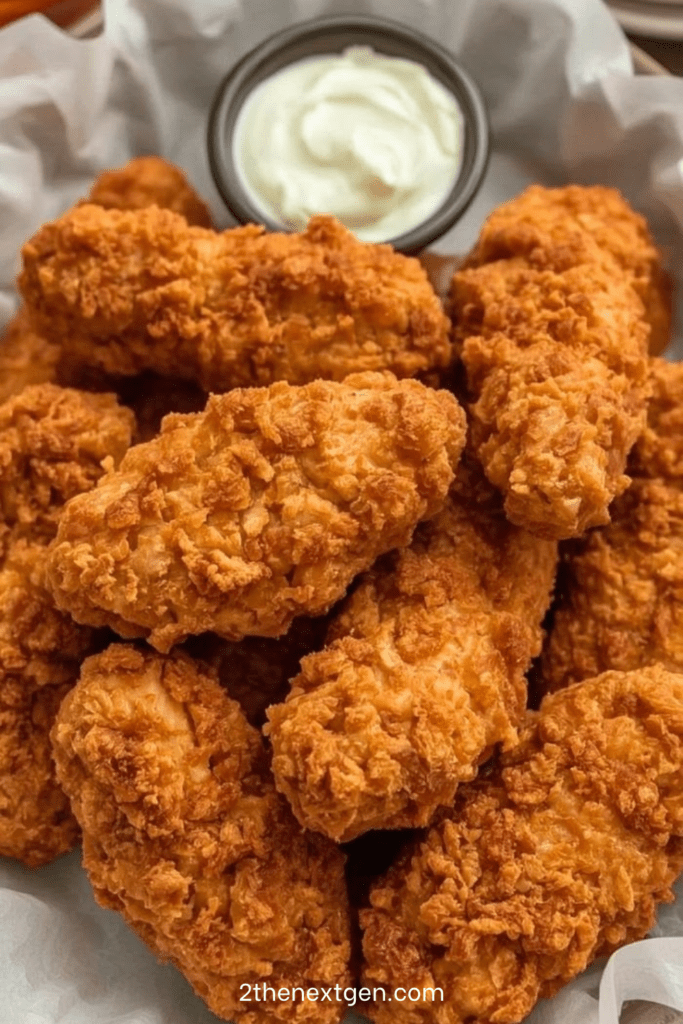
Crispy Fried Chicken Tenders are golden, crunchy, juicy, and full of flavor. Made with tender chicken strips marinated in seasoned buttermilk, then coated in a seasoned flour and cornstarch mixture, this recipe gives you a delicious homemade version of classic fried chicken tenders.
This recipe is perfect for family dinners, weekend snacks, parties, kids’ meals, game nights, or casual comfort food. The chicken stays moist inside because of the buttermilk marinade, while the outside becomes crisp and flavorful after frying. As a result, every bite has the perfect contrast between juicy chicken and crunchy coating.
Moreover, these chicken tenders are easy to serve with many sauces. Garlic mayo, ranch sauce, honey mustard, ketchup, barbecue sauce, or spicy mayo all work beautifully. You can also serve them with fries, coleslaw, mashed potatoes, salad, or inside wraps and sandwiches.
In addition, this recipe includes helpful tips for extra crunch and an air fryer option. Whether you fry them traditionally or prepare a lighter version in the air fryer, these crispy chicken tenders are simple, satisfying, and always popular.
History and Information About Fried Chicken Tenders
Chicken tenders are one of the most loved comfort foods because they are easy to eat, quick to cook, and perfect for dipping. They are usually made from the tenderloin part of the chicken breast or from chicken breast cut into strips. Since the pieces are smaller than whole chicken cuts, they cook quickly and stay juicy when prepared correctly.
Fried chicken has a long tradition in many cuisines, with different versions around the world. Some recipes use buttermilk marinades, while others use spice rubs, egg wash, breadcrumbs, or flour coatings. The goal is always the same: tender meat inside and a crisp, golden crust outside.
Buttermilk is especially useful for chicken tenders because it helps tenderize the meat and adds flavor. When mixed with egg and spices, it creates a marinade that helps the coating stick better. The longer the chicken marinates, the more flavorful it becomes.
The crispy coating in this recipe uses both flour and cornstarch. Flour gives structure, while cornstarch helps create a lighter, crunchier crust. Baking powder is also added to make the coating slightly more airy and crisp.
Frying the chicken at the right temperature is very important. If the oil is too cool, the coating can absorb too much oil and become greasy. If it is too hot, the outside can brown too quickly before the inside cooks. A steady temperature around 170°C / 340°F gives golden, crispy, and juicy chicken tenders.
Ingredients
For the Chicken
- 600 g chicken tenders or chicken breast, cut into strips
- 250 ml buttermilk
- 1 egg
- 1 teaspoon garlic powder
- & 1 teaspoon paprika
- ½ teaspoon onion powder
- ½ teaspoon salt
- & ½ teaspoon black pepper
- ½ teaspoon chili powder, optional
For the Crispy Coating
- 200 g all-purpose flour
- 80 g cornstarch
- 1 teaspoon paprika
- 1 teaspoon garlic powder
- ½ teaspoon onion powder
- ½ teaspoon baking powder
- Salt, to taste
- Black pepper, to taste
For Frying
- Vegetable oil
For Serving
- Garlic mayo, ranch sauce, honey mustard, or ketchup
Preparation Step by Step
Step 1: Prepare the Chicken Strips
First, prepare the chicken tenders. If you are using chicken tenderloins, you can keep them as they are. If you are using chicken breast, cut it into even strips.
Try to keep the strips similar in size so they cook evenly. If some pieces are much thicker than others, they may need more time in the oil. Even pieces give a better final texture and prevent overcooking.
Pat the chicken lightly with paper towels before adding it to the marinade. This helps the marinade coat the chicken evenly.
Step 2: Make the Buttermilk Marinade
In a large bowl, mix the buttermilk, egg, garlic powder, paprika, onion powder, salt, black pepper, and chili powder if using.
Whisk until the mixture is smooth and well combined. The buttermilk makes the chicken tender, while the egg helps the coating stick. Garlic powder, paprika, and onion powder add flavor from the inside out.
If you like a spicy version, add chili powder or a little hot sauce to the marinade. For a milder version, keep the seasoning simple and skip the chili.
Step 3: Marinate the Chicken
Add the chicken strips to the buttermilk mixture and coat them well. Every piece should be fully covered in marinade.
Cover the bowl and refrigerate for at least 1 hour. For best flavor and tenderness, marinate the chicken for 4 hours or overnight.
This resting time makes a big difference. The chicken becomes more flavorful, and the buttermilk helps keep it juicy after frying.
Step 4: Prepare the Crispy Coating
In another bowl, mix the all-purpose flour, cornstarch, paprika, garlic powder, onion powder, baking powder, salt, and black pepper.
Stir well so the seasonings are evenly distributed. The flour gives the coating body, while the cornstarch makes it crispier. The baking powder helps create a lighter crust.
Taste is built in layers in this recipe, so seasoning both the marinade and the coating is important. This keeps the chicken flavorful from the inside to the outside.
Step 5: Coat the Chicken
Remove one chicken strip from the marinade and let the excess drip off slightly. Then place it into the flour mixture.
Coat the chicken generously, pressing the flour mixture onto all sides. Pressing is important because it helps create a thick, crunchy crust.
Place the coated chicken on a tray and repeat with the remaining strips. For extra crunch, you can dip each coated strip back into the buttermilk, then coat it again in the flour mixture. This double-coating method creates a thicker, crispier crust.
Step 6: Heat the Oil
Pour vegetable oil into a deep pan. Heat it to 170°C / 340°F.
Using the right oil temperature is very important. If the oil is not hot enough, the chicken can become greasy. If the oil is too hot, the coating may brown too quickly before the chicken is cooked through.
And if you do not have a thermometer, test the oil by dropping in a small pinch of coating. It should sizzle immediately and rise to the surface, but it should not burn quickly.
Step 7: Fry the Chicken Tenders
Carefully add the chicken tenders to the hot oil in batches. Do not overcrowd the pan, because too many pieces will lower the oil temperature and make the crust less crispy.
Fry for 5 to 7 minutes, turning occasionally, until the chicken is golden brown and cooked through. The outside should be crisp, and the inside should be tender and juicy.
If the tenders are thick, they may need a little more time. If they are thin, they may cook faster. Watch the color and adjust as needed.
Step 8: Drain the Fried Chicken
Remove the fried chicken tenders from the oil and place them on a wire rack or paper towels.
A wire rack is the best option because it lets air circulate around the chicken and helps keep the crust crispy. If you place the tenders directly on a plate, steam can soften the bottom.
Let the chicken rest for about 2 minutes before serving. This short rest helps the juices settle and keeps the crust firm.
Step 9: Air Fryer Version
For an air fryer version, coat the chicken as directed, then spray the coated chicken generously with oil.
Place the tenders in the air fryer basket in a single layer. Cook at 200°C / 400°F for 12 to 15 minutes, flipping halfway through.
The air fryer version will be lighter than deep-fried chicken, but it can still be crispy if the coating is sprayed well with oil. Do not overcrowd the basket, because air needs to circulate around each piece.
Step 10: Serve with Dipping Sauce
Serve the crispy fried chicken tenders hot with garlic mayo, ranch sauce, honey mustard, ketchup, or your favorite dipping sauce.
They are delicious with fries, mashed potatoes, coleslaw, salad, corn, roasted vegetables, or inside wraps. You can also drizzle them with hot honey or serve them with spicy mayo for a more flavorful version.
For the best texture, serve immediately while the crust is still hot and crunchy.
Nutritional Information
The following nutritional values are approximate and may vary depending on the size of the chicken pieces, amount of oil absorbed, and dipping sauces used.
For one serving, based on 4 servings:
Calories: approximately 520 to 720 kcal
Protein: approximately 38 g
Carbohydrates: approximately 42 g
Fat: approximately 22 to 38 g
Fiber: approximately 2 g
Sugar: approximately 4 g
Sodium: varies depending on salt, sauces, and seasoning used
Crispy fried chicken tenders are a protein-rich comfort food. The chicken provides lean protein, while the flour coating and frying oil add carbohydrates and fat. The buttermilk marinade helps keep the chicken juicy and flavorful.
To make the recipe lighter, use the air fryer method, reduce the amount of oil, and serve the tenders with a yogurt-based sauce or fresh salad. For a richer version, double-coat the chicken and serve it with creamy dips.
FAQ
Can I Use Chicken Breast Instead of Chicken Tenders?
Yes, chicken breast works very well. Simply cut it into even strips so the pieces cook at the same speed.
Why Use Buttermilk for Fried Chicken Tenders?
Buttermilk helps tenderize the chicken and adds flavor. It also helps the flour coating stick better, which creates a crispier crust.
Can I Marinate the Chicken Overnight?
Yes, overnight marinating gives the best flavor and tenderness. Keep the chicken covered in the refrigerator until ready to coat and fry.
What Makes the Coating Extra Crispy?
The combination of flour, cornstarch, and baking powder helps create a crisp crust. Pressing the coating onto the chicken and double-coating also make the tenders crunchier.
Can I Make These Chicken Tenders Spicy?
Yes, add chili powder, cayenne pepper, hot sauce, or paprika to the marinade or coating. You can also serve them with spicy mayo or hot honey.
Can I Bake These Instead of Frying?
Yes, you can bake them at 200°C / 400°F until golden and cooked through. Spray them well with oil before baking. However, frying gives the crispiest result.
Can I Make These in the Air Fryer?
Yes, spray the coated chicken with oil and air fry at 200°C / 400°F for 12 to 15 minutes, flipping halfway through. Cook in batches for best crispiness.
How Do I Know the Chicken Is Cooked?
The chicken should be golden outside and fully cooked inside. If using a thermometer, the internal temperature should reach 74°C / 165°F.
How Do I Store Leftovers?
Store leftovers in an airtight container in the refrigerator for up to 2 days. Let them cool before storing so condensation does not soften the crust too much.
How Do I Reheat Fried Chicken Tenders?
Reheat them in the oven or air fryer until hot and crispy again. Avoid microwaving if possible, because it can make the coating soft.
Conclusion
Crispy Fried Chicken Tenders are golden, crunchy, juicy, and easy to make at home. The buttermilk marinade keeps the chicken tender, while the seasoned flour and cornstarch coating creates a flavorful crispy crust.
The key to the best result is to marinate the chicken long enough, press the coating firmly onto each strip, fry at the right temperature, and drain the tenders on a wire rack. For extra crunch, use the double-coating method.
Serve these chicken tenders hot with garlic mayo, ranch sauce, honey mustard, or ketchup. Whether for dinner, snacks, parties, or family meals, they are simple, delicious, and always satisfying.
Check also:
Lemon Chicken Ricotta Meatballs
Chicken and meat easy Recipes
Suggestions:
- Crispy Garlic Parmesan Fries Baked to Golden Perfection
- Creamy Tomato and Roasted Red Pepper Fusilli Recipe
- Juicy Grilled Beef Kofta Recipe with Creamy Yogurt Sauce
- Easy Ground Beef Fried Rice with Mixed Vegetables Recipe
- Moist Date and Walnut Loaf with Honey Glaze Recipe