


Share
Introduction to This Quick No-Bake Treat
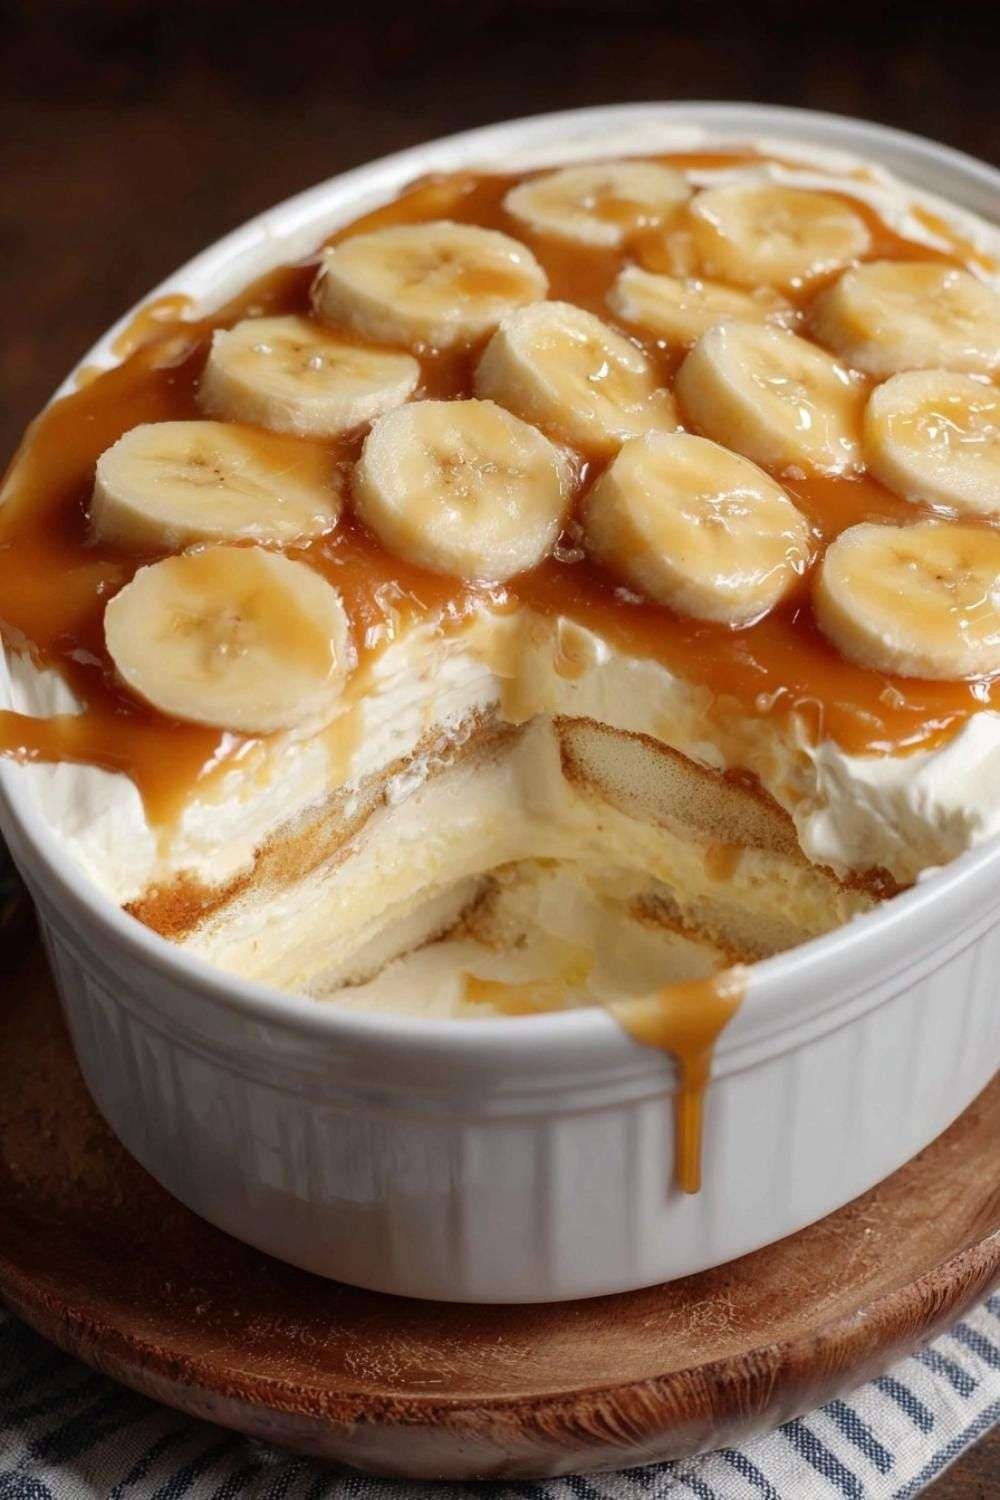
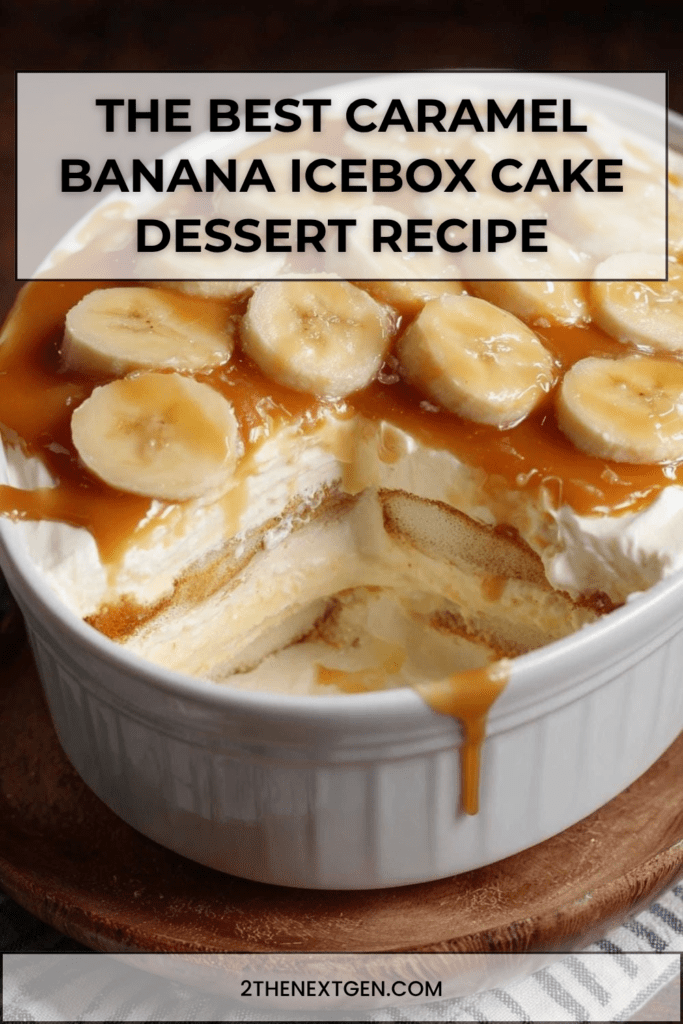
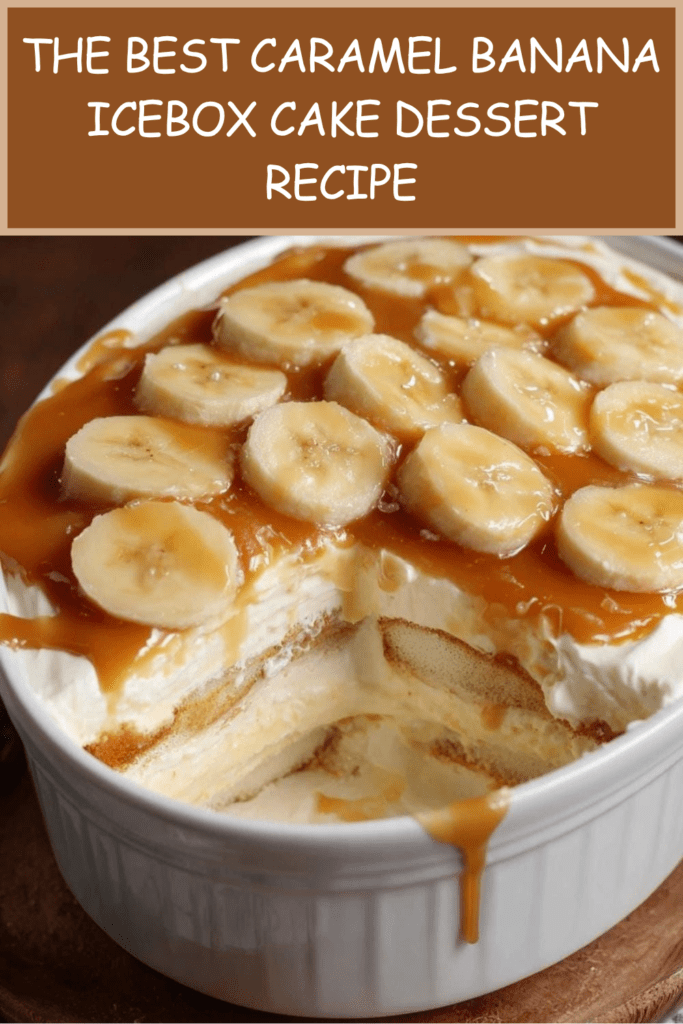
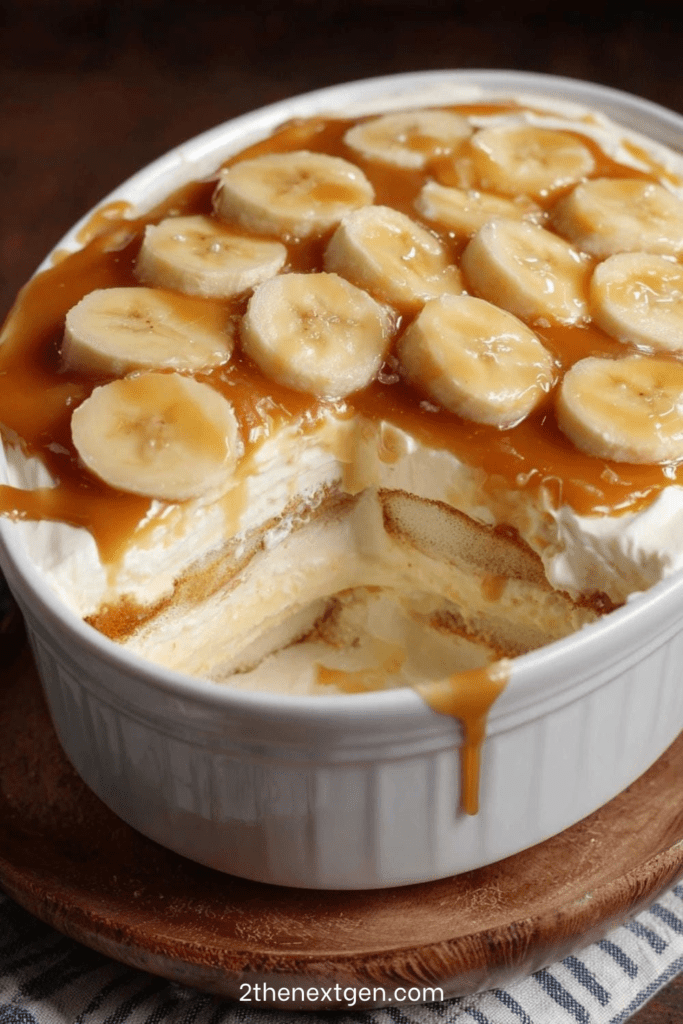
To begin with, finding a dessert that satisfies everyone can feel like a difficult task. However, this caramel banana icebox cake simplifies your dessert routine completely. Specifically, it brings together classic comfort food elements in one convenient dish.
Furthermore, you do not need to turn on your oven at all. This makes it an ideal option for hot summer days. Consequently, you can keep your kitchen perfectly cool while preparing an impressive treat for guests.
In addition, the texture of this cake is incredibly luxurious. It combines soft layers with rich, sweet flavors that melt in your mouth. Therefore, it appeals to both young children and adults alike.
Moreover, the preparation requires very little physical effort or culinary experience. You can assemble the entire dish in just twenty minutes. As a result, it is perfect for busy weeknights or unexpected weekend gatherings.
Ultimately, this recipe delivers maximum satisfaction with minimal kitchen work. Your refrigerator does almost all of the heavy lifting for you. Get ready to experience a truly effortless and delicious culinary masterpiece.
The History and Evolution of Icebox Cakes
Historically, icebox cakes became famous during the early twentieth century. At that time, commercial refrigerators were first introduced to modern households. Consequently, home cooks began experimenting with non-baked desserts that relied on chilling.
Specifically, food companies promoted these recipes to sell new convenience items. For instance, cracker and pudding manufacturers printed simple layered recipes on their packaging. Therefore, refrigerator cakes quickly became an essential American staple.
In contrast to traditional baked goods, these desserts rely on time rather than high heat. As the dish chills, the cookies slowly absorb moisture from the cream layers. As a result, they soften into a delicate texture that perfectly mimics real cake layers.
Furthermore, the combination of banana and caramel is a legendary flavor pairing. It draws heavy inspiration from classic desserts like the British Banoffee pie. This famous pie was invented in the late twentieth century and took the world by storm.
By merging the icebox cake method with these iconic flavors, you get the best of both worlds. This modern adaptation streamlines the process significantly for the home cook. It removes the need for making complex pastry crusts entirely.
Today, these desserts remain highly popular due to their comforting nostalgia. They remind people of simple childhood celebrations and family potlucks. Ultimately, this recipe honors that sweet tradition while adding a rich, modern twist.
Simple Ingredients for the Layered Cake
To achieve the best possible results, you must gather your components beforehand. Each ingredient plays a vital role in building the perfect structural texture.
- 1 box (3.4 oz) instant vanilla pudding mix: This serves as the flavorful and sturdy base for your cream layers.
- 2 cups cold milk: You will need this to activate and thicken the instant pudding mix properly.
- 1 tub (8 oz) whipped topping: Ensure this is fully thawed in the refrigerator before you begin assembly.
- 1 package (7 oz) ladyfingers: Alternatively, standard vanilla wafer cookies work exceptionally well for this recipe.
- 3 to 4 large bananas: Choose ripe bananas with yellow skins to ensure maximum natural sweetness.
- ½ cup thick caramel sauce: A high-quality store-bought or homemade sauce provides the perfect rich drizzle.
Step-by-Step Preparation Guide
Whisk and Prepare the Vanilla Pudding Base
First, take a large mixing bowl out of your kitchen cupboard. Combine the instant vanilla pudding mix with the cold milk inside the bowl. Subsequently, whisk the ingredients together vigorously for about two minutes.
Let the mixture sit undisturbed on your counter for five minutes. During this time, the pudding will naturally thicken into a soft consistency. Consequently, this creates the perfect smooth foundation for your filling.
Lighten the Pudding with Whipped Topping
Next, open your thawed tub of whipped topping. Measure out exactly half of the container for this step. Gently fold this portion into your thickened vanilla pudding using a rubber spatula.
You should mix it carefully until the color is completely uniform. Meanwhile, make sure to save the rest of the whipped topping for later use. This folding technique creates a beautifully light and fluffy cream layer.
Assemble the Initial Cookie Layer
Following this, retrieve a medium-sized baking dish for assembly. Line the entire bottom of the pan with a single layer of ladyfingers. Alternatively, you can use vanilla wafer cookies if you prefer that crunch.
Feel free to break a few cookies into smaller pieces. This allows you to fill any empty gaps along the edges of the dish. Therefore, you will create a solid, continuous base for the upcoming layers.
Spread the Fluffy Cream Filling
Now, take half of your prepared pudding and whipped topping mixture. Carefully spoon it over the top of your established cookie layer. Subsequently, use an offset spatula to spread the cream evenly.
Ensure the mixture reaches all four corners of the baking dish. This layer acts as the glue for the entire dessert. As a result, it will hold the fruit and cookies firmly in place.
Layer the Bananas and Rich Caramel
Subsequently, focus your attention on the fresh fruit elements. Take your sliced banana rounds and arrange them evenly over the cream layer. Try to create a dense layer so every bite contains fruit.
Next, grab your thick caramel sauce and a small spoon. Drizzle a few tablespoons of the golden sauce directly over the bananas. This adds a beautiful, deep sweetness to the center of the cake.
Repeat the Entire Layering Process
After completing the first round, it is time to build upwards. Add one more single layer of cookies directly on top of the caramel-covered bananas. Press them down very gently into the mixture.
Following this, take the remaining half of your vanilla pudding mixture. Spread it smoothly over this second layer of cookies. This duplication creates the classic, impressive look of a traditional lush dessert.
Finish the Top Cream Layer
Next, retrieve the remaining half of the whipped topping you saved earlier. Spoon it gently over the final layer of vanilla pudding. You must work slowly to avoid mixing the two distinct layers together.
Spread the whipped topping until the surface is completely flat and clean. This white layer provides a stunning visual contrast for the final decorations. It also seals the moisture inside the dessert beautifully.
Decorate and Chill the Completed Cake
Finally, arrange your last remaining banana slices neatly across the top surface. You can create decorative rows or a fun scattered pattern depending on your preference. Subsequently, drizzle the top generously with the rest of the caramel sauce.
Cover the entire baking dish tightly with a sheet of plastic wrap. Place the dessert into your refrigerator to chill for at least four hours. This resting period allows the cookies to soften into a perfect cake consistency. Serve it cold and enjoy.
Comprehensive Nutritional Information
Understanding the nutritional aspects of your dessert helps you plan your daily meals effectively. Generally speaking, this caramel banana icebox cake provides a very rich and energy-dense profile. The fresh bananas offer an excellent source of potassium, dietary fiber, and essential Vitamin C.
On the other hand, the pudding, whipped topping, and caramel sauce introduce simple carbohydrates and sugars. These ingredients are responsible for the decadent, sweet flavor of the dessert.
Furthermore, using whole milk adds dietary fats and calcium to the nutritional breakdown. If you prefer a lighter version, simple modifications can be made easily. For instance, you can utilize sugar-free pudding mix and fat-free milk. Regardless of your choices, this no-bake treat fits beautifully into a balanced lifestyle when enjoyed in moderation.
Frequently Asked Questions
Can I use a different type of cookie for the crust?
Yes, you can absolutely experiment with different cookie varieties for this recipe. While ladyfingers and vanilla wafers are traditional, graham crackers make an excellent substitute. Alternatively, you can use chocolate sandwich cookies to create a rich chocolate-banana flavor profile. Just ensure the cookies are laid out in a dense layer to support the heavy cream layers.
How can I prevent the top banana slices from turning brown?
Generally, bananas will naturally oxidize and turn brown when exposed to the air. To prevent this, you can toss the top slices in a splash of fresh lemon juice. The natural acid will slow down the browning process significantly without altering the taste. Alternatively, you can simply add the top banana layer right before you serve the dessert.
How long can I keep this icebox cake in the fridge?
You can safely store this caramel banana icebox cake for up to three days. To do this properly, keep the dish covered tightly with plastic wrap to prevent refrigerator odors. Keep in mind that the cookies will continue to soften the longer they sit. Consequently, the dessert will become much softer by the third day, but it will still taste amazing.
Can I freeze this dessert for a firmer texture?
Yes, this icebox cake actually freezes remarkably well for a frozen summer treat. Wrap the entire baking dish tightly in plastic wrap and a layer of aluminum foil. You can keep it frozen for up to two weeks. Before serving, let it thaw in the refrigerator for thirty minutes so it is easy to slice cleanly.
Conclusion and Final Dessert Thoughts
In conclusion, creating a memorable and delicious dessert does not require hours of intense baking. This caramel banana icebox cake perfectly demonstrates the power of simple, layered ingredients. The combination of sweet fruit, fluffy cream, and rich caramel is truly a timeless masterpiece.
Furthermore, the easy no-bake preparation ensures a completely stress-free experience in the kitchen. It is the ultimate recipe for busy hosts, summer parties, or sudden sweet cravings. Therefore, gather your ingredients and assemble this delightful treat for your next family gathering. Your loved ones will shower you with compliments after their very first bite.
Check also:
Lemon Chicken Ricotta Meatballs
Chicken and meat easy Recipes
Suggestions:
- Sheet Pan Fajita-Style Beef with Roasted Peppers
- Curry Lentil Meatballs with Creamy Lemon Yogurt Sauce
- Fluffy Cheese Soufflé Omelette Recipe
- Creamy Broccoli Pesto Spaghetti with Parmesan and Almonds
- Easy Vegetable Rolled Omelet for Healthy Lunchboxes