

Share
Introduction
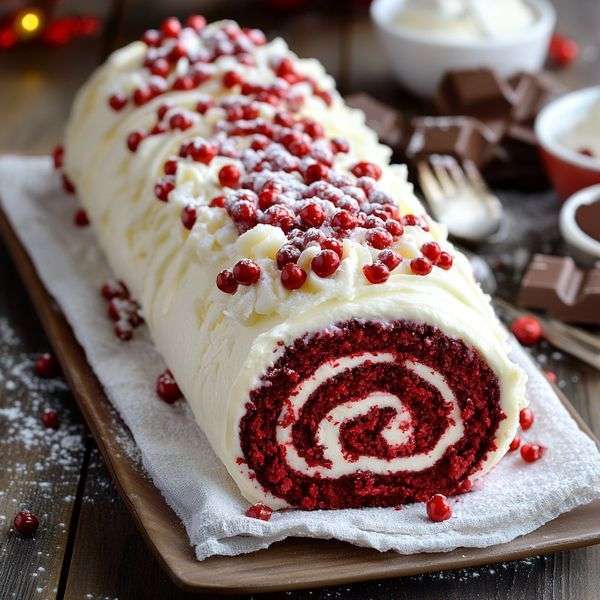
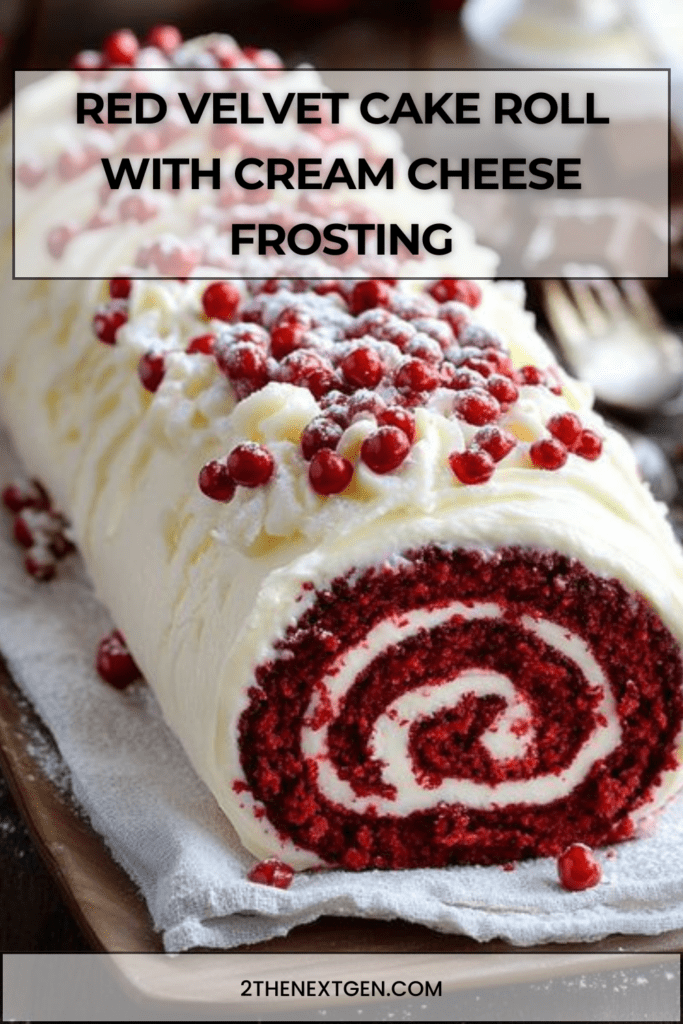
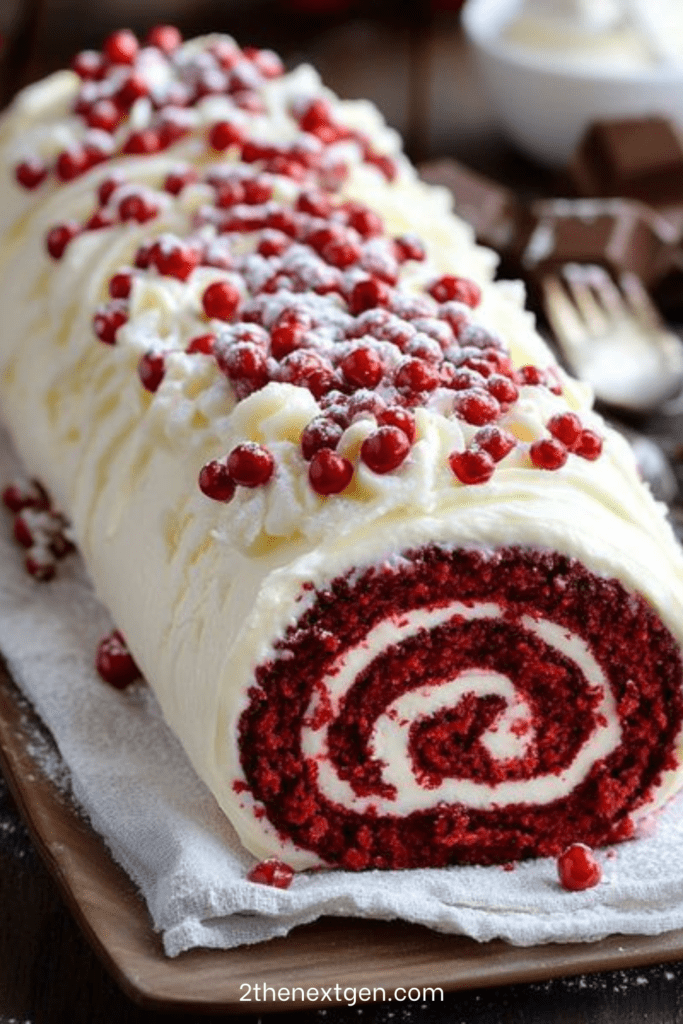
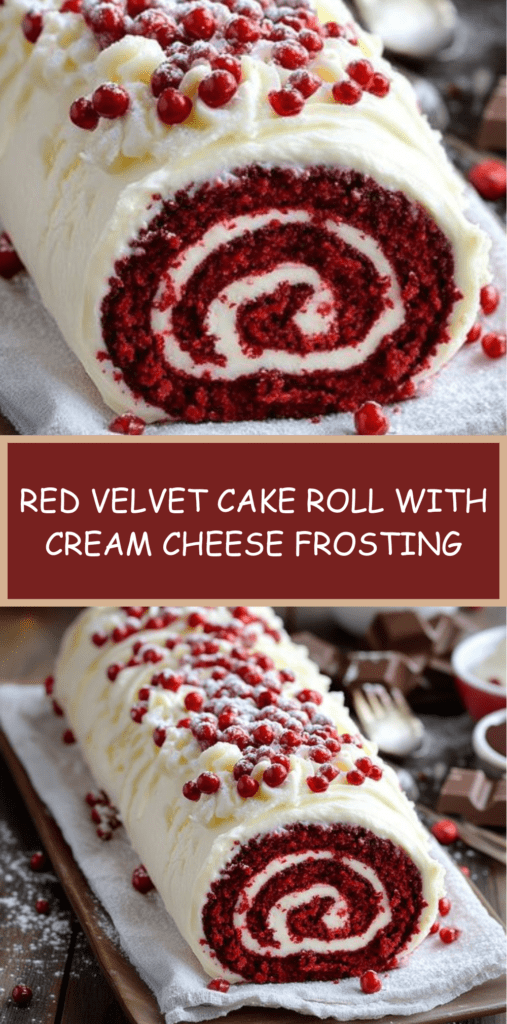
A Red Velvet Cake Roll with Cream Cheese Frosting is a stunning dessert that combines visual elegance with rich, comforting flavor. Soft, cocoa-kissed red velvet sponge cake is gently rolled around a creamy, tangy cream cheese filling, creating a beautiful swirl that looks just as impressive as it tastes. This dessert is ideal for holidays, celebrations, or any occasion when you want a show-stopping yet approachable cake.
Unlike layered cakes, cake rolls offer a lighter texture while still delivering indulgent flavor. The sponge remains moist and flexible, while the cream cheese frosting provides balance with its subtle tang. Because the cake bakes quickly and assembles easily, this recipe is perfect for both experienced bakers and those new to rolled cakes.
This guide walks you through each stage carefully, ensuring a crack-free roll, a smooth filling, and a professional presentation. With the right technique and timing, you’ll create a dessert that feels bakery-quality but remains entirely homemade.
History and Background of Red Velvet Cake
Red velvet cake has a fascinating culinary history rooted in early twentieth-century American baking. Originally, the cake’s reddish hue came from a chemical reaction between cocoa powder and acidic ingredients like buttermilk and vinegar. Over time, red food coloring became the standard, enhancing the dramatic appearance that defines the dessert today.
Cream cheese frosting became the classic pairing for red velvet cake in the mid-1900s, thanks to its ability to balance sweetness with tang. While traditional red velvet cakes are often layered, the rolled version is a modern adaptation that highlights the cake’s soft crumb and refined presentation.
Cake rolls themselves date back to European sponge cakes, where bakers prized light textures and flexible batters. Combining red velvet with a Swiss-roll technique results in a dessert that blends tradition with contemporary elegance. This version preserves the iconic flavor while offering a visually striking alternative to the classic layer cake.
Ingredients
For the cake
- 4 large eggs, room temperature
- ¾ cup granulated sugar
- 1 teaspoon vanilla extract
- 1 tablespoon canola oil
- 2 tablespoons buttermilk (or milk with ½ teaspoon vinegar)
- 1 tablespoon red food coloring (liquid)
- ¾ cup all-purpose flour
- ¼ cup unsweetened cocoa powder
- 1 teaspoon baking powder
- ¼ teaspoon salt
- Powdered sugar for dusting
For the cream cheese frosting
- 1 package (8 oz) cream cheese, softened
- ¼ cup unsalted butter, softened
- 2 cups powdered sugar
- 1 teaspoon vanilla extract
For decoration
- Fresh redcurrants or raspberries
Preparation
Step 1: Prepare the oven and pan
Preheat the oven to 350°F (175°C). Grease a 15 × 10 × 1-inch jelly-roll pan and line it with parchment paper. Grease the parchment paper lightly to ensure easy release after baking.
Prepare a clean kitchen towel by sprinkling it generously with powdered sugar. This step is essential, as it prevents the cake from sticking while rolling and helps maintain a smooth surface.
Step 2: Mix the dry ingredients
In a small bowl, sift together the flour, cocoa powder, baking powder and salt. Sifting removes lumps and incorporates air, which contributes to a lighter sponge. Set the mixture aside until needed.
Step 3: Prepare the batter
In a large bowl, beat the eggs and granulated sugar on high speed for three to four minutes. The mixture should become thick, pale and glossy. This stage is crucial, as it builds the structure of the cake.
Add the oil, buttermilk, red food coloring and vanilla extract, mixing until fully combined. Gradually add the dry ingredients, mixing just until incorporated. Avoid overmixing, which could make the sponge dense.
Step 4: Bake the cake
Pour the batter evenly into the prepared pan, spreading it gently to reach the corners. Bake for 12 to 15 minutes, or until the cake springs back lightly when touched in the center.
Because the cake is thin, baking time is short. Watch closely to avoid overbaking, which can lead to cracking during rolling.
Step 5: Roll the cake while warm
Immediately loosen the edges of the cake and invert it onto the prepared powdered-sugar towel. Carefully peel off the parchment paper.
Starting from a short end, roll the warm cake and towel together into a spiral. Rolling while warm allows the sponge to “memorize” its shape. Place the rolled cake on a wire rack and let it cool completely.
Step 6: Make the cream cheese frosting
In a medium bowl, beat the softened cream cheese and butter until smooth and creamy. Gradually add the powdered sugar, mixing well between additions. Finish with the vanilla extract.
The frosting should be smooth, spreadable and slightly firm. Refrigerate briefly if it becomes too soft.
Step 7: Assemble and chill
Carefully unroll the cooled cake. Spread the cream cheese frosting evenly over the surface, leaving a half-inch border along the edges to prevent overflow.
Roll the cake back up gently, this time without the towel. Wrap it tightly in plastic wrap and refrigerate for at least one hour. Chilling allows the frosting to set and makes slicing easier.
Step 8: Serve and decorate
Before serving, dust the cake lightly with powdered sugar if desired. Garnish generously with fresh redcurrants or raspberries for color and freshness.
Slice using a sharp knife, wiping the blade between cuts for clean, even slices. Serve chilled for best texture.
Nutritional Information (Estimated per Serving)
Approximate values per slice:
- Calories: 320–380 kcal
- Protein: 5 g
- Fat: 18 g
- Carbohydrates: 36 g
- Sugars: Moderate
- Fiber: Low
This dessert is indulgent and best enjoyed in moderation, making it ideal for celebrations and special occasions.
Frequently Asked Questions
How do I prevent the cake from cracking?
Roll the cake while it is still warm and avoid overbaking. A flexible sponge is the key to a smooth roll.
Can I make this cake ahead of time?
Yes. The cake roll can be prepared up to 24 hours in advance and stored in the refrigerator. It often tastes even better after resting.
Can I freeze the cake roll?
Yes. Wrap it tightly in plastic wrap and freeze for up to one month. Thaw overnight in the refrigerator before serving.
Can I use gel food coloring instead of liquid?
Absolutely. Use a small amount of gel coloring and mix it thoroughly into the batter to achieve the desired shade.
What other fillings can I use?
Whipped cream, mascarpone frosting or white chocolate cream also pair beautifully with red velvet sponge.
Why is my cake sticky?
Humidity or excess moisture can cause stickiness. Dusting generously with powdered sugar helps prevent sticking.
Conclusion
This Red Velvet Cake Roll with Cream Cheese Frosting is an elegant and indulgent dessert that combines classic flavor with modern presentation. The soft red velvet sponge, rich cream cheese filling and vibrant berry garnish create a dessert that is both visually stunning and deeply satisfying.
Despite its refined appearance, the recipe is straightforward and reliable when each step is followed carefully. Whether served during holidays, birthdays or special dinners, this cake roll never fails to impress. Its balance of sweetness, tang and texture makes it a timeless addition to any dessert table.
Check also:
Lemon Chicken Ricotta Meatballs
Chicken and meat easy Recipes
Suggestions:
- Double Chocolate Ganache Cake Recipe
- Soft Chocolate Chip Cookies Recipe
- Beef Stew with Rice Recipe
- Avocado Egg Salad with Easy Lemon Dijon Dressing
- Fudgy Chocolate Cake with Ganache