

Share
Introduction
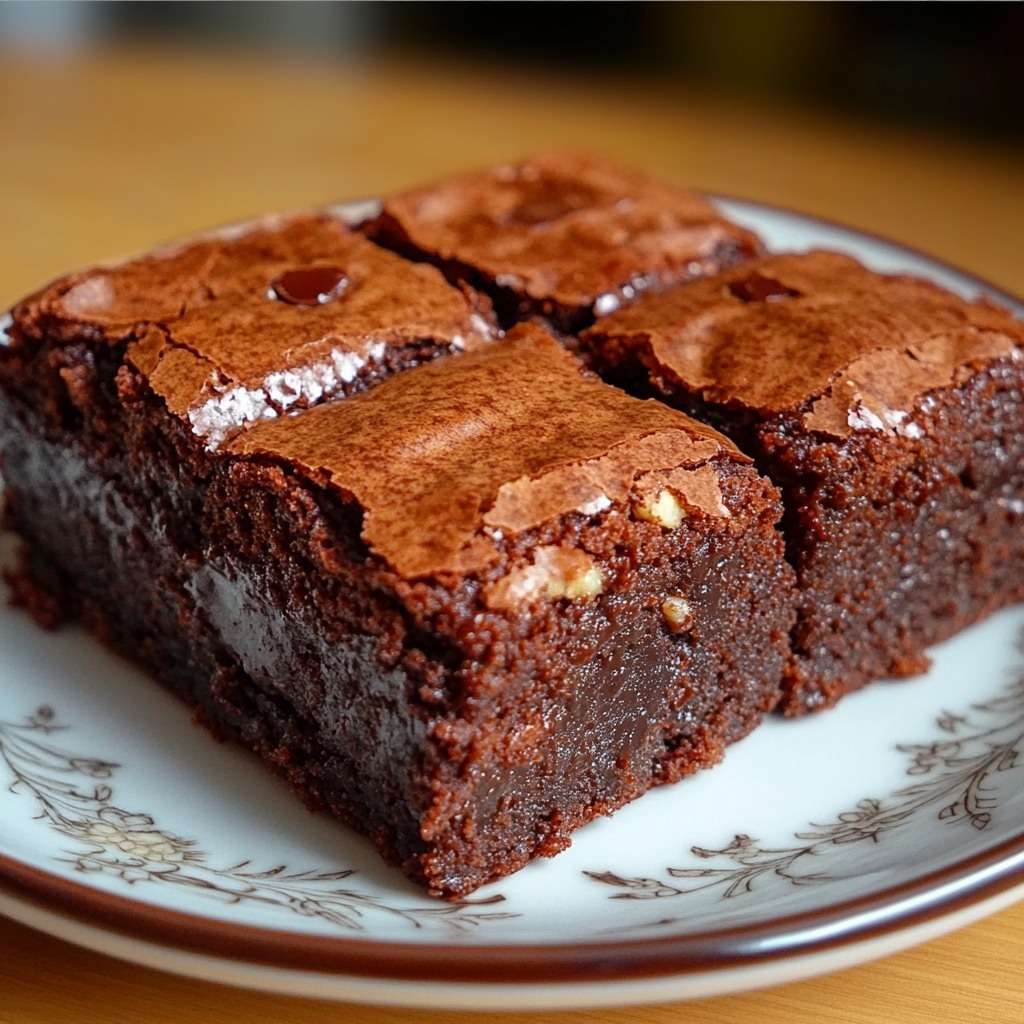
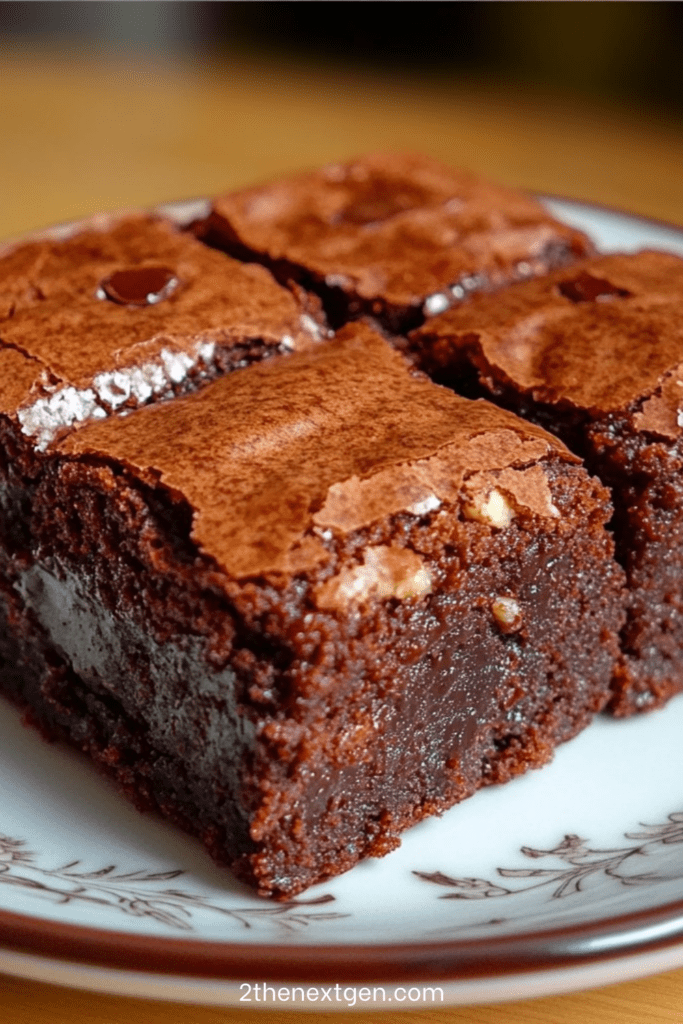
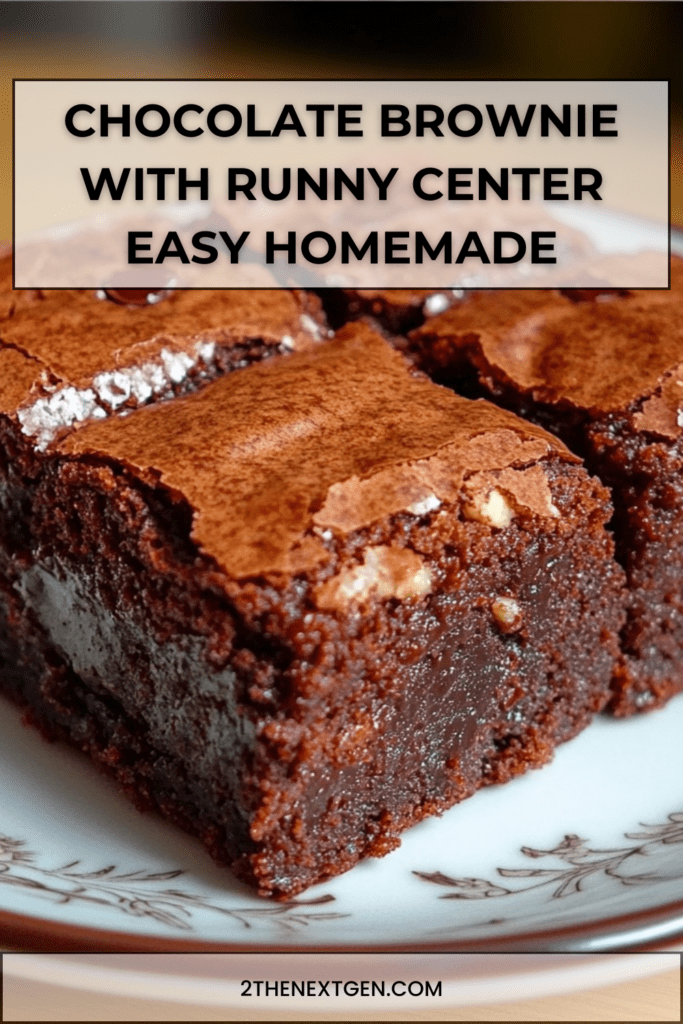
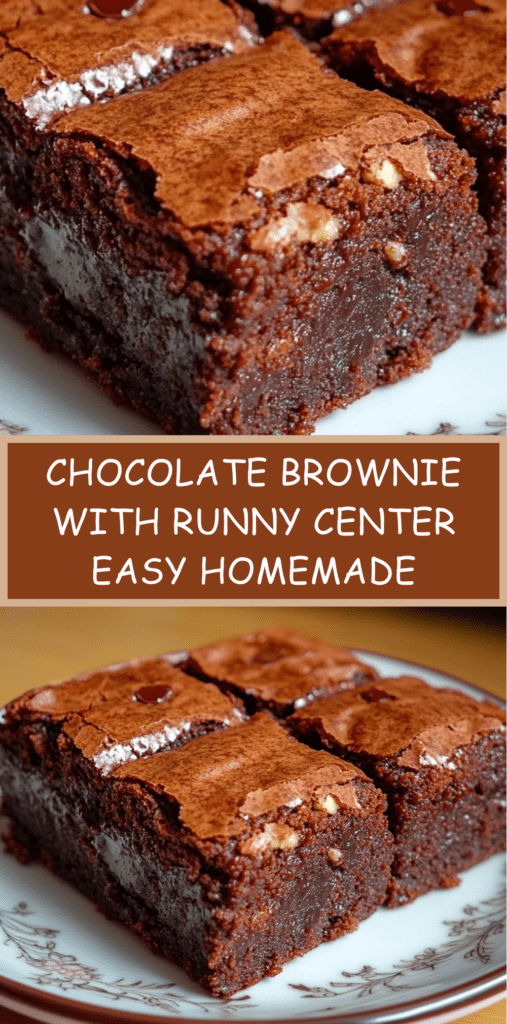
Chocolate brownie with a runny center is the ultimate dessert for chocolate lovers who crave intensity, softness, and indulgence in every bite. Unlike traditional brownies that are fully set in the middle, this version is baked just enough to create a rich crust on the outside while keeping the heart irresistibly gooey. As a result, every slice offers a perfect contrast between a slightly crisp edge and a warm, molten interior. Moreover, this recipe is quick to prepare and uses simple pantry ingredients, making it ideal for spontaneous dessert cravings, dinner parties, or special occasions. Thanks to its bold chocolate flavor and luxurious texture, this brownie is guaranteed to impress both casual bakers and experienced dessert enthusiasts.
History and Background of Brownies
The brownie has a long and fascinating history that dates back to the late 19th century in the United States. Originally created as a compact dessert that could be easily transported, brownies quickly became popular due to their rich chocolate flavor and simple preparation. Over time, bakers began experimenting with textures, leading to variations such as cakey brownies, fudgy brownies, and eventually molten-centered brownies.
The runny center version draws inspiration from molten chocolate cakes, which gained worldwide popularity in fine dining. By slightly underbaking the batter and adding chocolate pieces to the center, bakers were able to recreate that luxurious lava-like texture in a classic square brownie format. Today, this variation is considered one of the most indulgent ways to enjoy brownies and is widely appreciated across different cultures and baking traditions.
Ingredients
To prepare a chocolate brownie with a runny center for six servings, you will need the following ingredients:
- 200 g dark baking chocolate (minimum 60% cocoa)
- 120 g unsalted butter
- 130 g sugar
- 3 eggs
- 60 g all-purpose flour
- 1 pinch of salt
- 80 g chocolate chips or chocolate squares for the molten center
- 40 g crushed walnuts or hazelnuts (optional)
- 1 teaspoon vanilla extract (optional)
Preparation Method
Step 1: Preheat the Oven
Begin by preheating your oven to 350°F (180°C). Line an 8 × 8-inch square pan with parchment paper or lightly grease it with butter. This preparation step is essential to prevent sticking and to make it easier to remove the brownie once baked.
Step 2: Melt Chocolate and Butter
Break the dark chocolate into small pieces and place it in a heatproof bowl with the butter. Melt them together using a double boiler or microwave in 30-second intervals. Stir between each interval until the mixture becomes smooth, glossy, and fully combined. Allow the mixture to cool slightly before adding it to the eggs to avoid cooking them prematurely.
Step 3: Whisk Eggs and Sugar
In a separate bowl, whisk the eggs and sugar together until the mixture becomes lighter in color and slightly frothy. This step helps incorporate air into the batter, which contributes to a softer texture while maintaining the dense and fudgy consistency that brownies are known for.
Step 4: Combine Chocolate with Egg Mixture
Slowly pour the warm melted chocolate and butter mixture into the egg and sugar mixture. Stir gently using a spatula or whisk. Mixing slowly is important to preserve the smooth texture and prevent the batter from becoming too dense or grainy.
Step 5: Add Dry Ingredients
Add the flour, salt, and vanilla extract to the bowl. Mix just until the ingredients are fully incorporated. Avoid overmixing at this stage, as excessive stirring can develop gluten and lead to a tougher brownie texture. The batter should be thick, glossy, and uniform.
Step 6: Add Nuts and Chocolate Chips
Gently fold in the crushed walnuts or hazelnuts if you choose to use them. Then add half of the chocolate chips or chocolate squares. These additions enhance the texture and flavor while contributing to the rich, layered chocolate experience.
Step 7: Prepare the Molten Center
Pour the brownie batter into the prepared pan and spread it evenly using a spatula. Press the remaining chocolate chips or chocolate squares gently into the center area of the batter. This step ensures that the middle of the brownie remains soft and molten after baking.
Step 8: Bake to Perfection
Place the pan in the preheated oven and bake for 12 to 14 minutes. The edges should appear set and slightly firm, while the center should remain soft and slightly jiggly. This balance is the secret to achieving a runny center without compromising the structure of the brownie.
Step 9: Cool and Slice
Remove the brownie from the oven and allow it to cool for about 10 minutes. This short resting time helps the structure stabilize while keeping the center gooey. Use a damp knife to cut clean squares for a professional finish. Serve warm to fully enjoy the molten chocolate center.
Nutritional Information
Chocolate brownies with a runny center are rich in calories and energy due to their combination of chocolate, butter, sugar, and eggs. A standard serving provides carbohydrates for quick energy, fats for satiety, and protein from eggs. Dark chocolate also contains antioxidants and small amounts of minerals such as magnesium and iron. However, because this dessert is high in sugar and saturated fat, it should be consumed in moderation. For a slightly lighter version, you can reduce the sugar, use dark chocolate with a higher cocoa percentage, or replace part of the butter with unsweetened applesauce or Greek yogurt.
Frequently Asked Questions
How do I keep the center runny after baking?
The key to maintaining a runny center is controlling the baking time. Remove the brownie from the oven as soon as the edges are set but the middle is still soft. Additionally, adding extra chocolate pieces in the center helps ensure a molten texture even if the brownie bakes slightly longer than expected.
Can I use milk chocolate instead of dark chocolate?
Yes, milk chocolate can be used, but the result will be sweeter and less intense in flavor. Dark chocolate with at least 60% cocoa is recommended because it balances sweetness and provides a richer chocolate taste.
Can I make this brownie in advance?
Yes, you can prepare the brownie in advance and store it in the refrigerator. For best results, reheat individual portions for about 10 seconds in the microwave before serving. This restores the gooey center and enhances the flavor.
What is the best pan size for this recipe?
An 8 × 8-inch square pan is ideal because it creates the perfect thickness for achieving a runny center while maintaining firm edges. Using a larger pan will result in thinner brownies that may lose their molten texture.
Can I freeze chocolate brownies with a runny center?
Yes, brownies can be frozen after baking and cooling completely. Store them in an airtight container. When ready to serve, thaw at room temperature and reheat briefly to bring back the soft, molten center.
Conclusion
Chocolate brownie with a runny center is a dessert that perfectly combines richness, simplicity, and indulgence. With its crisp edges, soft crumb, and flowing chocolate heart, it delivers a luxurious experience in every bite. Furthermore, its quick preparation and flexible ingredient options make it accessible to home bakers of all skill levels. By following this step-by-step recipe and baking tips, you can easily recreate a bakery-style molten brownie at home. Whether served warm on its own or paired with ice cream or fresh fruit, this brownie is guaranteed to become a favorite dessert for any occasion.
Check also:
Lemon Chicken Ricotta Meatballs
Chicken and meat easy Recipes
Suggestions:
- Sugar-Free No-Bake Strawberry Delight
- Sugar-Free Lemon Blueberry Delight Easy Dessert
- Creamy Pesto Penne Pasta Easy Recipe
- Rich Chocolate Layer Cake with Ganache Frosting
- Cheesy Beef Rotini Pasta with Easy Tomato Sauce