
Share
Introduction
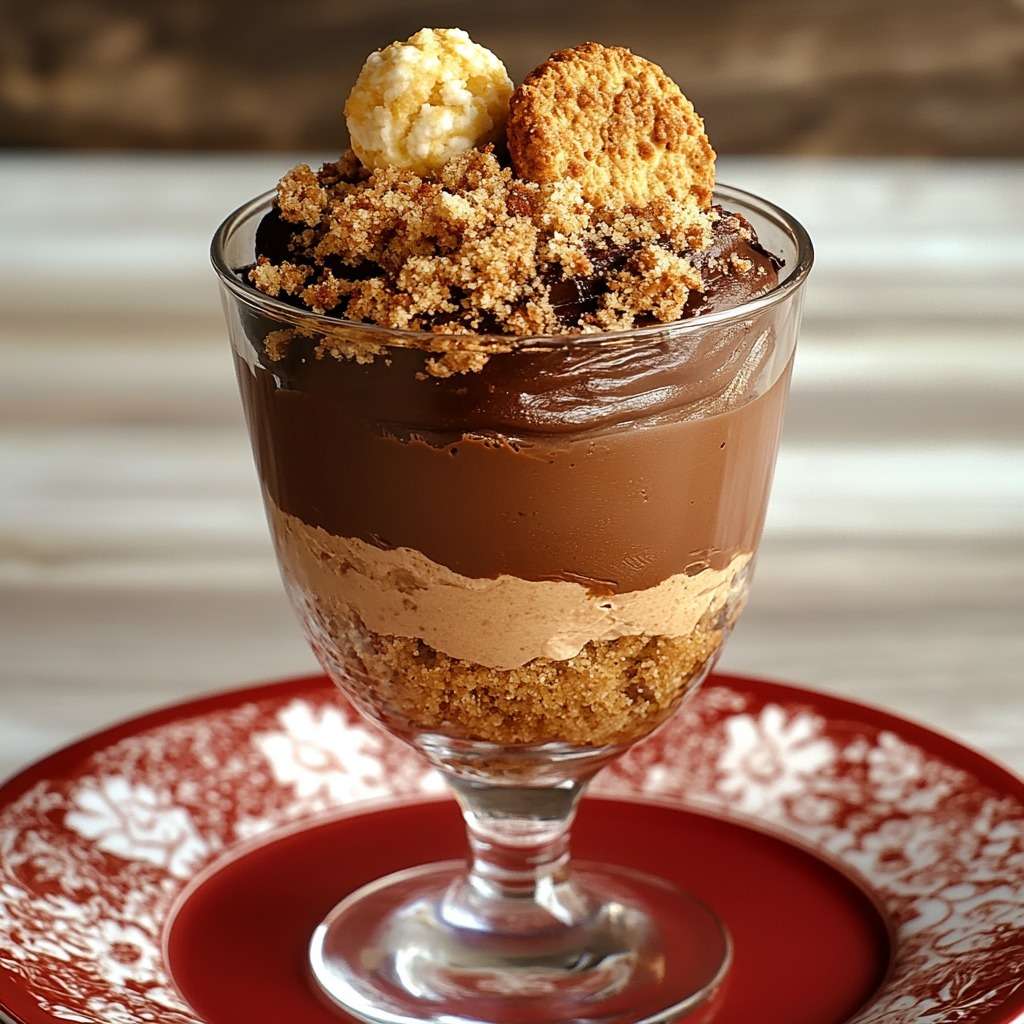
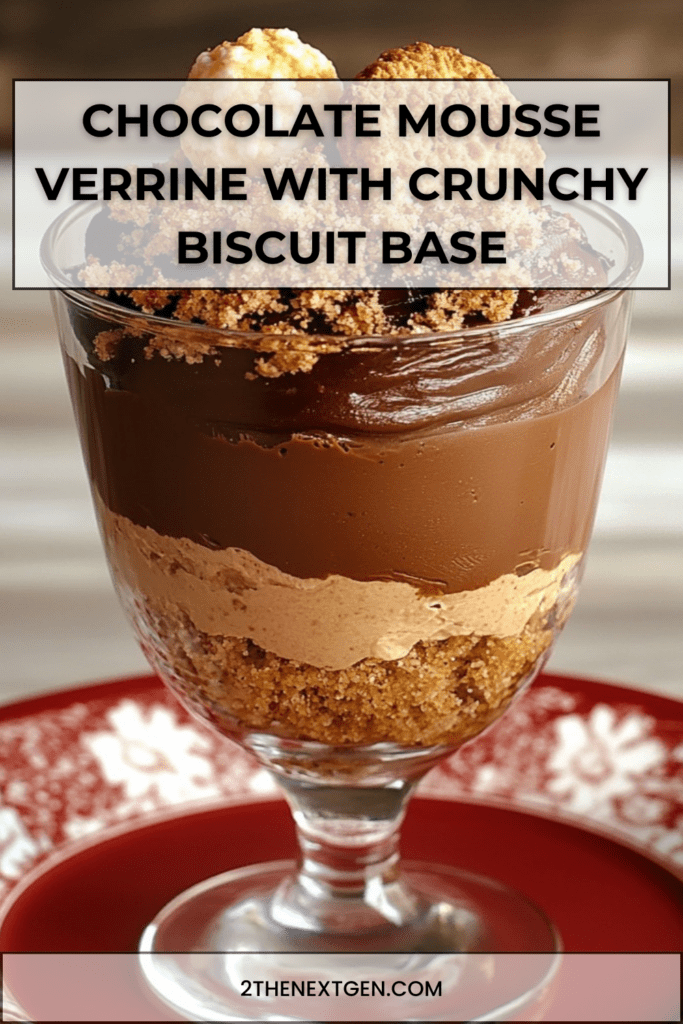
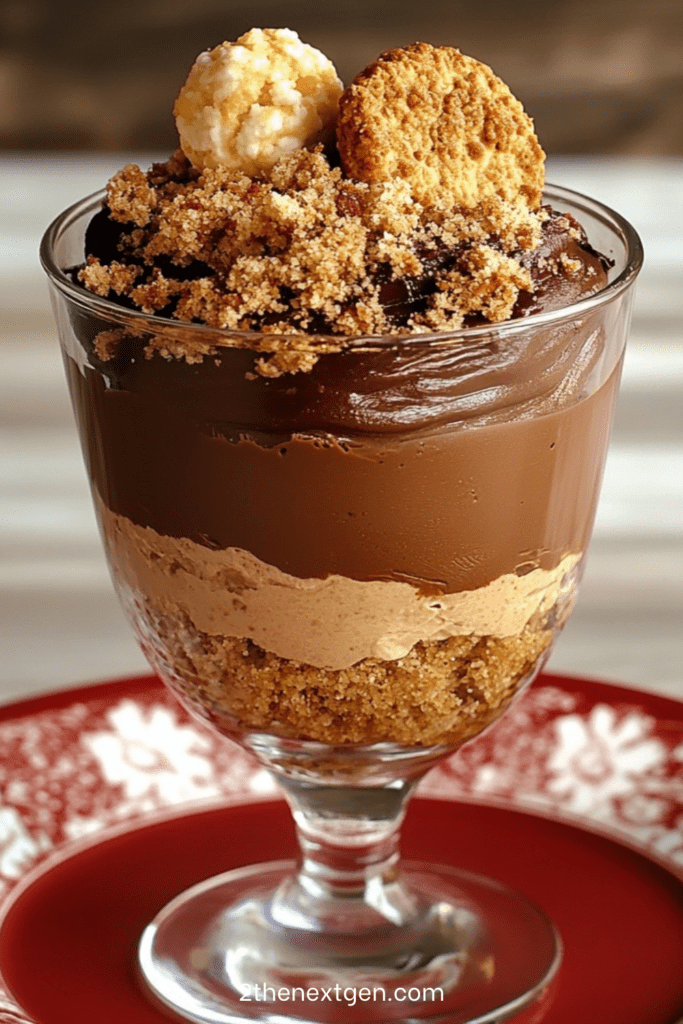
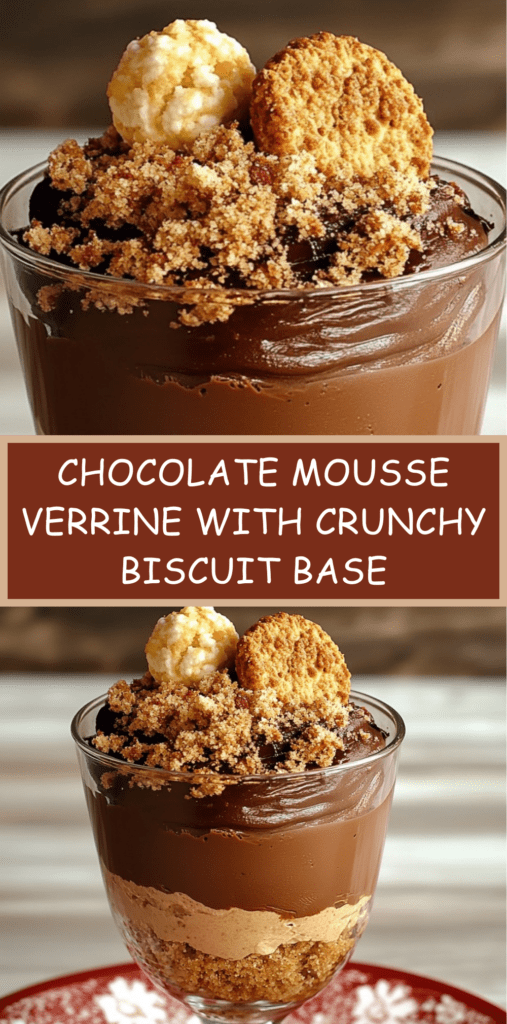
Chocolate mousse verrine with crunchy biscuit base is an elegant yet indulgent dessert that combines contrasting textures in a beautifully layered presentation. Creamy chocolate mousse meets a crisp biscuit base, creating a dessert that is both light and deeply satisfying. Served in individual glasses, this recipe is perfect for dinner parties, festive occasions, or when you want to impress guests with a refined dessert that requires no baking. Moreover, the verrine format allows for precise layering, making each spoonful visually appealing as well as delicious. Thanks to its balance of richness and airiness, this chocolate mousse dessert is universally loved and surprisingly easy to prepare at home.
Background and Dessert Inspiration
Verrines originated in modern French cuisine as a way to present desserts and appetizers in transparent glasses, highlighting layers and textures. This style of presentation quickly became popular because it combines elegance with practicality. Chocolate mousse, on the other hand, is a timeless classic that dates back to French pastry traditions, valued for its airy texture and intense chocolate flavor.
By pairing chocolate mousse with a crunchy biscuit base, this dessert introduces contrast and structure, preventing the mousse from feeling too rich. The addition of whipped cream lightens part of the mousse, creating visual and textural variation. Over time, layered chocolate verrines have become a staple in home entertaining, as they can be prepared in advance while still delivering a restaurant-style experience.
Ingredients
To prepare chocolate mousse verrines with crunchy biscuit base for four people, you will need the following ingredients:
- 200 g dark baking chocolate
- 4 eggs, yolks and whites separated
- 40 g butter
- 120 g plain shortbread-style biscuits
- 40 g speculoos or crunchy spiced biscuits
- 40 g sugar
- 100 ml full-fat liquid cream
- 4 mini meringues
Preparation
Step 1: Prepare the Biscuit Base
Begin by finely crushing the plain biscuits and the speculoos or crunchy biscuits. The texture should resemble coarse sand with small crunchy pieces remaining. Divide this mixture evenly between the verrines and gently press it down using the back of a spoon to create a compact base. This layer provides structure and a pleasant crunch that contrasts with the mousse.
Step 2: Melt the Chocolate
Break the dark chocolate into pieces and place it in a heatproof bowl with the butter. Melt gently over a bain-marie or on very low heat, stirring regularly, until the mixture is smooth and glossy. Avoid overheating, as this can cause the chocolate to split and affect the final texture of the mousse.
Step 3: Incorporate the Egg Yolks
Remove the melted chocolate from the heat and allow it to cool slightly. Add the egg yolks one by one, mixing quickly and thoroughly after each addition. This step creates a rich, smooth chocolate cream that forms the base of the mousse.
Step 4: Whip the Egg Whites
In a clean bowl, beat the egg whites with the sugar until stiff peaks form. The meringue should be glossy and hold its shape. This step is essential, as the whipped egg whites are responsible for the airy texture of the mousse.
Step 5: Combine Chocolate and Egg Whites
Gently fold the whipped egg whites into the chocolate mixture using a spatula. Work in several additions and use slow, lifting motions to preserve as much air as possible. The result should be a light yet rich chocolate mousse.
Step 6: Whip the Cream
In a separate bowl, whip the cold liquid cream until it reaches a soft, lightly whipped consistency. It should be airy but not stiff. This whipped cream will be used to create a lighter layer of mousse.
Step 7: Create a Lighter Chocolate Mousse
Take a small portion of the chocolate mousse and gently fold it into the whipped cream. Mix delicately until smooth and uniform. This creates a lighter-colored, softer mousse that adds contrast to the verrine layers.
Step 8: Assemble the First Mousse Layer
Spoon a generous layer of the dark chocolate mousse over the biscuit base in each verrine. Smooth the surface gently with the back of a spoon to create a clean layer.
Step 9: Add the Lighter Mousse Layer
Carefully add a second layer using the lighter chocolate mousse. Smooth again to maintain neat, defined layers. This step enhances both visual appeal and texture.
Step 10: Finish with Crunch
Sprinkle crushed crunchy biscuits over the top of each verrine. This final biscuit layer adds texture and reinforces the contrast between creamy and crisp elements.
Step 11: Decorate and Chill
Place one mini meringue on top of each verrine for an elegant finishing touch. Refrigerate the desserts for at least 30 minutes before serving to allow the layers to set and the flavors to develop.
Nutritional Information
Chocolate mousse verrines are a rich dessert that provides energy from fats and carbohydrates, as well as protein from eggs and dairy. Dark chocolate contains antioxidants and contributes to the intense flavor, while eggs provide high-quality protein.
Although indulgent, the individual serving size of verrines helps with portion control. Enjoyed occasionally and in moderation, this dessert can be part of a balanced lifestyle, especially when paired with fresh fruit or served after a light meal.
Frequently Asked Questions
Can I Prepare These Verrines in Advance?
Yes, these chocolate mousse verrines can be prepared several hours in advance and kept refrigerated. Add the crunchy topping and meringue shortly before serving to preserve texture.
Can I Use Milk Chocolate Instead of Dark Chocolate?
Yes, milk chocolate can be used for a sweeter and milder flavor. In that case, you may reduce the sugar slightly to maintain balance.
How Do I Get Clean, Defined Layers?
Chilling the verrines for about 30 minutes between layers helps the mousse firm up slightly, making layering easier and more precise.
Are Raw Eggs Safe in This Recipe?
This recipe uses raw eggs, which is traditional for classic chocolate mousse. Use very fresh eggs from a reliable source. Alternatively, you can use pasteurized eggs if preferred.
Can I Add Other Flavors?
You can enhance the mousse with orange zest, coffee, or a splash of liqueur for a more complex flavor profile while keeping the same structure.
Conclusion
Chocolate mousse verrine with crunchy biscuit base is a refined dessert that perfectly balances creaminess, lightness, and texture. Its layered presentation makes it visually striking, while its rich chocolate flavor ensures it is always a crowd-pleaser. Moreover, its no-bake preparation and make-ahead convenience make it ideal for entertaining without stress.
By following these carefully structured steps, you can create an elegant dessert that looks impressive yet remains accessible to home cooks. Ultimately, this recipe proves that classic chocolate mousse, when paired with thoughtful textures and presentation, can become a truly memorable dessert experience.
Check also:
Lemon Chicken Ricotta Meatballs
Chicken and meat easy Recipes
Suggestions:
- Creamy Shrimp and Avocado Salad Fresh Light Recipe
- Classic Vanilla Crème Brûlée with Perfect Caramel Top
- Traditional Chocolate Mousse Rich and Airy Delight
- Easy No-Bake Pineapple Mascarpone Layered Dessert
- Homemade Lemon Meringue Pie with Silky Citrus Bliss