
Share
Introduction
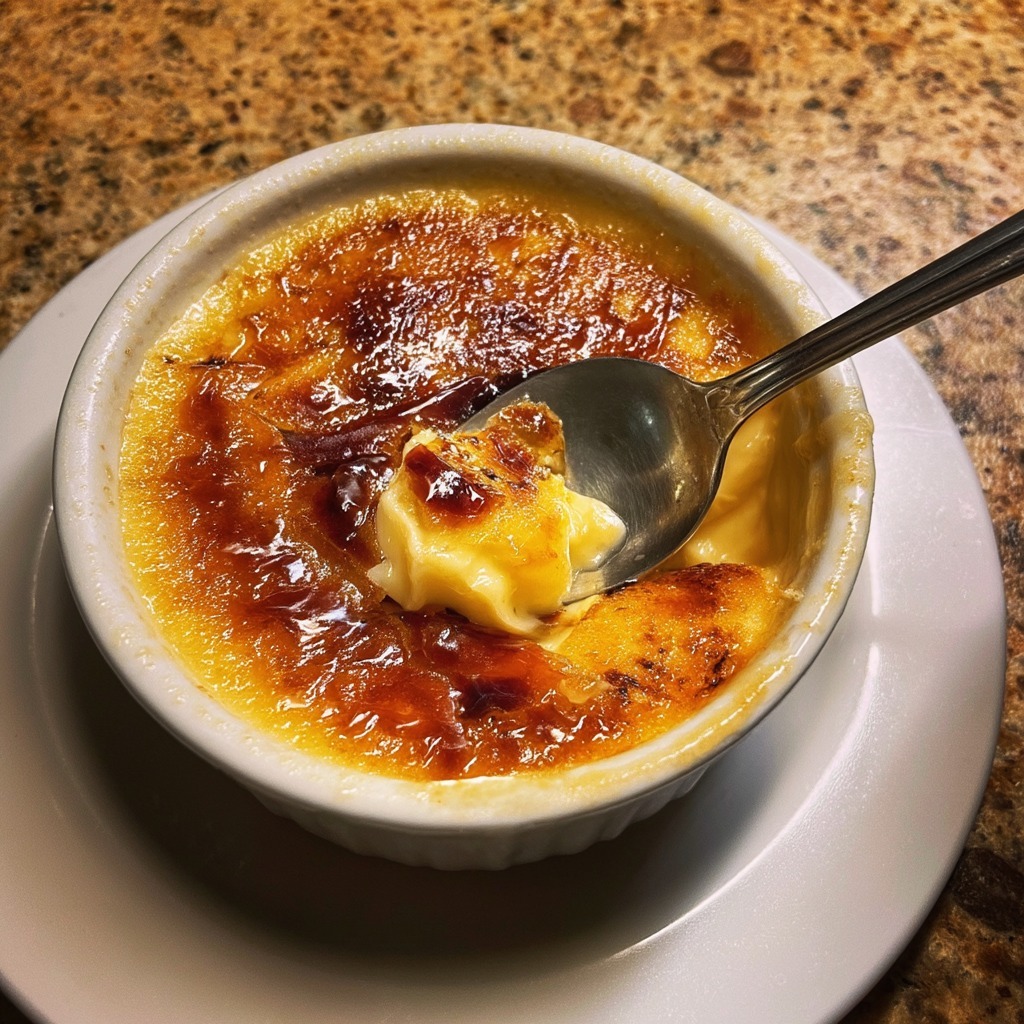
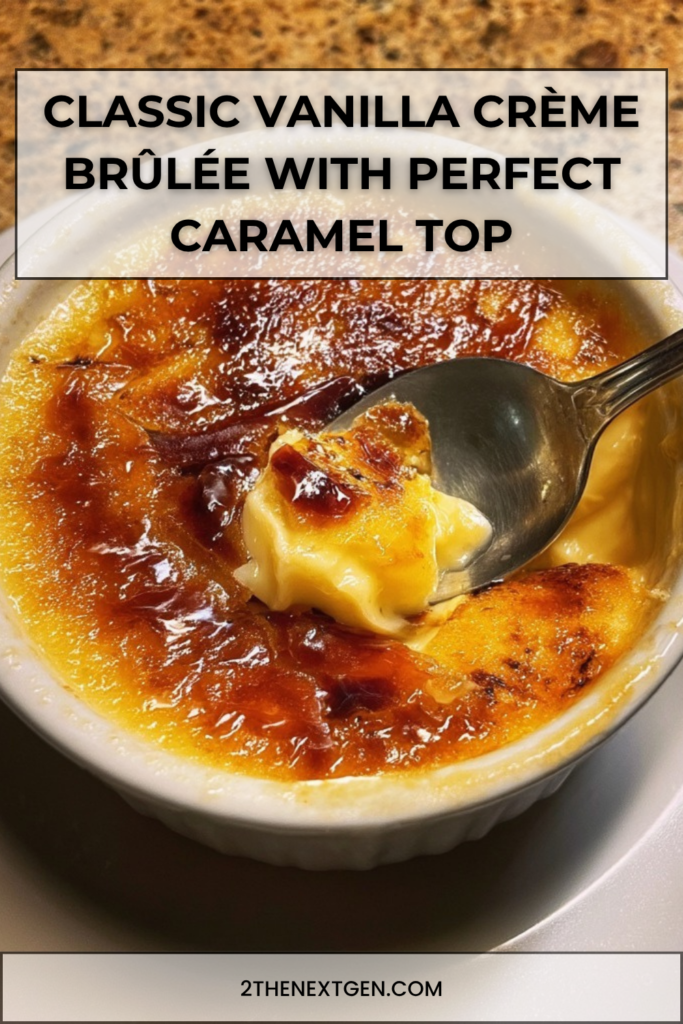
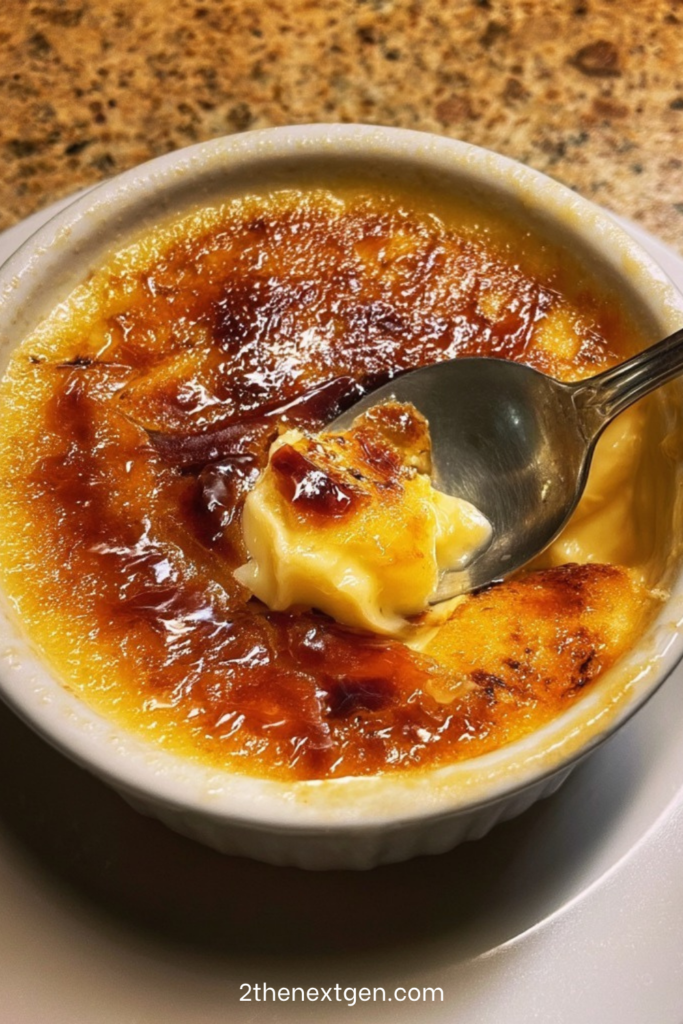
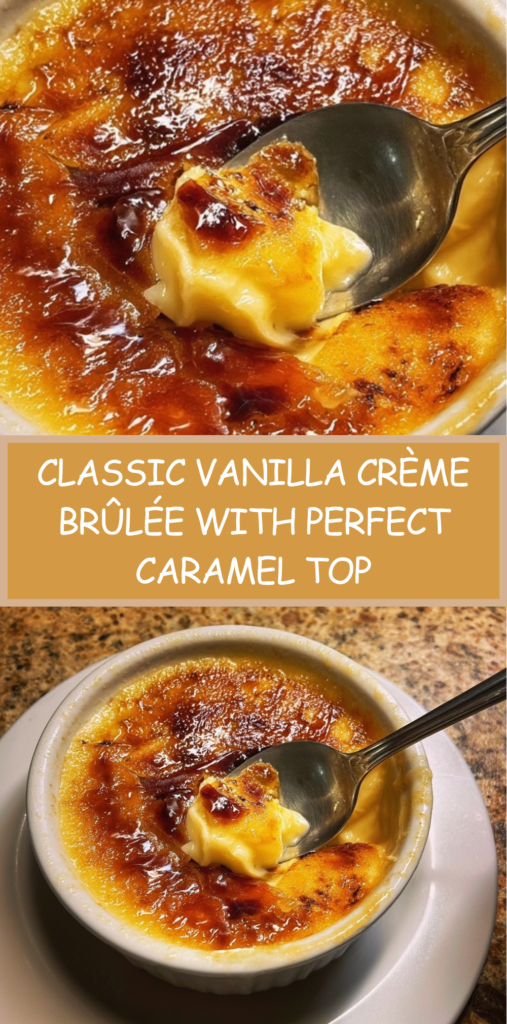
Classic vanilla crème brûlée is one of the most elegant and beloved desserts in French pastry. With its silky custard base and its signature caramelized sugar topping, it delivers a perfect contrast of textures that has delighted dessert lovers for generations. Every spoonful combines creamy smoothness with a delicate crunch, creating a refined and satisfying experience.
One of the reasons crème brûlée remains so popular is its simplicity. Although it looks sophisticated and restaurant-worthy, it requires only a few basic ingredients and a gentle cooking method. As a result, it is a dessert that feels luxurious without being overly complicated. Moreover, its delicate vanilla flavor makes it universally appealing, while the caramelized top adds a touch of drama and excitement.
In addition, this dessert is perfect for entertaining. Since it needs time to chill, it can be prepared in advance, which makes it convenient when planning a meal for guests. Then, just before serving, you caramelize the sugar to create that iconic crisp layer. This final step not only enhances the flavor but also creates a beautiful presentation.
Another important aspect of crème brûlée is its texture. The custard should be soft, creamy, and slightly trembling when perfectly cooked. At the same time, the sugar topping should be thin, crisp, and evenly caramelized. Therefore, mastering this balance is the key to achieving a truly exceptional result.
In this fully SEO optimized guide, you will discover how to prepare classic vanilla crème brûlée step by step. You will also learn about its origins, understand the role of each ingredient, and find helpful tips to ensure success every time. Whether you are making it for a special occasion or simply to enjoy a refined dessert at home, this recipe is a timeless choice.
History and Information About Crème Brûlée
Crème brûlée, which translates to “burnt cream” in French, has a long and fascinating history. Although it is strongly associated with French cuisine, variations of this dessert have appeared in different European traditions over the centuries. However, the French version, with its rich custard and caramelized sugar crust, has become the most iconic.
Traditionally, crème brûlée is made with cream, egg yolks, sugar, and vanilla. These ingredients are combined to create a custard that is baked slowly in a water bath, also known as a bain-marie. This gentle cooking method ensures a smooth and creamy texture without curdling the eggs. As a result, the dessert remains soft, delicate, and luxurious.
The defining feature of crème brûlée is its caramelized sugar topping. Just before serving, a thin layer of sugar is sprinkled over the chilled custard and then melted using a torch or a grill. This creates a crisp, glass-like crust that contrasts beautifully with the creamy base underneath.
Over time, crème brûlée has become a symbol of refined dessert making. It is often associated with fine dining, yet it is simple enough to prepare at home. Furthermore, its versatility allows for subtle variations, such as adding citrus zest, coffee, or chocolate. Nevertheless, the classic vanilla version remains the most appreciated for its pure and balanced flavor.
Today, crème brûlée continues to be a favorite dessert around the world. Its combination of simplicity, elegance, and texture makes it a timeless recipe that never goes out of style.
Ingredients
Ingredients for Classic Vanilla Crème Brûlée
- 500 ml heavy cream
- 4 egg yolks
- 80 g sugar
- 1 vanilla bean or 1 teaspoon vanilla extract
- Brown sugar, for caramelizing
Preparation Step by Step
Step 1: Heat the Cream with Vanilla
Begin by pouring the heavy cream into a saucepan. Add the vanilla bean seeds and the pod if you are using a whole bean, or simply add the vanilla extract. Heat the mixture gently over medium heat without letting it boil.
This step allows the vanilla to infuse into the cream, creating a deep and aromatic flavor. It is important not to boil the cream, as this could affect the final texture of the custard. Instead, aim for a gentle heat that releases the fragrance of the vanilla.
Once heated, remove the saucepan from the heat and let it rest for a few minutes so the flavors can develop.
Step 2: Whisk the Egg Yolks and Sugar
In a separate bowl, whisk the egg yolks with the sugar until the mixture becomes smooth and slightly pale. This step helps dissolve the sugar and creates a creamy base for the custard.
Be careful not to overmix, as you do not want to incorporate too much air. The goal is to achieve a smooth and homogeneous mixture that will blend easily with the cream.
This combination of yolks and sugar is essential for giving the crème brûlée its rich texture and subtle sweetness.
Step 3: Combine the Cream with the Egg Mixture
Slowly pour the warm cream into the egg yolk mixture while stirring gently. This gradual process prevents the eggs from cooking too quickly.
Mix until everything is fully combined and smooth. At this stage, the custard base should be fluid and slightly thick. If needed, you can strain the mixture to remove any bubbles or impurities, which will result in a smoother final texture.
This careful blending step ensures that the custard remains silky and uniform.
Step 4: Pour the Custard into Ramekins
Place your ramekins on a baking tray, then pour the custard mixture evenly into each one. Fill them almost to the top, leaving a small space to avoid spilling.
Using ramekins allows for even cooking and a classic presentation. Additionally, it ensures that each portion sets properly and maintains the ideal creamy consistency.
At this stage, prepare for the gentle baking process that defines crème brûlée.
Step 5: Bake in a Bain-Marie for a Smooth Texture
Pour hot water into the baking tray until it reaches about halfway up the sides of the ramekins. Then place the tray in a preheated oven at 150°C and bake for 35 to 40 minutes.
The water bath helps regulate the temperature and prevents the custard from cooking too quickly. As a result, the texture remains smooth and creamy instead of becoming grainy.
The crème brûlée is ready when it is set around the edges but still slightly trembling in the center. This delicate movement indicates the perfect consistency.
Step 6: Cool and Chill the Custards
Remove the ramekins from the water bath and let them cool at room temperature. Then place them in the refrigerator for at least 2 hours.
Chilling is essential because it allows the custard to firm up and develop its full flavor. In addition, a well-chilled base is necessary for achieving a proper caramelized top later.
This resting time transforms the dessert into its final creamy form.
Step 7: Caramelize the Sugar Just Before Serving
Just before serving, sprinkle a thin and even layer of brown sugar over each custard. Then use a kitchen torch to melt and caramelize the sugar until it forms a golden, crisp crust.
If you do not have a torch, you can place the ramekins under a hot grill for a few minutes. However, watch carefully to avoid burning.
The caramelized topping should be thin and crunchy, providing the perfect contrast to the smooth custard below. Let it sit for a minute to harden before serving.
Nutritional Information
Classic vanilla crème brûlée is a rich and indulgent dessert that offers a luxurious taste experience. Because it is made with cream, egg yolks, and sugar, it contains a significant amount of fats and carbohydrates, along with some protein from the eggs.
On average, one serving may contain around 300 to 400 calories, depending on portion size and the amount of sugar used for caramelization. The cream provides richness and a smooth texture, while the egg yolks contribute to the custard’s structure and flavor.
Although it is not a light dessert, crème brûlée is typically served in small portions, which helps keep it balanced as part of a meal. As always, nutritional values may vary depending on the ingredients used.
FAQ
Why is my crème brûlée not setting properly?
If your crème brûlée is too liquid, it may not have baked long enough or the oven temperature may have been too low. Make sure the custard is slightly set with a gentle wobble in the center before removing it from the oven.
Can I make crème brûlée without a torch?
Yes, you can use your oven’s grill to caramelize the sugar. However, you need to watch closely, as the sugar can burn quickly and the custard may warm up too much.
How do I get a perfectly smooth custard?
To achieve a smooth texture, avoid boiling the cream, mix gently without incorporating too much air, and bake the custard in a water bath. Straining the mixture before baking can also help.
Can I prepare crème brûlée in advance?
Yes, it is an excellent make-ahead dessert. You can prepare and chill the custards in advance, then caramelize the sugar just before serving for the best texture.
What type of sugar is best for caramelizing?
Brown sugar or fine granulated sugar both work well. The key is to use a thin, even layer so it melts and caramelizes evenly.
How long does crème brûlée last in the fridge?
It can be stored in the refrigerator for up to 2 days before caramelizing. Once the sugar has been torched, it is best enjoyed immediately for the perfect crisp texture.
Conclusion
Classic vanilla crème brûlée is a timeless dessert that perfectly combines simplicity and elegance. Its creamy custard and crisp caramelized topping create a unique contrast that continues to impress both visually and in flavor. Moreover, its straightforward preparation makes it accessible even for home cooks.
Because it can be prepared in advance and finished just before serving, it is ideal for entertaining and special occasions. At the same time, it remains a comforting treat that you can enjoy anytime.
If you are looking for a dessert that is refined, creamy, and unforgettable, this classic vanilla crème brûlée is an excellent choice. Once you master it, you will have a go-to recipe that never fails to impress.
Check also:
Lemon Chicken Ricotta Meatballs
Chicken and meat easy Recipes
Suggestions:
- Creamy Shrimp and Avocado Salad Fresh Light Recipe
- Classic Vanilla Crème Brûlée with Perfect Caramel Top
- Traditional Chocolate Mousse Rich and Airy Delight
- Easy No-Bake Pineapple Mascarpone Layered Dessert
- Homemade Lemon Meringue Pie with Silky Citrus Bliss