
Share
Introduction
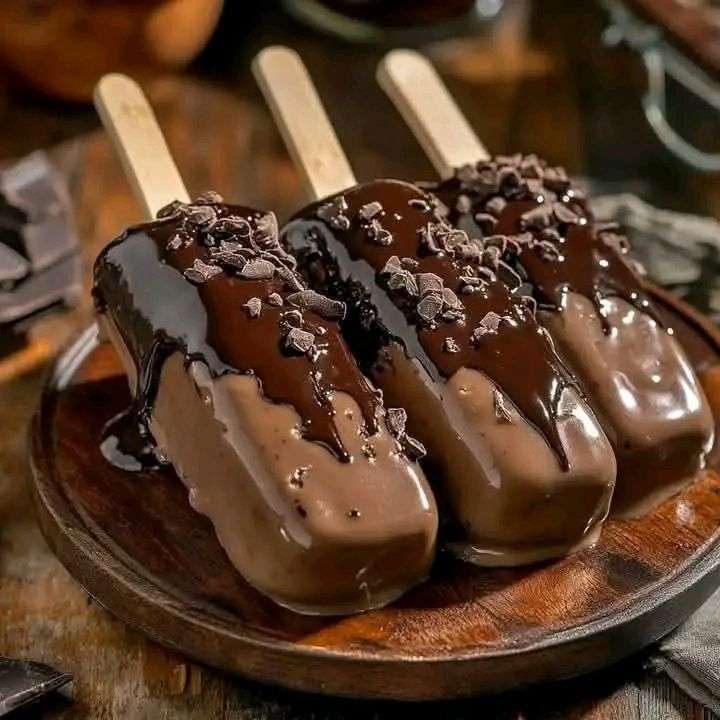
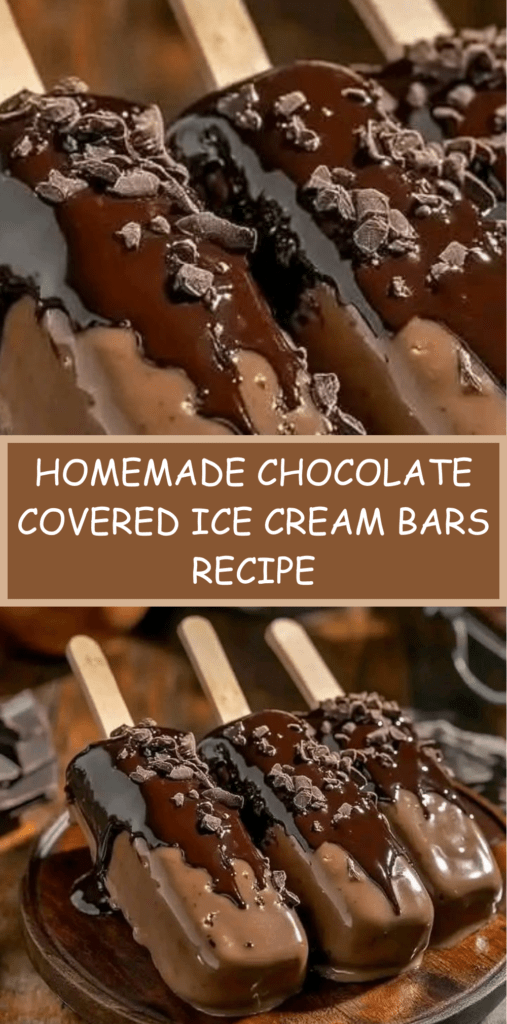
Homemade chocolate covered ice cream bars are a classic frozen treat that combines creamy chocolate ice cream with a crisp chocolate shell. This recipe offers a simple and satisfying way to recreate your favorite store-bought dessert using just a few ingredients and basic kitchen tools. As a result, you get full control over flavor, sweetness and texture.
Moreover, making ice cream bars at home allows you to customize toppings, chocolate coatings and ice cream flavors. Because the recipe uses a no-churn ice cream base, it eliminates the need for special equipment. At the same time, the chocolate shell creates a satisfying snap that makes every bite feel indulgent and refreshing.
Thanks to their nostalgic appeal and customizable nature, homemade ice cream bars are perfect for summer desserts, parties and family treats.
History and Recipe Background
Chocolate covered ice cream bars became popular in the early twentieth century when frozen desserts became widely accessible. The combination of ice cream and hardened chocolate coating quickly gained popularity due to its contrast in texture and temperature.
Originally sold by street vendors and ice cream trucks, these bars became iconic frozen treats enjoyed by people of all ages. Over time, home cooks developed simple versions using whipped cream and condensed milk to mimic commercial textures without ice cream machines.
Today, homemade ice cream bars remain a favorite dessert option because they combine convenience, creativity and classic flavor in one frozen treat.
Ingredients
For the Ice Cream Base
- 2 cups heavy cream
- 1 can sweetened condensed milk, 300 to 400 grams
- 3 teaspoons cocoa powder
- 1 teaspoon vanilla extract, optional
For the Chocolate Shell
- 1.5 to 2 cups semi-sweet or dark chocolate chips
- 2 to 4 tablespoons coconut oil or vegetable oil
- Optional toppings such as crushed nuts, sprinkles or chocolate shavings
Preparation
Step 1: Prepare the Ice Cream Base
Begin by whisking cocoa powder with a small amount of cream or water in a saucepan over low heat. Stir until smooth and fully combined to form a chocolate syrup. Remove from heat and allow the mixture to cool completely.
In a large mixing bowl, beat the heavy cream until stiff peaks form. This step creates the airy texture needed for a creamy ice cream base.
Gently fold the sweetened condensed milk and cooled chocolate syrup into the whipped cream using a spatula. Mix carefully to avoid deflating the whipped cream. Continue folding until the mixture is smooth and evenly combined.
Step 2: Freeze the Bars
Pour the prepared ice cream mixture into popsicle molds or into a parchment-lined loaf pan. Insert wooden sticks into each mold or evenly space them in the pan if slicing later.
Place the molds or pan into the freezer and freeze for at least eight hours or overnight until the ice cream is completely solid. Proper freezing ensures clean dipping and prevents melting during coating.
Step 3: Prepare the Chocolate Coating
Once the ice cream bars are fully frozen, prepare the chocolate shell. Place chocolate chips and coconut oil into a microwave-safe bowl. Heat in 30-second intervals, stirring between each round until the chocolate is fully melted and smooth.
Allow the chocolate mixture to cool slightly to room temperature while remaining liquid. Pour the melted chocolate into a tall glass or narrow container deep enough to dip the bars completely.
Step 4: Dip and Set the Bars
Working quickly, remove one frozen ice cream bar from the mold. Dip it into the melted chocolate, making sure the entire surface is coated. Allow excess chocolate to drip off naturally.
Immediately sprinkle optional toppings onto the wet chocolate coating before it hardens. Place the coated bar onto a parchment-lined baking sheet and return it to the freezer for 10 to 15 minutes until the chocolate shell fully sets.
Repeat the process with the remaining bars until all are coated and frozen.
Nutritional Information
Approximate values per bar:
Calories: 320
Protein: 4 grams
Carbohydrates: 28 grams
Fat: 22 grams
Fiber: 2 grams
Sugar: 24 grams
These ice cream bars are rich and indulgent treats. Because they contain cream and chocolate, they should be enjoyed in moderation as part of a balanced diet.
Frequently Asked Questions
Can I use milk chocolate instead of dark chocolate?
Yes, milk chocolate can be used for a sweeter coating. However, dark chocolate provides a richer flavor and firmer shell texture.
Why add coconut oil to the chocolate coating?
Coconut oil helps thin the chocolate and creates a smooth shell that hardens quickly with a satisfying snap.
Can I make different ice cream flavors?
Yes, you can customize the base by replacing cocoa powder with fruit puree, peanut butter or vanilla extract for different flavors.
How long can homemade ice cream bars be stored?
Store them in an airtight freezer-safe container for up to two weeks for best quality and flavor.
What is the best way to prevent melting during dipping?
Work quickly and keep unused bars in the freezer. Chilled chocolate also helps slow melting during coating.
Conclusion
Homemade chocolate covered ice cream bars combine creamy frozen dessert with crisp chocolate coating for a truly satisfying treat. With simple ingredients and easy preparation, this recipe allows you to enjoy classic ice cream bar flavors right from your own kitchen.
Because they are customizable, visually appealing and perfect for warm weather, these ice cream bars are ideal for family desserts, parties and summer celebrations. Once you try making them at home, they are guaranteed to become a freezer favorite.


Check also:
Lemon Chicken Ricotta Meatballs
Chicken and meat easy Recipes
Suggestions:
- Creamy Garlic Shrimp Spaghetti Recipe
- No-Bake Mascarpone Raspberry Swiss Roll Dessert
- Crispy Parmesan Potato Wedges Oven Recipe
- Spaghetti with Sausage and Creamy Tomato Sauce
- Classic Italian Tiramisu Recipe with Mascarpone Cream