
Share
Introduction
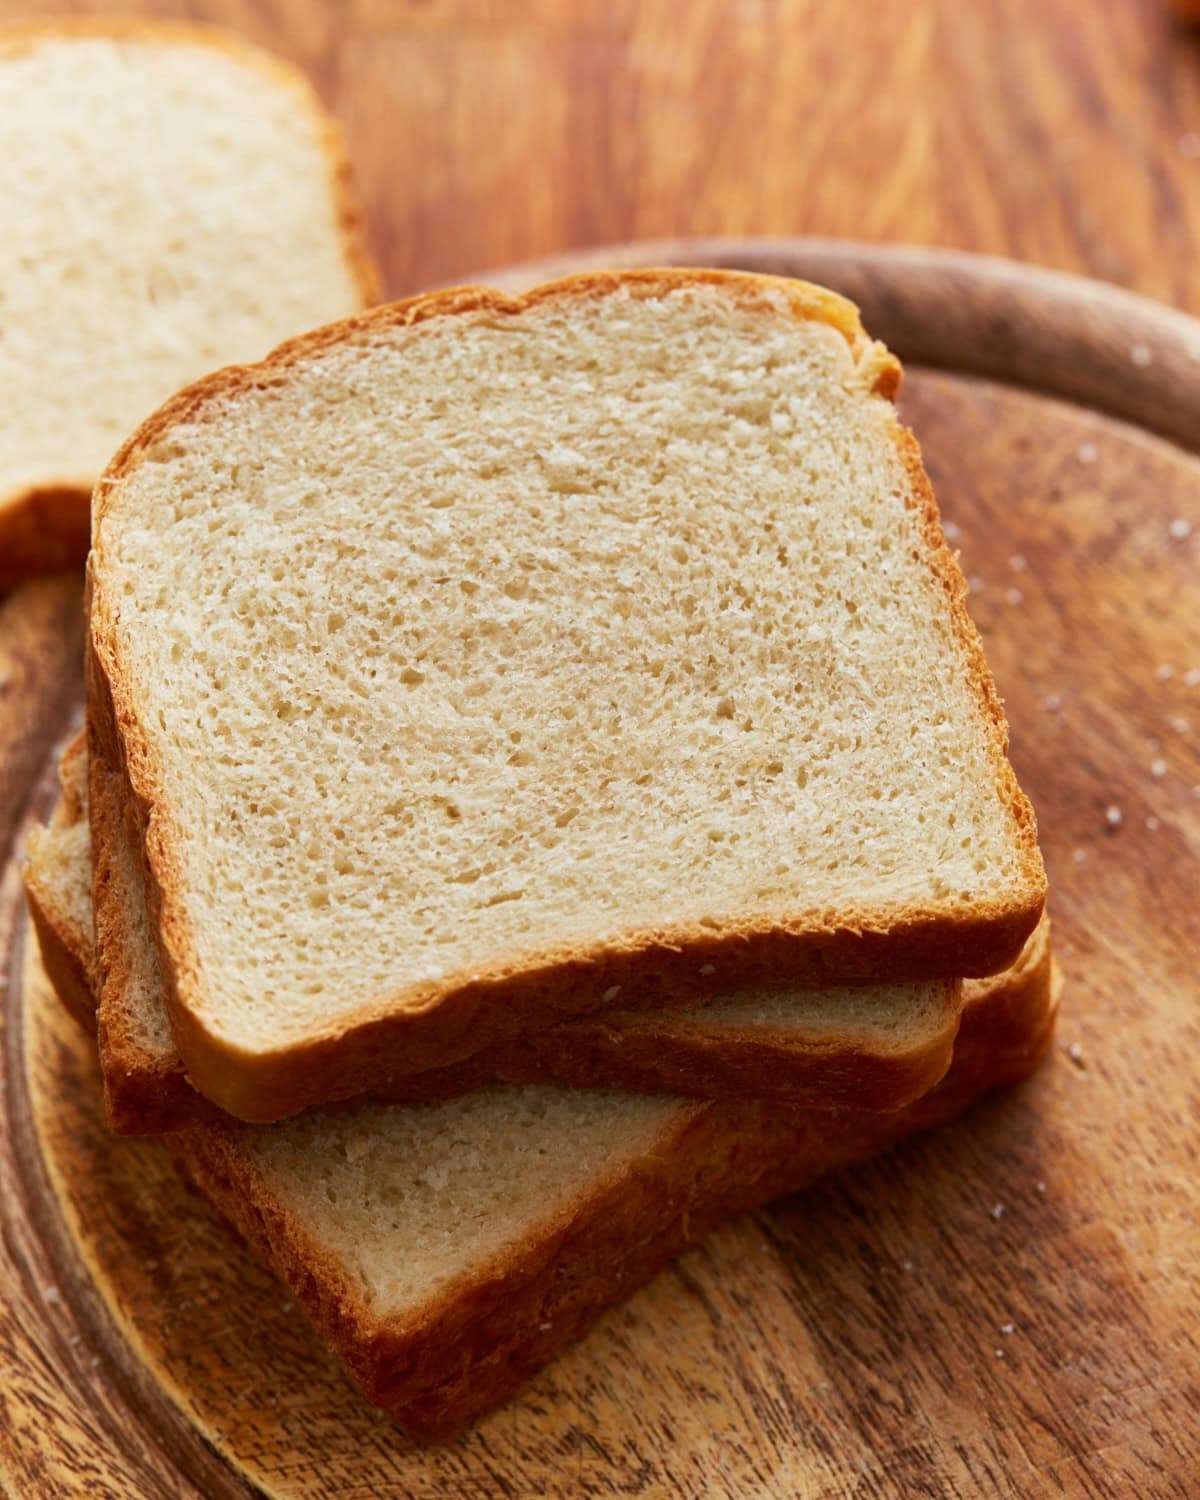
If you’re on a gluten free diet, you’ve probably dreamed of biting into a slice of soft, springy, homemade bread—one that doesn’t crumble, taste bland, or feel dense as a brick. With this gluten free bread recipe, you can finally bake a loaf that’s every bit as good (if not better) than the bakery’s. No more sad store-bought slices, weird aftertaste, or dry texture—just a beautiful, golden, fragrant loaf you can actually enjoy.
Whether you’re a beginner baker or a seasoned pro looking for a reliable everyday bread, this step-by-step recipe has your back. It’s easy, uses basic pantry ingredients, and is endlessly adaptable for toast, sandwiches, or your favorite French toast.
Why Make Your Own Gluten Free Bread?
- It’s Cheaper: Store-bought gluten free bread is pricey and usually comes in tiny loaves.
- No Weird Additives: You control what goes in—no gums or preservatives you can’t pronounce.
- Customizable: Adjust the sweetness, texture, and even the flour blend to suit your taste.
- Always Fresh: Enjoy a loaf straight from your oven, warm and ready to slice.
- Soft, Not Crumbly: This recipe yields a tender crumb that holds together beautifully.
A Word on Gluten Free Flours
Not all gluten free flours are created equal! The blend you use can make or break your bread.
- Recommended: Pillsbury Gluten Free All-Purpose, Cup4Cup, or a blend that states it’s suitable for yeast breads.
- Caution: Bob’s Red Mill 1 for 1 and King Arthur Measure for Measure both advise against using their blends for yeast breads—read labels carefully.
- Xanthan Gum: Essential for structure and stretch in most gluten free baking—omit if your blend already contains it.
Ingredient Breakdown (with Metric)
- 2 ½ cups (320g) gluten free all-purpose flour
- 1 teaspoon xanthan gum (omit if already in your blend)
- 1 teaspoon gluten free baking powder
- ¼ cup (60ml) extra virgin olive oil
- 1 packet rapid rise/instant yeast (2 ¼ teaspoons, 7g)
- ¼ cup (60ml) honey (or agave/maple syrup for vegan)
- 1 teaspoon apple cider vinegar
- 1 ½ cups (360ml) warm water (100-110°F / 37-43°C)
- 3 egg whites, from large eggs, room temperature
- 1 teaspoon salt
Step-by-Step: How to Make Soft Gluten Free Bread
1. Prep Your Pan and Oven
Spray a 9×5-inch bread pan or a 9×4-inch small Pullman loaf pan with gluten free non-stick spray.
Move the oven rack to the middle. Preheat your oven to 350°F (175°C).
2. Mix the Dry Ingredients
In a large bowl, whisk together the gluten free flour, baking powder, instant yeast, and xanthan gum (if using) until well combined.
3. Add Wet Ingredients
Pour in the olive oil, honey, apple cider vinegar, and warm water.
Using a stand mixer (paddle attachment, not the dough hook), or a sturdy hand mixer, mix on low for 1 minute.
4. Add Eggs and Salt
Add the egg whites and salt. Increase speed to medium and beat for 1 more minute.
The dough will be much softer than traditional bread dough—closer to a thick cake batter. Don’t be alarmed!
5. Let the Dough Rise
Spoon the dough into your prepared loaf pan.
Spray a piece of plastic wrap with non-stick spray, cover the top of the pan, and then drape a kitchen towel over it.
Let the dough rise in a warm place for 30 minutes—it should nearly double.
6. Bake
Remove the plastic wrap.
Bake the bread on the middle oven rack for 30 minutes at 350°F (175°C).
The crust will be golden brown and the internal temperature should read 205-210°F (96-99°C) with an instant-read thermometer.
7. Cool Properly
Let the bread cool in the pan for 10 minutes, then carefully transfer to a wire rack.
If you let it cool completely in the pan, the steam can make the bottom soggy—so don’t skip this step.
Important: Cool completely before slicing. The crumb firms up as it cools, making it easier to cut beautiful slices.
8. Slice and Enjoy!
Use a serrated knife for best results—never a straight-edged blade, which may squash your loaf.

Storage, Freezing & Reheating
- At Room Temperature: Store completely cooled bread in an airtight container for 1-2 days.
- Fridge: Keeps up to 5 days, but best texture is room temp.
- Freezer: Wrap cooled loaf tightly in plastic, then in foil or freezer paper, and place in a freezer bag. Freeze up to 3 months.
- To Serve: Thaw overnight in the fridge or for a few hours at room temp. Toasting or refreshing in a warm oven brings back that bakery-fresh texture.
Tip: Don’t pre-slice before freezing—only cut what you need each time.
Tips for Gluten Free Bread Success
- Measure flour by weight, not cups, for best results.
- Room temp eggs whip up better and help structure.
- Use a Pullman loaf pan for a taller, bakery-style loaf.
- Always check your yeast for freshness.
- Don’t skip the honey or syrup—it helps with browning and flavor.
- Don’t underbake! Bread must reach the right internal temp to avoid gumminess.
Troubleshooting
- Bread is gummy or dense: Underbaked, or too much liquid. Try baking longer or using less water next time.
- Loaf collapsed after baking: Over-proofed or underbaked; next time, reduce rise time a bit and bake thoroughly.
- Holes/tunnels: Batter overmixed, or too much yeast. Mix just until combined.
- Crust too pale: Brush the top lightly with oil before baking or bake 5 extra minutes.
Nutrition Information (per slice, ~12 per loaf)
- Calories: 120
- Protein: 3g
- Carbs: 22g
- Fat: 3g
- Sugar: 4g
- Fiber: 2g
FAQ
Can I use a bread machine?
Yes! Use the gluten free setting, and scrape the bowl mid-mix if needed.
Do I need a stand mixer?
Not required, but makes mixing easier and dough lighter.
Is this bread egg-free?
No, but you can experiment with aquafaba (chickpea water) for a vegan loaf.
Can I use whole eggs?
Egg whites make the loaf lighter, but whole eggs can be used for a slightly denser crumb.
Why didn’t my bread rise?
Check yeast activity, water temperature (too hot kills yeast!), and make sure your flour blend is yeast-friendly.

Conclusion
With this recipe, you’ll never have to settle for dry, crumbly gluten free bread again! Moist, soft, and so easy, this loaf will make sandwiches, toast, and breakfast a joy again. Try it once, and you’ll be hooked—homemade gluten free bread can be a delicious, everyday staple.
PrintThe Ultimate Gluten Free Bread Recipe
This easy gluten free bread is soft, fluffy, and perfect for sandwiches or toast. Made with pantry staples and no kneading required—just mix, rise, and bake!
- Prep Time: 10 minutes
- Cook Time: 30 minutes
- Total Time: 40 minutes
- Category: Bread, Gluten-Free, Baking
- Method: Baking
- Cuisine: American
- Diet: Gluten Free
Ingredients
-
2½ cups all-purpose gluten-free flour (e.g. Pillsbury GF flour)
-
1 tsp xanthan gum (omit if your flour blend contains it)
-
1 tsp gluten-free baking powder
-
1 packet rapid rise/instant yeast (2¼ tsp)
-
¼ cup extra virgin olive oil
-
¼ cup honey (or agave nectar/maple syrup)
-
1 tsp apple cider vinegar
-
1½ cups warm water (100–110°F / 38–43°C)
-
3 large egg whites (room temperature)
-
1 tsp salt
-
Gluten-free cooking spray (for greasing pan)
Instructions
-
Prepare pan and oven
Grease a 9×5-inch bread pan or 9×4-inch Pullman loaf pan with gluten-free cooking spray. Move oven rack to the center and preheat oven to 350°F (175°C). -
Mix dry ingredients
In a large bowl, combine gluten-free flour, xanthan gum (if needed), baking powder, and yeast. Stir well. -
Add liquids
Add olive oil, honey, apple cider vinegar, and warm water. Mix on low for 1 minute using a paddle attachment or hand mixer. -
Add egg whites and salt
Add egg whites and salt, then mix on medium speed for 1 minute. The dough should resemble thick cake batter. -
Pour into pan & rise
Pour batter into the prepared pan. Cover with plastic wrap sprayed with cooking spray and a kitchen towel. Let rise in a warm place for 30 minutes. -
Bake
Bake at 350°F (175°C) for 30 minutes on the center rack. Internal temperature should reach 205–210°F (96–99°C). -
Cool properly
Cool in the pan for 10 minutes, then transfer to a wire rack to cool completely before slicing. -
Store or freeze
Store fully cooled loaf in an airtight container at room temperature. For freezing, wrap in plastic wrap and foil, then place in a freezer bag (up to 3 months). Thaw overnight in the fridge.
Notes
-
Use a serrated knife to slice without squishing.
-
For best texture and rise, use a 9×4-inch Pullman loaf pan.
-
Avoid pre-slicing for longer shelf life.
-
Some flour blends like King Arthur or Bob’s Red Mill 1-to-1 are not ideal for yeast recipes.
-
Substitute maple syrup or agave nectar if needed.
-
The dough won’t look like traditional bread dough—it’s more like cake batter. That’s normal!
Check also:
Lemon Chicken Ricotta Meatballs
suggestions:
- Tuna Avocado Verrines Easy Fresh Appetizer Recipe
- Greek Yogurt Cake Easy Homemade Recipe
- Brownie Cheesecake Chocolate Fudge Dessert Recipe
- Spanish Tapas-Style Tortilla Recipe Easy and Authentic
- Easy Apple Mascarpone Cake to Make Today