

Share
Introduction
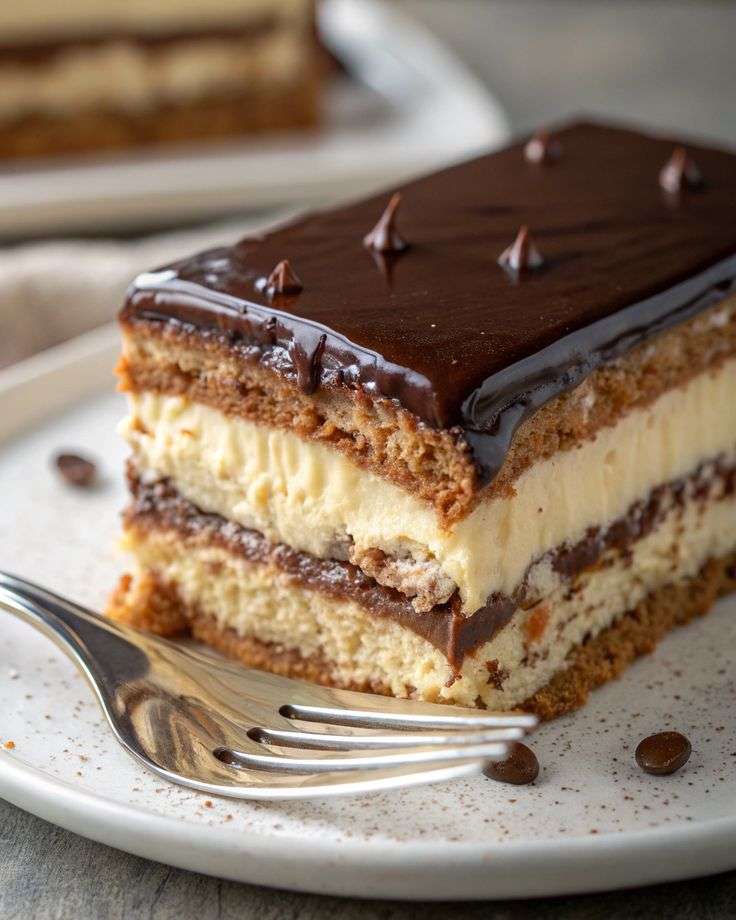
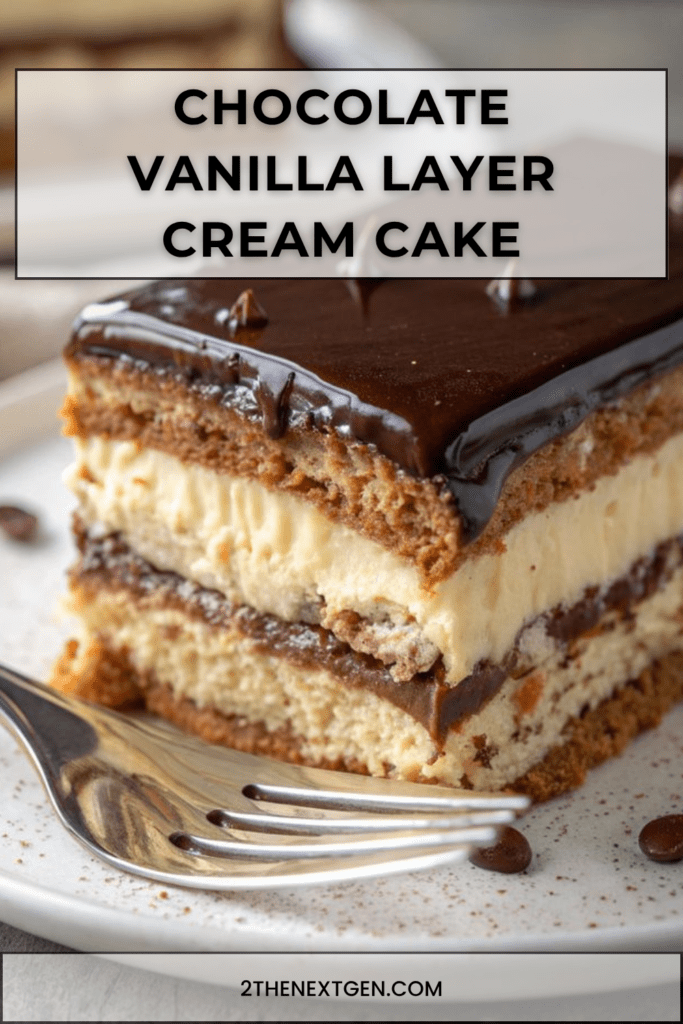
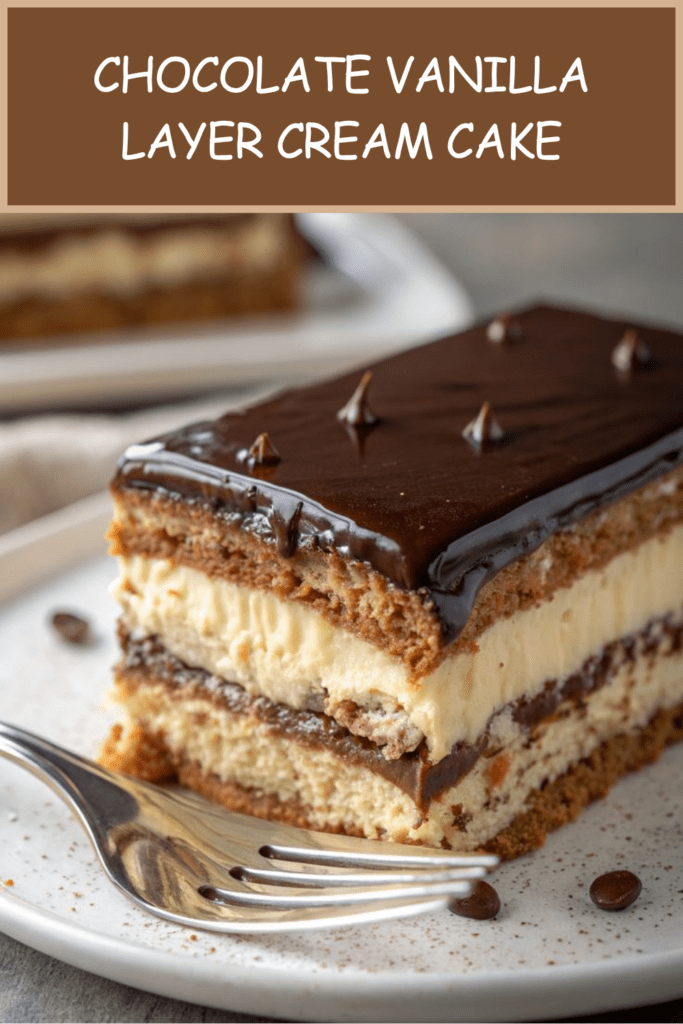
Chocolate Vanilla Layer Cream Cake is an elegant, creamy, and beautifully layered dessert made with soft sponge cake, silky vanilla cream, a smooth chocolate layer, a light milk soak, and a glossy chocolate ganache topping. It is rich, soft, and perfect for birthdays, family gatherings, celebrations, holidays, or any occasion when you want a homemade cake that looks impressive.
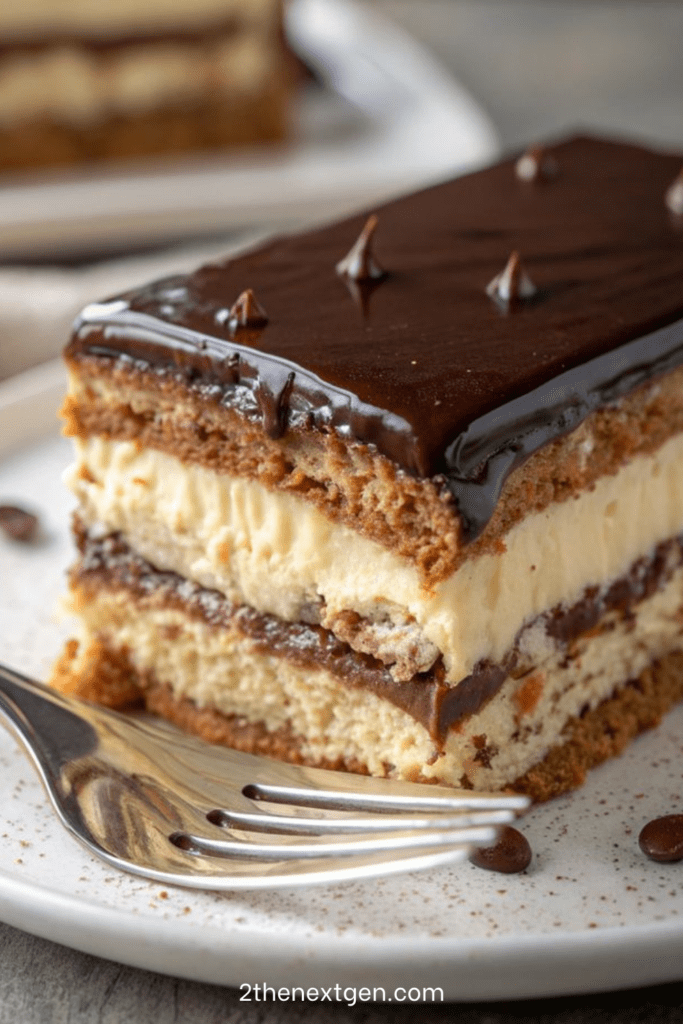
This cake is special because it combines several delicious textures in one dessert. The sponge cake is light and airy, the vanilla cream is smooth and rich, the chocolate layer adds depth, and the ganache gives the top a shiny bakery-style finish. Moreover, the milk soak keeps the sponge moist without making it heavy.
Although this cake looks sophisticated, the method is very manageable when each element is prepared step by step. First, the sponge cake is baked and cooled. Then, the vanilla cream is made with milk, egg yolks, sugar, cornstarch, butter, and whipped cream. After that, the chocolate layer and ganache are prepared. Finally, everything is assembled into neat layers and chilled until firm.
In addition, this chocolate vanilla layer cream cake is an excellent make-ahead dessert. In fact, it tastes even better after several hours in the refrigerator because the layers settle, the cream firms up, and the flavors blend together. Therefore, if you love creamy cakes, chocolate desserts, and soft layered pastries, this recipe is a beautiful choice.
History and Information About Layer Cream Cakes
Layer cream cakes are popular in many baking traditions because they combine soft cake layers with rich fillings and decorative toppings. Unlike simple sponge cakes, layered cakes offer more texture, moisture, and flavor in every slice.
The sponge cake used in this recipe is light and simple. It is made with eggs, sugar, flour, baking powder, vanilla, and salt. Beating the eggs with sugar until pale and fluffy helps create volume, while gentle folding keeps the sponge airy. This type of cake works very well with cream fillings because it absorbs light soaking syrup without falling apart.
Vanilla pastry cream is a classic filling used in many desserts. It is made by thickening milk, egg yolks, sugar, and cornstarch over heat. Once cooled, it becomes smooth and rich. In this recipe, softened butter is added for a creamy texture, and whipped cream is folded in to make the filling lighter.
Chocolate cream and ganache bring richness and contrast. Ganache is made by pouring hot cream over chopped chocolate, then stirring until smooth. Adding butter gives it extra shine. When poured over a chilled cake, it creates a glossy finish that makes the dessert look polished and professional.
The milk soak is another important part of the recipe. Sponge cake can become dry if left plain, so brushing it lightly with milk, vanilla, and sugar keeps the layers soft. However, the cake should not be soaked too much, because the layers need to hold their shape.
Today, chocolate vanilla layer cream cake is loved because it feels both classic and indulgent. It combines familiar flavors in an elegant format, making it perfect for special occasions and homemade celebrations.
Ingredients
For the Sponge Cake
- 4 eggs
- 120 g sugar
- 120 g all-purpose flour
- 1 teaspoon baking powder
- 1 teaspoon vanilla extract
- & 1 pinch of salt
For Soaking the Cake
- 150 ml milk
- 1 teaspoon vanilla extract
- 1 tablespoon sugar, optional
For the Vanilla Cream
- 500 ml milk
- 3 egg yolks
- 100 g sugar
- 45 g cornstarch
- 1 teaspoon vanilla extract
- 150 g butter, softened
- 200 ml heavy cream, whipped
For the Chocolate Layer
- 150 g dark chocolate or milk chocolate
- 120 ml heavy cream
- 1 tablespoon butter, optional
For the Glossy Chocolate Ganache
- 200 g dark chocolate, chopped
- 180 ml heavy cream
- 1 tablespoon butter, for shine
Preparation Step by Step
Step 1: Prepare the Oven and Baking Pan
First, preheat the oven to 180°C / 350°F. Line a rectangular baking pan with parchment paper.
This step helps the sponge cake release easily after baking. Since the cake will be cut into layers, it is important that the sponge comes out clean and even.
Use a rectangular pan that allows the sponge to bake in an even layer. A level sponge will make the final cake easier to assemble and slice.
Step 2: Beat the Eggs and Sugar
In a large bowl, beat the eggs with the sugar and vanilla extract until pale, thick, and fluffy.
This step is important because it adds air to the batter. The mixture should become lighter in color and increase in volume. This creates a soft sponge cake with a delicate texture.
Take your time with this step, especially if using a hand mixer. A well-beaten egg mixture gives the cake a better rise and a softer crumb.
Step 3: Add the Dry Ingredients
In another bowl, mix the flour, baking powder, and salt.
Add the dry ingredients to the egg mixture. Fold gently with a spatula until smooth. Do not mix too strongly, because this can remove the air from the batter.
The goal is to combine the flour without deflating the eggs. Once no dry flour remains, stop folding.
Step 4: Bake the Sponge Cake
Pour the batter into the prepared baking pan and spread it evenly with a spatula.
Bake for 18 to 20 minutes, or until the sponge is lightly golden and cooked through. A toothpick inserted into the center should come out clean.
After baking, let the cake cool completely. Do not cut it while warm, because warm sponge can tear easily.
Step 5: Cut the Sponge into Layers
Once the sponge cake is fully cooled, cut it into 3 equal layers.
Try to make the layers as even as possible so the final cake looks neat. If necessary, trim the edges slightly.
Set the sponge layers aside while preparing the creams and ganache.
Step 6: Heat the Milk for the Vanilla Cream
Pour the milk into a saucepan and heat it until warm. It should be hot enough to steam lightly, but it should not boil aggressively.
Warming the milk helps the pastry cream cook smoothly. Meanwhile, prepare the egg yolk mixture in a separate bowl.
Step 7: Mix Egg Yolks, Sugar, and Cornstarch
In a bowl, whisk the egg yolks with the sugar and cornstarch until smooth.
The cornstarch thickens the cream, while the egg yolks add richness and color. Whisking well prevents lumps and helps create a smooth pastry cream.
Make sure the mixture is fully combined before adding the warm milk.
Step 8: Temper the Egg Mixture
Slowly pour the warm milk over the egg mixture while whisking constantly.
This step is called tempering. It warms the eggs gradually and prevents them from scrambling.
Pour slowly at first, then continue whisking until the mixture is smooth. Once combined, return everything to the saucepan.
Step 9: Cook the Pastry Cream
Cook the mixture over medium heat, stirring constantly, until thick and creamy.
The cream will begin to thicken after a few minutes. Keep stirring so it does not stick to the bottom of the pan.
Once thick, remove it from the heat and add the vanilla extract. Stir well, then let the pastry cream cool completely.
Step 10: Finish the Vanilla Cream
Beat the softened butter until creamy. Then, add the cooled pastry cream little by little, mixing after each addition.
The pastry cream must be completely cool before adding it to the butter. If it is warm, the butter can melt and the cream may become runny.
Once the butter and pastry cream are combined, gently fold in the whipped heavy cream. This makes the vanilla cream lighter, softer, and more elegant.
Step 11: Prepare the Chocolate Layer
Heat the cream until hot but not boiling. Pour it over the chopped chocolate and let it sit for 2 minutes.
Then, stir until smooth and glossy. Add butter if using for extra shine and richness.
Let the chocolate layer cool slightly before spreading. It should be thick enough to spread, but not firm.
Step 12: Prepare the Milk Soak
In a small bowl, mix the milk, vanilla extract, and sugar if using.
This simple soak keeps the sponge cake soft and moist. However, it should be used lightly. Too much liquid can make the cake unstable.
Use a pastry brush for better control when soaking the layers.
Step 13: Soak the Sponge Layers
Brush each sponge layer lightly with the milk mixture.
Do not soak too much. The sponge should be moist, but it should still hold its shape.
This step helps the cake taste soft and creamy after chilling.
Step 14: Assemble the First Layer
Place the first sponge layer on a tray or serving board.
Spread a layer of vanilla cream evenly over the sponge. Then, add a thin layer of chocolate cream on top.
Keep the layers smooth and even. This will help the final slices look clean and attractive.
Step 15: Add the Second Layer
Place the second sponge layer over the cream.
Again, brush lightly with the milk soak if needed. Then, spread another layer of vanilla cream followed by a thin chocolate layer.
Try to keep the thickness of each layer consistent. This creates a balanced cake with a beautiful cross-section.
Step 16: Add the Final Sponge Layer
Place the final sponge layer on top.
Spread a thin layer of vanilla cream over the top to smooth the surface. This creates a clean base for the ganache.
If the sides look uneven, smooth them gently with a spatula. The cake does not need to be perfect, because the ganache will create a polished finish.
Step 17: Make the Glossy Ganache
Heat the heavy cream until hot but not boiling. Pour it over the chopped chocolate and let it sit for 2 minutes.
Stir slowly until the ganache becomes smooth and glossy. Add the butter and mix again for extra shine.
Let the ganache cool slightly before pouring. If it is too hot, it may melt the cream layer.
Step 18: Cover the Cake with Ganache
Pour the chocolate ganache over the top of the cake.
Spread it evenly with a spatula. Let a little ganache drip gently on the sides if you want a more decorative look.
Work smoothly but quickly, because ganache thickens as it cools.
Step 19: Chill the Cake
Refrigerate the cake for at least 4 hours. For the best texture, chill it overnight.
Chilling helps the cream firm up, the sponge absorb moisture, and the ganache set properly. This makes the cake easier to slice and gives it a clean layered look.
Do not rush this step, because the cake needs time to become stable.
Step 20: Slice and Serve
Slice the cake into neat squares or rectangles.
For clean slices, use a warm knife. Dip the knife in hot water, wipe it dry, and cut. Wipe the knife between slices for the best presentation.
Serve the cake cold for clean layers and a creamy texture. It pairs beautifully with coffee, tea, or a glass of milk.
Nutritional Information
The following nutritional values are approximate and may vary depending on the chocolate, butter, cream, milk, and slice size used.
For one serving, based on 10 slices:
Calories: approximately 430 to 620 kcal
Protein: approximately 8 g
Carbohydrates: approximately 42 g
Fat: approximately 28 to 42 g
Sugar: approximately 28 g
Fiber: approximately 2 g
Sodium: varies depending on butter, chocolate, baking powder, and added salt
Chocolate vanilla layer cream cake is a rich dessert because it contains sponge cake, pastry cream, butter, whipped cream, chocolate, and ganache. However, the light sponge and vanilla cream create a soft texture that feels balanced.
To make the cake slightly lighter, use less butter in the vanilla cream, choose dark chocolate for a less sweet finish, or serve smaller slices. For a richer version, add a coffee milk soak or a thicker chocolate layer.
FAQ
Can I Make This Cake Ahead of Time?
Yes, this cake is perfect for making ahead. In fact, it tastes better after chilling for several hours or overnight because the layers become softer and more stable.
Why Should the Pastry Cream Cool Completely?
The pastry cream must be cool before mixing with butter. If it is warm, the butter can melt and the cream may become loose or separated.
Can I Use Milk Chocolate Instead of Dark Chocolate?
Yes, milk chocolate can be used for a sweeter flavor. Dark chocolate gives a richer and more intense taste, while milk chocolate creates a softer, sweeter finish.
Can I Add Coffee to the Cake?
Yes, you can add a little coffee to the milk soak for extra flavor. Coffee pairs beautifully with chocolate and makes the cake taste deeper.
Why Did My Sponge Cake Become Dense?
The sponge may become dense if the eggs were not beaten enough or if the flour was mixed too strongly. Beat the eggs until fluffy and fold the flour gently.
Can I Use Store-Bought Sponge Cake?
Yes, store-bought sponge cake can be used if you want to save time. However, homemade sponge gives the freshest flavor and best texture.
How Long Should the Cake Chill?
The cake should chill for at least 4 hours. Overnight chilling gives the best texture, cleanest slices, and most developed flavor.
How Do I Cut Clean Slices?
Use a warm knife and wipe it clean between each cut. This prevents the cream and ganache from smearing between layers.
Can I Freeze This Cake?
Freezing is not ideal because the cream layers may change texture after thawing. For the best result, serve it fresh from the refrigerator within a few days.
How Should I Store Leftovers?
Store leftovers covered in the refrigerator for up to 3 days. Keep the cake chilled until serving so the cream stays firm and fresh.
Conclusion
Chocolate Vanilla Layer Cream Cake is a creamy, elegant, and delicious dessert made with soft sponge cake, vanilla cream, chocolate cream, milk soak, and glossy ganache. It is perfect for celebrations, family desserts, and special occasions.
The key to success is to beat the sponge well, cool the pastry cream completely, soak the cake lightly, and chill the assembled cake long enough before slicing. As a result, the layers become soft, stable, and beautifully creamy.
Serve this cake cold in neat squares or rectangles. With its combination of vanilla cream, chocolate ganache, and tender sponge, every slice is rich, smooth, and full of homemade bakery-style flavor.
Check also:
Lemon Chicken Ricotta Meatballs
Chicken and meat easy Recipes
Suggestions:
- Fluffy Blueberry Pancakes with Juicy Sweet Berries
- Buttery Breakfast Croissant Sandwich with Eggs and Bacon
- Fresh Mint Lemonade with Bright Lemon Flavor at Home
- Gooey Chocolate Lava Mug Cake Ready in Just 90 Seconds
- Creamy Yogurt Chia Breakfast Bowl with Fruit and Nuts