

Share
Introduction
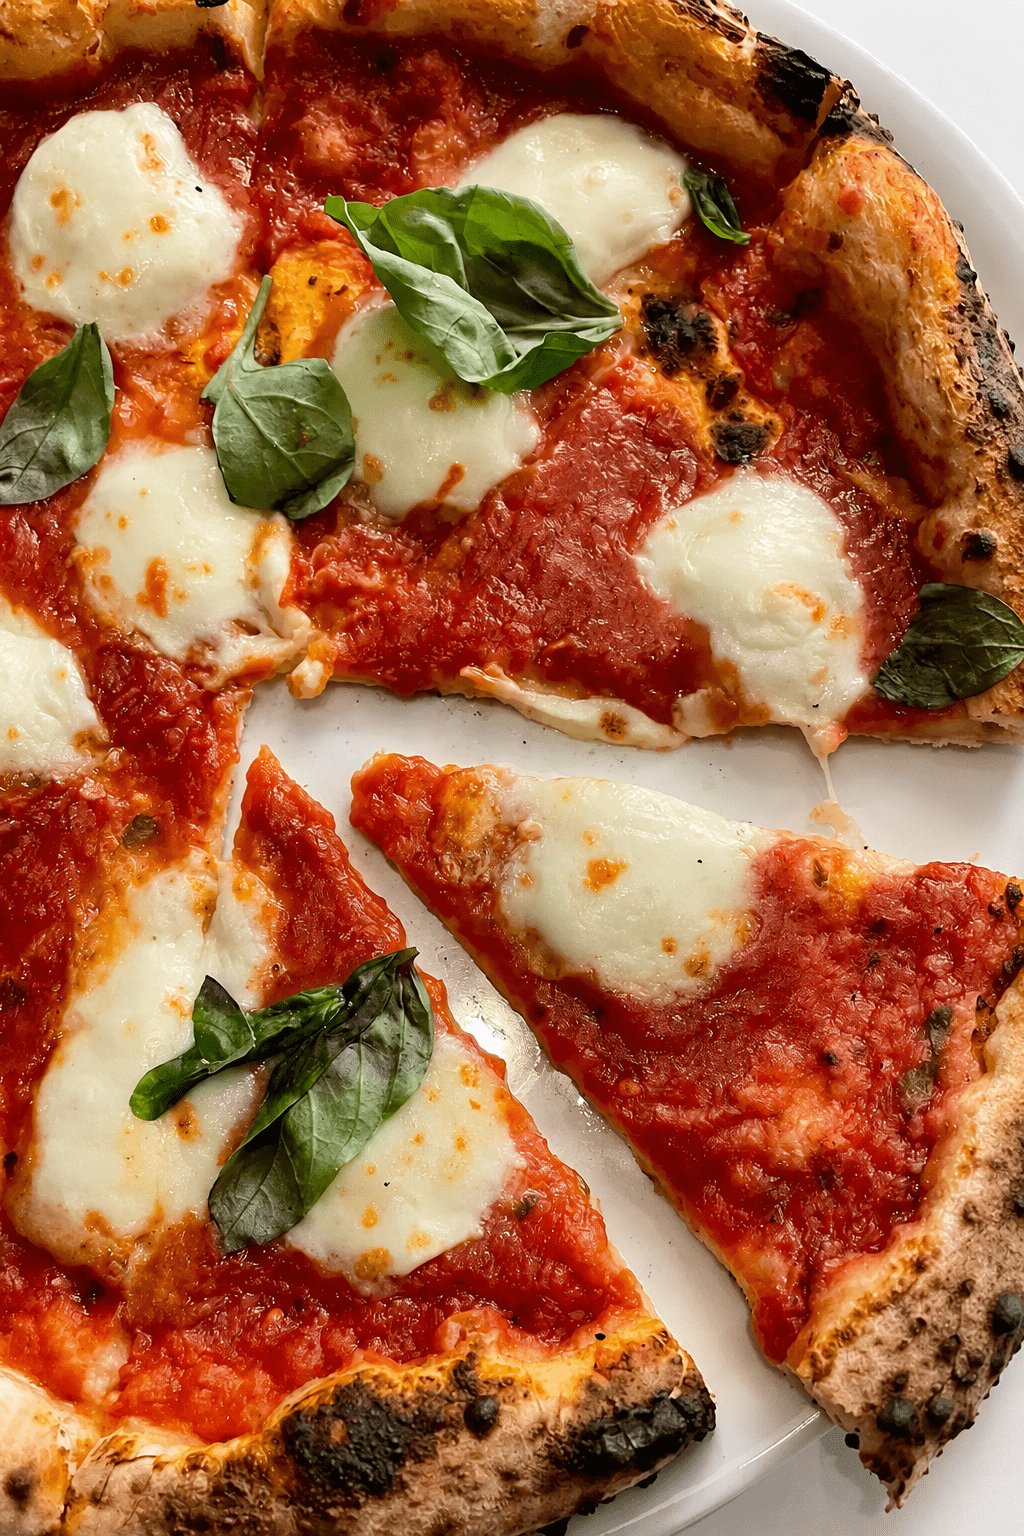
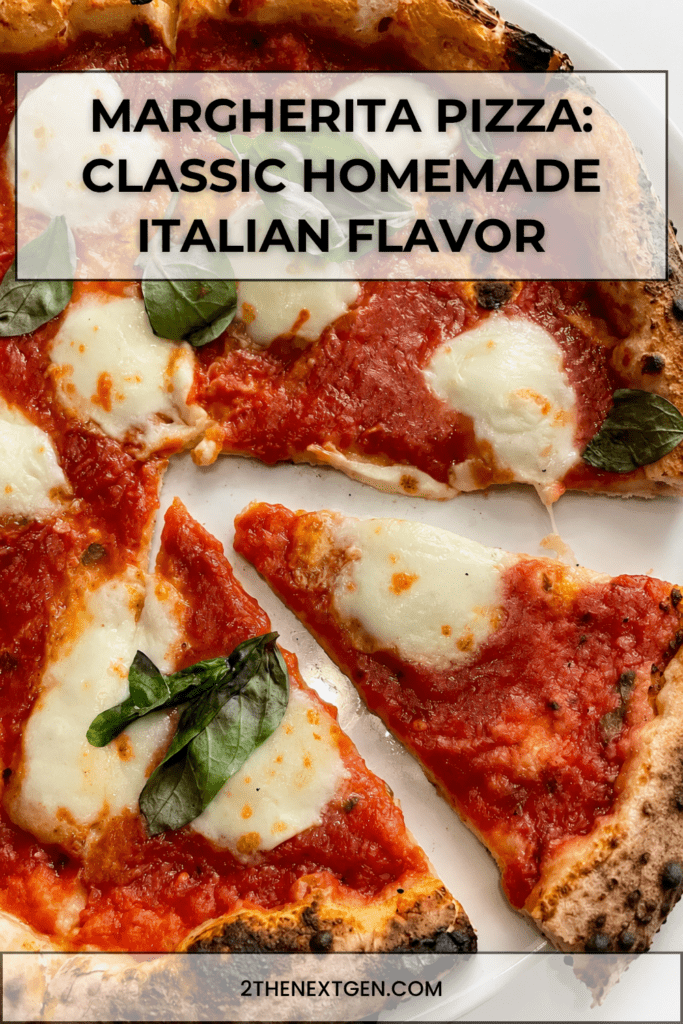
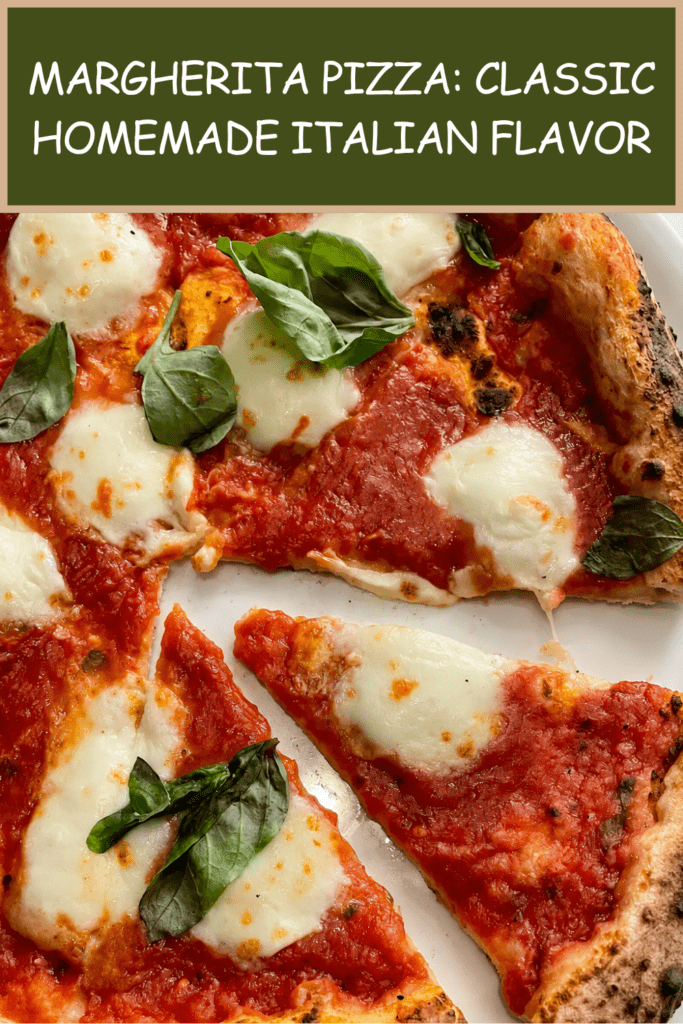
Margherita pizza is one of the most loved pizzas in the world, and for good reason. It is simple, fresh, colorful, and full of authentic flavor. With homemade pizza dough, a bright tomato sauce, fresh mozzarella, basil leaves, olive oil, and black pepper, this classic recipe proves that a few quality ingredients can create something truly delicious.
Unlike heavily loaded pizzas, Margherita pizza focuses on balance. The crust should be light and slightly crisp on the outside, yet soft and airy inside. The tomato sauce should taste fresh and naturally sweet, while the mozzarella should melt gently over the surface. Finally, the basil and olive oil bring fragrance, freshness, and a beautiful finishing touch.
Moreover, making Margherita pizza at home is easier than many people think. The dough requires simple ingredients: flour, water, yeast, salt, olive oil, and a little sugar. After rising, it becomes elastic and easy to stretch. Then, the sauce is prepared without cooking, which keeps the tomato flavor bright and fresh. As a result, the pizza tastes lighter and more vibrant.
This recipe is perfect for family dinners, weekend cooking, casual gatherings, or homemade pizza nights. It gives you two pizzas, making it ideal for sharing. In addition, it can be customized while still keeping its classic spirit. However, the beauty of Margherita pizza lies in its simplicity, so the best approach is to use good ingredients and avoid overloading the dough.
If you want a pizza that feels traditional, comforting, and fresh at the same time, this homemade Margherita pizza is the perfect choice. It is golden, fragrant, cheesy, and best served hot straight from the oven.
History and Information About Margherita Pizza
Margherita pizza is closely linked to the culinary traditions of Naples, Italy. It is often considered one of the most iconic examples of Neapolitan-style pizza. Although the exact history is surrounded by legend, the pizza is widely associated with the colors of the Italian flag: red tomato, white mozzarella, and green basil.
The recipe became famous because of its simplicity. Instead of relying on many toppings, Margherita pizza celebrates basic ingredients prepared with care. The dough provides structure and texture, the tomatoes bring acidity and sweetness, the mozzarella adds creaminess, and the basil creates a fresh herbal aroma.
Traditionally, Neapolitan pizza is baked very quickly in a very hot wood-fired oven. The intense heat creates a puffed, slightly charred crust and melts the cheese in minutes. At home, most ovens cannot reach the same temperature as professional pizza ovens. Nevertheless, preheating the oven to its highest setting and using a hot baking tray or pizza stone can help create a similar effect.
Fresh mozzarella is also essential. It melts beautifully and creates a soft, creamy texture. However, because fresh mozzarella contains moisture, it is best to tear it into pieces and, if needed, pat it dry before adding it to the pizza. This prevents the pizza from becoming watery.
Overall, Margherita pizza is a timeless recipe because it is honest, simple, and satisfying. It is proof that great food does not always need to be complicated. With good dough, fresh sauce, mozzarella, basil, and olive oil, you can create a pizza that feels both rustic and elegant.
Ingredients
For 2 Pizzas
Pizza Dough
- 500 g pizza flour or all-purpose flour
- 325 ml lukewarm water
- 7 g dry yeast
- 10 g salt
- 1 tablespoon olive oil
- 1 teaspoon sugar
Tomato Sauce
- 400 g canned crushed tomatoes
- 1 tablespoon olive oil
- 1 garlic clove, minced
- & 1 teaspoon dried oregano
- Salt and black pepper
- A few fresh basil leaves
Topping
- 250 g fresh mozzarella
- Fresh basil leaves
- Olive oil
- Black pepper
Preparation Step by Step
Step 1: Activate the Yeast
First, pour the lukewarm water into a large mixing bowl. The water should be warm but not hot. If it is too hot, it can damage the yeast. If it is too cold, the yeast may take longer to activate.
Next, add the dry yeast and sugar to the water. Stir gently, then let the mixture sit for 5 to 10 minutes. During this time, the yeast begins to wake up and may create a light foam on the surface. This is a good sign that the yeast is active.
The sugar helps feed the yeast and supports fermentation. Although it is only a small amount, it also helps the dough develop better color during baking. Once the yeast mixture is ready, you can continue with the flour, salt, and olive oil.
Step 2: Make and Knead the Pizza Dough
Add the flour, salt, and olive oil to the yeast mixture. Mix everything together until a rough dough forms. At first, the dough may look shaggy, but it will become smoother as you knead it.
Transfer the dough to a lightly floured surface and knead for 8 to 10 minutes. Push the dough away with the heel of your hand, fold it back, and repeat. As you continue kneading, the dough will become elastic, smooth, and easier to handle.
Kneading is important because it develops gluten, which gives the pizza crust structure and chewiness. A well-kneaded dough should feel soft and slightly springy. If it is too sticky, add a small amount of flour. However, avoid adding too much, because a slightly hydrated dough usually creates a better crust.
Once the dough is smooth, shape it into a ball. Place it in a lightly oiled bowl and turn it once so the surface is coated with a thin layer of oil.
Step 3: Let the Dough Rise
Cover the bowl with a clean towel or plastic wrap. Then let the dough rise in a warm place for 1 to 2 hours, or until it has doubled in size. The exact time depends on the room temperature. In a warm kitchen, the dough may rise faster. In a cooler kitchen, it may need more time.
During this resting period, the yeast ferments the dough and creates air bubbles. These bubbles help the crust become light and airy when baked. Therefore, do not rush this step. A good rise improves both texture and flavor.
Once the dough has doubled, gently press it down to release excess gas. Then divide it into 2 equal portions. Shape each portion into a ball and let them rest for a few minutes before stretching. This short rest makes the dough easier to shape because the gluten relaxes.
Step 4: Prepare the Fresh Tomato Sauce
While the dough rises, prepare the tomato sauce. In a bowl, combine the canned crushed tomatoes with olive oil, minced garlic, dried oregano, salt, black pepper, and a few torn basil leaves.
Stir everything together until well mixed. The sauce should remain simple and uncooked. This helps preserve the fresh tomato taste, which is one of the main qualities of a classic Margherita pizza.
Taste the sauce and adjust the seasoning if needed. If the tomatoes are very acidic, you can add a tiny pinch of sugar, although it is not always necessary. The sauce should taste bright, lightly seasoned, and fresh.
Because pizza sauce should not be too watery, check the texture before using it. If your crushed tomatoes are very liquid, drain a little excess juice or use only the thicker part. A thin layer of sauce is enough for each pizza, because too much sauce can make the dough soggy.
Step 5: Preheat the Oven Properly
Before shaping the pizzas, preheat your oven to the highest temperature, ideally 250°C / 480°F. A very hot oven is essential for homemade pizza because it helps the crust puff quickly and develop a golden color.
Place a baking tray or pizza stone inside the oven while it preheats. This is an important step because the hot surface gives the bottom of the pizza an immediate burst of heat. As a result, the base cooks faster and becomes more crisp.
Let the oven preheat for enough time so the tray or stone becomes very hot. If using a pizza stone, it may need at least 30 minutes to heat fully. While the oven heats, prepare the dough and toppings.
Step 6: Shape the Pizza Bases
Take one dough ball and place it on a lightly floured surface. Gently press it from the center outward with your fingertips. Try to push the air toward the edges rather than flattening the whole dough completely.
Next, stretch the dough into a round pizza shape. Leave a slightly thicker edge around the outside for the crust. This edge will puff during baking and create the classic raised border.
Avoid using a rolling pin if possible, because it can press out too much air from the dough. However, if you are a beginner, you can use one gently. The goal is to create an even base without making it too thin in the center.
Repeat with the second dough ball. If the dough resists stretching, let it rest for 5 minutes, then continue. Resting helps the gluten relax and makes shaping much easier.
Step 7: Add the Tomato Sauce and Mozzarella
Place the shaped dough on a piece of baking paper or a floured pizza peel if you have one. Then spread a thin layer of tomato sauce over the dough, leaving the raised edge uncovered.
Do not add too much sauce. A light layer is better because it allows the crust to bake properly and keeps the pizza from becoming wet. The sauce will spread slightly as the pizza bakes.
Next, tear the fresh mozzarella into pieces and place them over the sauce. If the mozzarella is very moist, pat it dry with paper towels before using. This helps prevent excess liquid from pooling on the pizza.
Drizzle lightly with olive oil. This adds richness, helps the toppings bake beautifully, and gives the pizza a classic finish.
Step 8: Bake the Pizza Until Golden
Carefully transfer the pizza to the hot baking tray or pizza stone. Bake for 7 to 10 minutes, or until the crust is puffed, golden, and slightly charred in places. The cheese should be melted and soft, and the sauce should look slightly concentrated.
Keep an eye on the pizza because baking time can vary depending on your oven. A very hot oven will cook the pizza quickly. If the top is browning too fast but the base needs more time, move the pizza to a lower rack. If the base is cooked but the top needs more color, place it higher in the oven for the final minute.
Repeat the same process with the second pizza. For the best result, bake one pizza at a time so each one gets enough heat.
Step 9: Finish with Basil and Serve
Once the pizza comes out of the oven, add fresh basil leaves immediately. Adding basil after baking keeps it bright, fragrant, and fresh. If basil is baked for too long, it can darken and lose some of its aroma.
Drizzle the pizza with a little olive oil and season with black pepper. Then slice it immediately and serve hot.
Margherita pizza is best enjoyed fresh from the oven while the crust is still crisp and the mozzarella is warm and soft. You can serve it on its own or pair it with a simple salad for a complete meal.
Nutritional Information
The nutritional values for Margherita pizza can vary depending on the type of flour, the amount of mozzarella, the quantity of olive oil, and the size of each slice. However, as a general estimate, one pizza may provide approximately 850 to 1,100 calories, depending on how it is divided and topped.
One serving, based on half a pizza, may contain around 425 to 550 calories. The dough provides most of the carbohydrates, which make the pizza filling and satisfying. The mozzarella adds protein and fat, while the olive oil contributes healthy fats and flavor. The tomato sauce provides moisture, acidity, and a small amount of vitamins and minerals.
Compared with pizzas that include processed meats or heavy toppings, Margherita pizza is usually simpler and lighter. However, it is still a rich dish because of the dough, cheese, and olive oil. To create a lighter meal, you can serve smaller slices with a green salad. You can also use slightly less mozzarella or make a thinner crust.
On the other hand, if you want a more indulgent version, you can add extra mozzarella or finish with more olive oil. Still, the classic Margherita is best when balanced: a thin layer of sauce, enough cheese to melt beautifully, and fresh basil added after baking.
Overall, homemade Margherita pizza can be part of a balanced meal when enjoyed in reasonable portions. It is fresh, simple, and satisfying, especially when made with good-quality ingredients.
FAQ
Can I Make the Pizza Dough Ahead of Time?
Yes, you can make the dough ahead of time. After kneading, place it in a lightly oiled bowl, cover it, and refrigerate it for up to 24 hours. A slow cold rise can actually improve the flavor. Before shaping, let the dough come to room temperature so it becomes easier to stretch.
Can I Use All-Purpose Flour Instead of Pizza Flour?
Yes, all-purpose flour works well for homemade Margherita pizza. Pizza flour may create a more elastic dough and a slightly better crust, but all-purpose flour is a convenient option and still gives a delicious result.
Why Is My Pizza Dough Not Rising?
If your dough is not rising, the yeast may be old, the water may have been too hot, or the room may be too cold. Make sure your yeast is active and use lukewarm water, not boiling water. Also, place the dough in a warm spot and give it enough time to double in size.
Should Margherita Pizza Sauce Be Cooked?
For this recipe, the sauce is kept uncooked to preserve a fresh tomato flavor. Since the sauce cooks on the pizza in the hot oven, there is no need to simmer it beforehand. However, if you prefer a deeper tomato flavor, you can cook it briefly before using.
How Do I Stop the Pizza From Becoming Soggy?
To prevent soggy pizza, use only a thin layer of sauce and pat the mozzarella dry if it is very wet. Also, preheat the baking tray or pizza stone properly. A hot surface helps cook the base quickly and keeps the crust crisp.
Can I Add Extra Toppings?
Yes, you can add extra toppings, but keep them light if you want to preserve the Margherita style. Cherry tomatoes, a little parmesan, or roasted garlic can work well. However, too many toppings may weigh down the dough and cover the classic tomato, mozzarella, and basil flavor.
Can I Make This Pizza Without a Pizza Stone?
Yes, you can make it without a pizza stone. A preheated baking tray works very well. Place the tray in the oven while it heats, then carefully transfer the pizza onto it. This helps the base cook faster and improves the crust.
What Is the Best Mozzarella for Margherita Pizza?
Fresh mozzarella is ideal because it melts softly and gives the pizza a classic creamy texture. However, if your mozzarella is very moist, drain and pat it dry before using. Low-moisture mozzarella can also be used if you prefer a less watery pizza and more stretch.
How Should I Store Leftover Pizza?
Store leftover pizza in an airtight container in the refrigerator for up to 2 days. Reheat it in a hot oven, skillet, or air fryer to bring back some crispiness. Avoid microwaving if possible, because it can make the crust soft.
Conclusion
Margherita pizza is a timeless homemade recipe that celebrates simplicity, freshness, and balance. With a soft yet crisp crust, fresh tomato sauce, melted mozzarella, basil leaves, olive oil, and black pepper, it delivers classic Italian-inspired flavor in every bite.
Moreover, this recipe is perfect for home cooks because it uses basic ingredients and clear steps. Once you learn how to make the dough, prepare the uncooked tomato sauce, shape the pizza, and bake it on a very hot surface, you can create a delicious pizza night anytime.
Ultimately, homemade Margherita pizza is proof that simple food can be deeply satisfying. Serve it hot, finish it with fresh basil and olive oil, and enjoy a classic pizza that feels fresh, comforting, and full of flavor.

Check also:
Lemon Chicken Ricotta Meatballs
Chicken and meat easy Recipes
Suggestions:
- Crispy Garlic Parmesan Fries Baked to Golden Perfection
- Creamy Tomato and Roasted Red Pepper Fusilli Recipe
- Juicy Grilled Beef Kofta Recipe with Creamy Yogurt Sauce
- Easy Ground Beef Fried Rice with Mixed Vegetables Recipe
- Moist Date and Walnut Loaf with Honey Glaze Recipe