

Share
Introduction
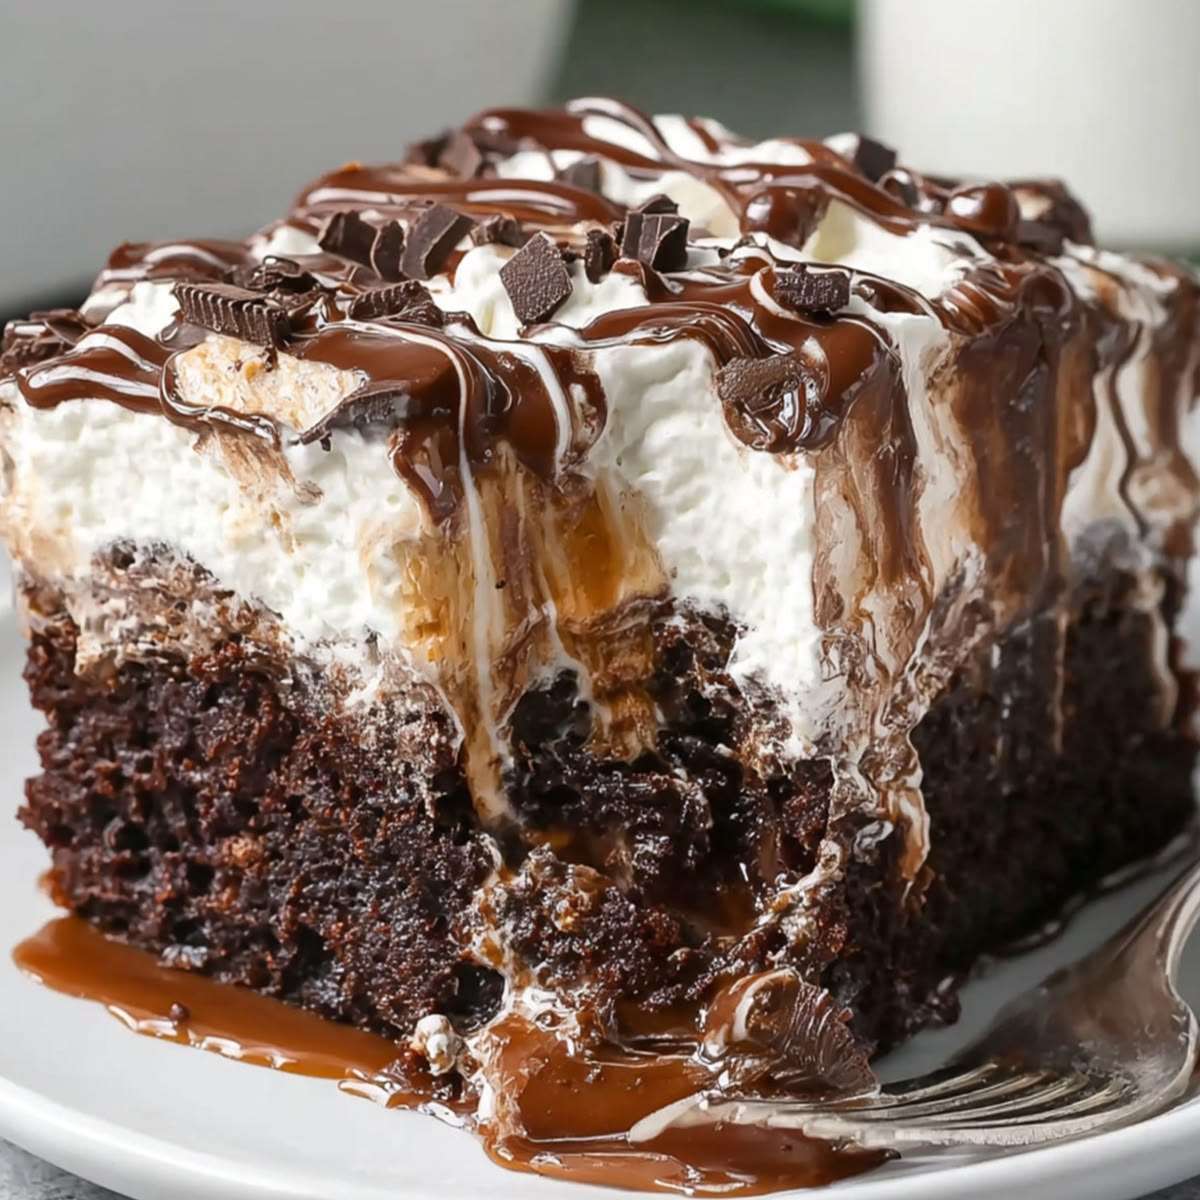
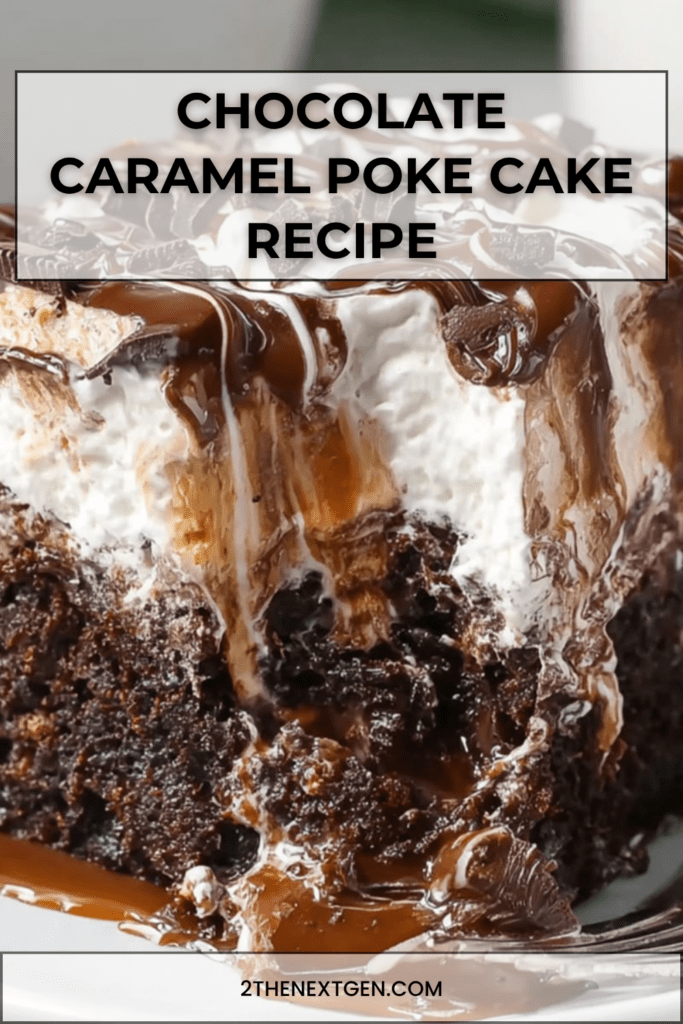
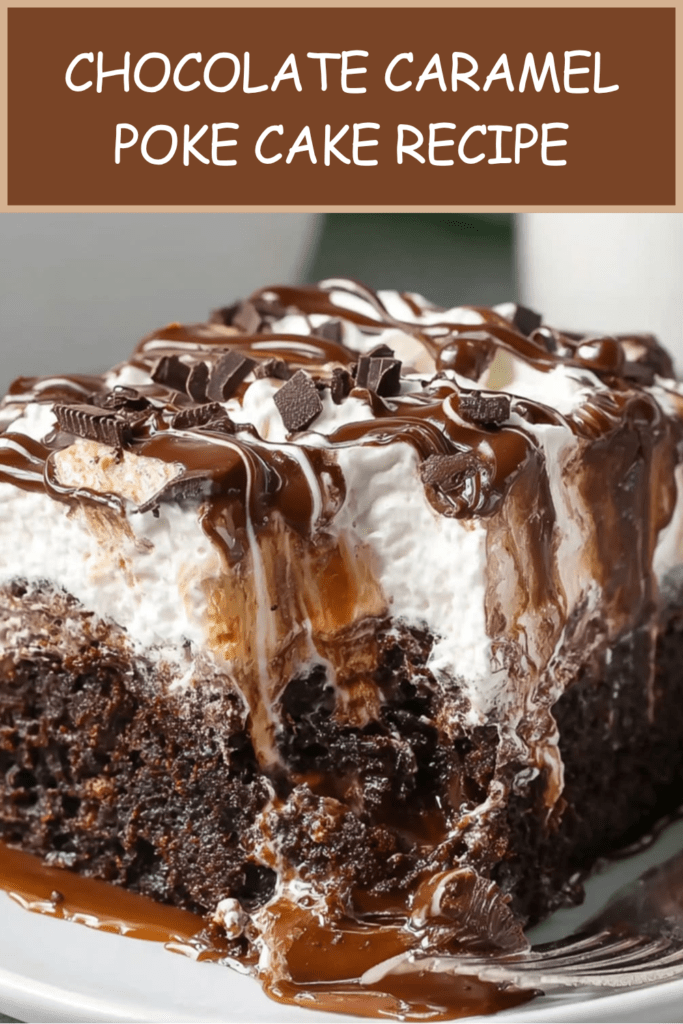
Chocolate Caramel Poke Cake is a rich, moist, and indulgent dessert made with soft chocolate cake, caramel condensed milk filling, chocolate sauce, whipped cream, and chocolate shavings. It is the kind of cake that looks generous, tastes incredibly creamy, and feels perfect for birthdays, family gatherings, weekend desserts, holidays, or any moment when you want a crowd-pleasing treat.
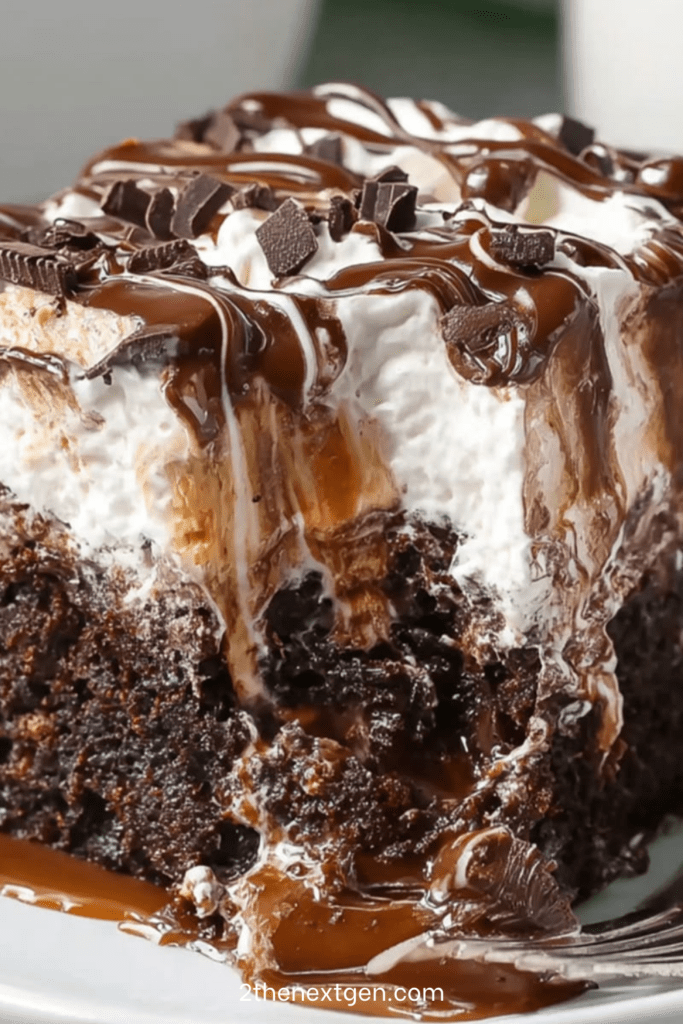
This recipe is especially delicious because the warm chocolate cake is poked with holes after baking. Then, a smooth mixture of caramel sauce and sweetened condensed milk is poured over the top, allowing the filling to soak deep into the cake. As a result, every slice becomes extra moist, sweet, and full of caramel flavor.
Moreover, this cake is finished with a fluffy whipped cream topping, extra caramel sauce, chocolate sauce, and chocolate chunks or shavings. The topping adds lightness to the rich cake, while the chocolate and caramel drizzle create a beautiful bakery-style finish.
In addition, this chocolate caramel poke cake is easy to prepare ahead of time. In fact, it tastes even better after chilling because the filling has time to soak into the cake and the layers become more flavorful. Therefore, if you love moist chocolate cake, caramel desserts, and easy make-ahead recipes, this chocolate caramel poke cake is a perfect dessert to try.
History and Information About Poke Cake
Poke cake is a classic dessert method where a freshly baked cake is pierced with holes and then filled with a liquid or creamy mixture. This technique allows the filling to sink inside the cake, making it extra moist and flavorful. It is a simple idea, but it creates a dessert that tastes much richer than a regular cake.
Chocolate poke cakes are especially popular because chocolate cake pairs beautifully with creamy fillings, caramel, condensed milk, whipped cream, pudding, ganache, and sauces. The holes in the cake allow the sweet filling to spread through the crumb, creating soft pockets of flavor in every bite.
Caramel and chocolate are a classic pairing. Chocolate brings deep, rich flavor, while caramel adds sweetness, warmth, and a buttery taste. Sweetened condensed milk makes the filling even creamier and helps keep the cake soft after chilling.
The cake base in this recipe is made with cocoa powder, milk, oil, eggs, and hot coffee or hot water. Hot coffee is optional, but it is often used in chocolate cakes because it enhances the cocoa flavor without making the cake taste strongly like coffee. The batter is thin, which helps create a very moist crumb.
Whipped cream is used as the topping because it balances the richness of the chocolate and caramel. Instead of a heavy frosting, the whipped cream gives the cake a lighter finish. Finally, chocolate chunks, chocolate shavings, extra caramel, and chocolate sauce make the cake look beautiful and taste even more indulgent.
Ingredients
For the Chocolate Cake
- 220 g all-purpose flour
- 250 g sugar
- 75 g cocoa powder
- 1 ½ teaspoons baking powder
- 1 teaspoon baking soda
- ½ teaspoon salt
- 2 eggs
- 240 ml milk
- 120 ml vegetable oil
- 2 teaspoons vanilla extract
- 240 ml hot coffee or hot water
For the Filling
- 250 ml caramel sauce
- 200 ml sweetened condensed milk
- 120 ml chocolate sauce or melted chocolate ganache
For the Topping
- 350 ml heavy cream, very cold
- 3 tablespoons powdered sugar
- 1 teaspoon vanilla extract
- 100 g chocolate chunks or chocolate shavings
- Extra caramel sauce
- Extra chocolate sauce
Preparation Step by Step
Step 1: Prepare the Oven and Baking Dish
First, preheat the oven to 180°C / 350°F. Grease a rectangular baking dish and line the bottom with parchment paper if desired.
Preparing the dish properly helps the cake release more easily and prevents sticking. Since this cake is served directly from the dish most of the time, parchment paper is optional. However, it can be useful if you want to lift the cake out after chilling.
A rectangular baking dish works best because it makes the cake easy to poke, fill, chill, and slice into neat squares.
Step 2: Mix the Dry Ingredients
In a large bowl, add the all-purpose flour, sugar, cocoa powder, baking powder, baking soda, and salt.
Whisk the dry ingredients together until evenly combined. This step helps distribute the cocoa powder and raising agents throughout the batter.
Cocoa powder gives the cake its deep chocolate flavor, while baking powder and baking soda help the cake rise. The salt balances the sweetness and makes the chocolate taste richer.
Step 3: Add the Wet Ingredients
Add the eggs, milk, vegetable oil, and vanilla extract to the dry ingredients.
Mix until smooth. The eggs give structure, the milk adds softness, and the oil keeps the cake moist. Vanilla extract adds warmth and enhances the chocolate flavor.
At this stage, the batter should look thick and chocolatey, but it will become thinner after adding the hot liquid.
Step 4: Add Hot Coffee or Hot Water
Pour in the hot coffee or hot water and mix again.
The batter will be thin, and that is normal. A thin chocolate cake batter helps create a soft and moist crumb after baking.
For a deeper chocolate flavor, use hot coffee. If you prefer not to use coffee, hot water works very well too. The hot liquid helps bloom the cocoa powder, making the chocolate flavor more intense.
Step 5: Bake the Chocolate Cake
Pour the batter into the prepared baking dish and spread it evenly.
Bake for 30 to 35 minutes, or until a toothpick inserted into the center comes out clean. The cake should look set, soft, and slightly springy on top.
Avoid overbaking because the cake should stay moist. Start checking near 30 minutes, especially if your oven runs hot.
Step 6: Let the Cake Cool Slightly
Remove the cake from the oven and let it cool for 10 to 15 minutes.
The cake should still be warm when you poke the holes and add the filling. Warm cake absorbs the caramel condensed milk mixture better than a completely cold cake.
However, do not pour the filling over the cake immediately while it is extremely hot, because it may become too soft. A short cooling time is ideal.
Step 7: Poke Holes in the Cake
Using the handle of a wooden spoon, poke holes all over the warm cake.
Make the holes deep enough so the filling can sink into the cake. Space them evenly across the surface so every slice gets plenty of caramel filling.
Do not make the holes too close together, or the cake may become too fragile. A good balance gives the cake enough space to absorb the filling while keeping its structure.
Step 8: Prepare the Caramel Filling
In a bowl, mix the caramel sauce with the sweetened condensed milk.
Stir until smooth and creamy. The caramel sauce adds buttery sweetness, while the condensed milk gives richness and helps the filling soak beautifully into the cake.
If your caramel sauce is very thick, warm it slightly before mixing so it pours more easily.
Step 9: Pour the Filling Over the Cake
Pour the caramel condensed milk mixture slowly over the warm cake.
Let it sink into the holes. Use a spoon or spatula to guide the filling across the surface so it spreads evenly.
Take your time with this step. Pouring slowly allows the filling to soak into the cake instead of staying only on top.
Step 10: Add the Chocolate Sauce
Drizzle the chocolate sauce or melted chocolate ganache over the top of the cake.
This adds another layer of chocolate flavor and makes the cake even richer. If using ganache, make sure it is pourable but not too hot.
Let the cake cool completely after adding the filling and chocolate sauce. This helps the cake settle before the whipped cream topping is added.
Step 11: Whip the Cream
In a cold bowl, whip the very cold heavy cream with powdered sugar and vanilla extract.
Continue whipping until firm peaks form. The cream should hold its shape but still look smooth and soft. Be careful not to overwhip, because the cream can become grainy.
The powdered sugar sweetens the cream, while vanilla adds flavor. This topping balances the rich caramel chocolate cake with a lighter finish.
Step 12: Spread the Whipped Cream
Once the cake has cooled completely, spread the whipped cream evenly over the top.
Use a spatula to create a smooth surface or soft swirls. The whipped cream layer should cover the cake fully and create a creamy white topping.
Make sure the cake is not warm before adding the whipped cream. If the cake is warm, the cream may melt.
Step 13: Decorate with Caramel and Chocolate
Drizzle extra caramel sauce and chocolate sauce over the whipped cream.
Then, sprinkle chocolate chunks or chocolate shavings on top. This makes the cake look rich, generous, and ready to serve.
For extra crunch, you can also add crushed cookies, chopped nuts, or toffee bits. These toppings give the cake more texture and make each bite even more interesting.
Step 14: Chill the Cake
Refrigerate the cake for at least 2 hours before serving.
Chilling is important because it gives the caramel filling time to soak fully into the cake. It also helps the whipped cream firm up and makes the cake easier to slice.
For an even better texture, you can chill the cake longer. The flavor becomes richer as the cake rests.
Step 15: Slice and Serve
Slice the chilled cake into squares and serve cold.
Use a sharp knife for clean pieces. Wipe the knife between cuts if you want neater slices.
Serve the cake on its own or with extra caramel sauce, chocolate sauce, vanilla ice cream, or fresh berries. Each slice should be moist, creamy, chocolatey, and full of caramel flavor.
Nutritional Information
The following nutritional values are approximate and may vary depending on the caramel sauce, chocolate sauce, cream, and slice size used.
For one serving, based on 12 slices:
Calories: approximately 420 to 580 kcal
Protein: approximately 6 g
Carbohydrates: approximately 60 g
Fat: approximately 20 to 32 g
Sugar: approximately 45 g
Fiber: approximately 3 g
Sodium: varies depending on baking powder, baking soda, caramel sauce, and added salt
Chocolate caramel poke cake is a rich dessert made with chocolate cake, caramel sauce, sweetened condensed milk, whipped cream, and chocolate topping. It is indulgent and best served in moderate slices.
To make the cake slightly lighter, reduce the caramel drizzle on top, use a thinner layer of whipped cream, or cut the cake into smaller squares. For a richer version, add more ganache, toffee bits, chopped nuts, or chocolate chunks.
FAQ
What Is a Poke Cake?
A poke cake is a cake that is baked, poked with holes, and filled with a sauce, pudding, condensed milk mixture, or another liquid filling. The filling soaks into the cake and makes it extra moist.
Why Do I Poke Holes in the Cake?
The holes allow the caramel condensed milk filling to sink deep into the cake. This creates a moist texture and spreads the flavor throughout every slice.
Should the Cake Be Warm When I Add the Filling?
Yes, the cake should be warm but not extremely hot. Warm cake absorbs the filling better, while a very hot cake may become too soft.
Can I Use Store-Bought Cake Mix?
Yes, you can use a chocolate cake mix if you want to save time. However, homemade chocolate cake gives a richer flavor and better texture.
Can I Use Hot Water Instead of Coffee?
Yes, hot water works well. However, hot coffee gives the cake a deeper chocolate flavor without making it taste strongly like coffee.
Can I Make This Cake Ahead of Time?
Yes, this cake is perfect for making ahead. It needs chilling time, and the flavor improves as the caramel filling soaks into the cake.
How Long Should I Chill the Cake?
Chill the cake for at least 2 hours. For the best texture, chill it longer or overnight so the filling fully absorbs into the cake.
Can I Add Nuts or Crunchy Toppings?
Yes, chopped pecans, walnuts, peanuts, crushed cookies, toffee bits, or chocolate chunks all work well as toppings.
How Do I Store Chocolate Caramel Poke Cake?
Store the cake covered in the refrigerator for up to 3 days. Because it has whipped cream topping, it should stay chilled.
Can I Freeze Poke Cake?
It is best enjoyed fresh from the refrigerator. Freezing may change the texture of the whipped cream topping and filling, so it is not the best option.
Conclusion
Chocolate Caramel Poke Cake is a rich, moist, and creamy dessert made with soft chocolate cake, caramel condensed milk filling, chocolate sauce, whipped cream, and chocolate shavings. It is easy to prepare, beautiful to serve, and perfect for celebrations or family desserts.
The key to the best result is to poke deep holes into the warm cake, pour the filling slowly, let the cake cool completely, and chill it long enough before serving. As a result, every slice becomes soft, creamy, and full of caramel chocolate flavor.
Serve this cake cold with extra caramel drizzle, chocolate sauce, or crunchy toppings. Rich, sweet, and beautifully moist, this chocolate caramel poke cake is a dessert that always feels generous and satisfying.
Check also:
Lemon Chicken Ricotta Meatballs
Chicken and meat easy Recipes
Suggestions:
- Cranberry Orange Cottage Cheese Mug Cake in Minutes
- Light Strawberry Banana Cottage Cheese Cheesecake Bars
- Ultra Fudgy Cottage Cheese Brownie Batter Dip
- Sugar-Free Raspberry Chia Sorbet with Fresh Mint Topping
- Sugar-Free Espresso Chocolate Layer Cheesecake Recipe